
Grabber V5. Diagrams and Pictures
Tags: innovate, think, and mechanicalPersonhours: 5
Task: Implement the new grabber system and record how it works
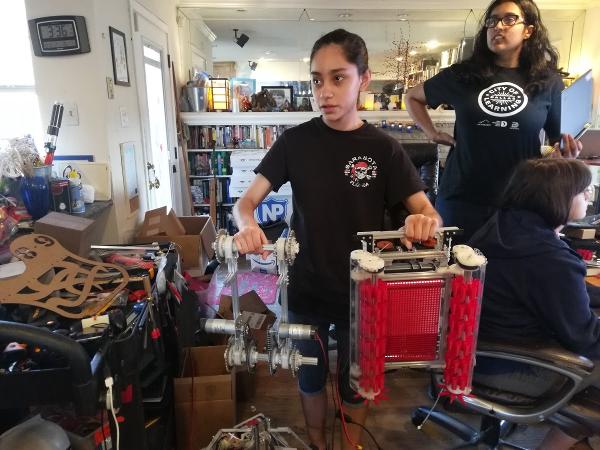
So, we've been talking about our new gripper system for a while - we've made prior 3D models and started it, hoping that we'd have it done by the Oklahoma Regional, since that was sort of a low stakes tournament for us. Unfortunately, we didn't get it just in time, so we had to go back to the basic Kraken model of our robot. We really don't want to repeat this mistake again, so we're doing a last-minute drive towards adding V5 to the robot.
First we had to build a new base, in case we had to suddenly revert back to the old bot. We've detailed that in the Building a Chassis post. Next, we had to make the design. We wanted something with more versatility than the static up-down gripper system, and looked at the flipper that our sister team had designed for inspiration. However, we didn't want to give up the whole design process that we'd used for the gripper. We decided on a comprimise, a gripper-flipper system that would intake blocks on either side of the robot, but then had the capability to flip over the entire robot and deposit blocks.
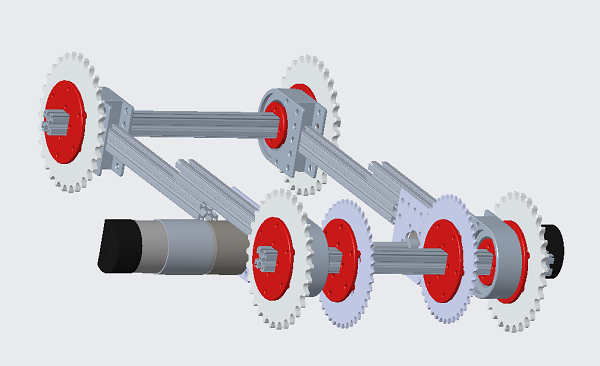
First, we made a model in Creo to see how we would get the gripper to be mobile over the entireity of the robot. This system continued to use the REVolution system that we'd previously designed. Described, the design was a gripepr system hooked to two chains which in turn moved the gripper system from one side to another. The default configuration is to let the gripper rest on top of the rotation system in order to relive stress on the chains.
Next Steps:
Next, we need to hook all of this up onto the robot and test them - we don't have much time, so we've got to act fast.