Build Kraken 2
Tags: Mechanical and DesignPersonhours: 28
Task: Build a Pushbot (Kraken 2)
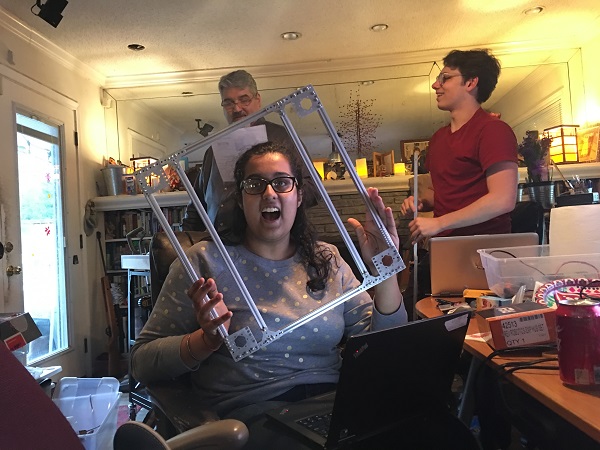
Building. It seems so simple but alas I was wrong, so wrong. During our post mortem, when we discussed our roles on the road to worlds, Kenna and I volunteered for building a pushbot. We both wanted to get more experience in building and thought this would be a perfect way to becoming well-versed in building. Our task was to create a drive base that, when placed on the field, would emulate a real robot on the field allowing our drivers to get more realistic practice. Our design for the pushbot imitates an earlier version of Kraken, just with side shields.
- To cut the pieces for the drivetrain, we needed to get trained for using the miter saw. Austin showed us and Abhi how to properly use one.
- After cutting the tetrix pieces, we followed an earlier design to create a square upon which we attached the wheels.

- We printed 3D custom motor mounts to mount the motor on. Often times the real motor mounts are very expensive, so we decided to used a CAD model. Now unbeknownst to both of us, we attached these lovely lads backwards. We did not realize our mistake until all motors and chains were already on the robot.
- The next step was to find the lazer cut side shields, which work as our wheel mounts. On our last robot we created custom 3D mounts for the mecanum wheels but these proved to be large, bulky, and limiting in terms of building space. So this year we designed side-shields that would hold the wheel in place while maximizing the 18 by 18 by 18 space we have. After searching for the shields for about 3 hours, we finally found them and placed them on the robot. Putting the wheels on after that was a breeze.
- Kenna and I set out the look for motors, sprockets, and motor collars. Sadly neither of us knew that both axle and motor collars existed and, after searching for so long, we had to go back and begin our search anew for motor collars. Finally, we were able to locate the required supplies and set to attaching the motors to the drive train.
- Finally, it was time to put on the chains connecting the wheels and motors. We learned how to find and remove the masterlink, as well as how to put the whole thing back together. For a short period of time, we flew into a panic because we couldn't find the masterlinks we had put aside, but soon we found them and put them onto the robot.
New Skills Learned:
- Miter Saw
- Handheld Drills
- Chain Assembly
- Trial and error is key
Next Steps: Finish and Code Chassis
Once we put the finishing touches on the chassis physically, we can begin coding it. Expect a new post on how we code it soon! Both of us are relatively new to coding robots so this should be interesting.

