
Finishing the Chassis
Tags: think, design, and buildPersonhours: 14
Task: Build a Chassis
We have been working on this chassis for over 3+. In out last post, we had thought the wheels were ready to go. However, various parts, such as wheel mounts, had been put on backwards or were unusable so we had to do everything over again.
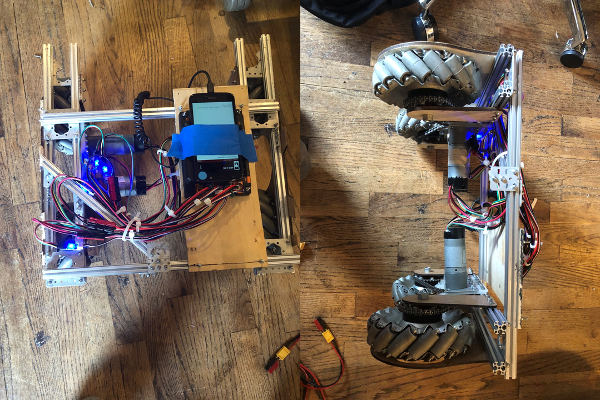
Now that the robot has wheels, we started on attaching the REV expansion hub and battery. The chassis is square, but has an asymmetrical structure of tetrix bars. Attaching the battery was the simple part since previous version of the robot had a 3D-printed battery holder that would be screwed on. There was no way to effectively place the expansion hub on the tetrix rails. Instead, we attached a thin plank of wood to two parallel bars, drilled a couple holes, and screwed the hub on.
Overall, it is a very no-frills chassis. We had to cut most of the side shields off because they were becoming more of an obstruction than an aid.
Next Steps
Though the physical robot has been built, it has no code. Both of us will be learning how to program a basic pushbot.