
Creating Side-Latches
Tags: think and designPersonhours: 4
Task: Allow the robot's arms to stand on their own
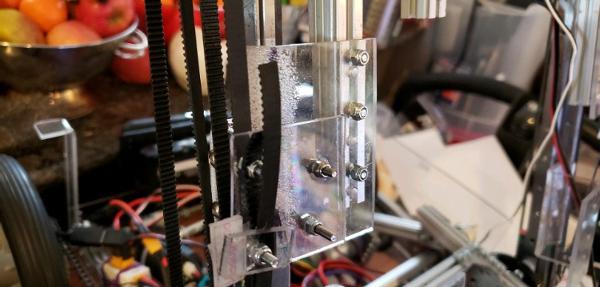
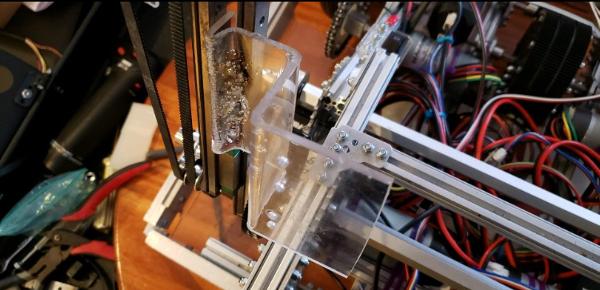
The issue with the lift is that many of the pieces that need to be made require specificity that’s hard to obtain using aluminum parts, so we chose polycarb. The key to making these specialized parts is a small butane torch held at just the right distance. Run the torch back and forth across the part where you want to bend, in the pattern of the bend you’re trying to achieve, watching closely for the first air pocket. Once you’ve spotted it, bend it. For tight, right angle bends, press the piece of polycarb against a hard surface until the right angle is achieved. If there’s an issue in your bend, simply heat it up again. This, however, weakens the piece so try not to do it on pieces that need to bare a load. We had to bend a complex piece, and while, it doesn’t look super complex in the picture, it had very precise requirements so that everything could slide together in unison. The part we made went in between the two linear slides on the arms to the 3d printed latch we created, and worked very smoothly. While polycarb is not the best at retaining strength over distance, it’s worked well in this instance.
Next Steps:
The next stage for this will be to make these brackets out of steel once we have access to the forge. This will result in a new, stronger version, which will hopefully eliminate a potential point of failure in our current robot.