
Linear Slides on TomBot
Tags: innovatePersonhours: 3
Task: Mount linear slides to the robot.
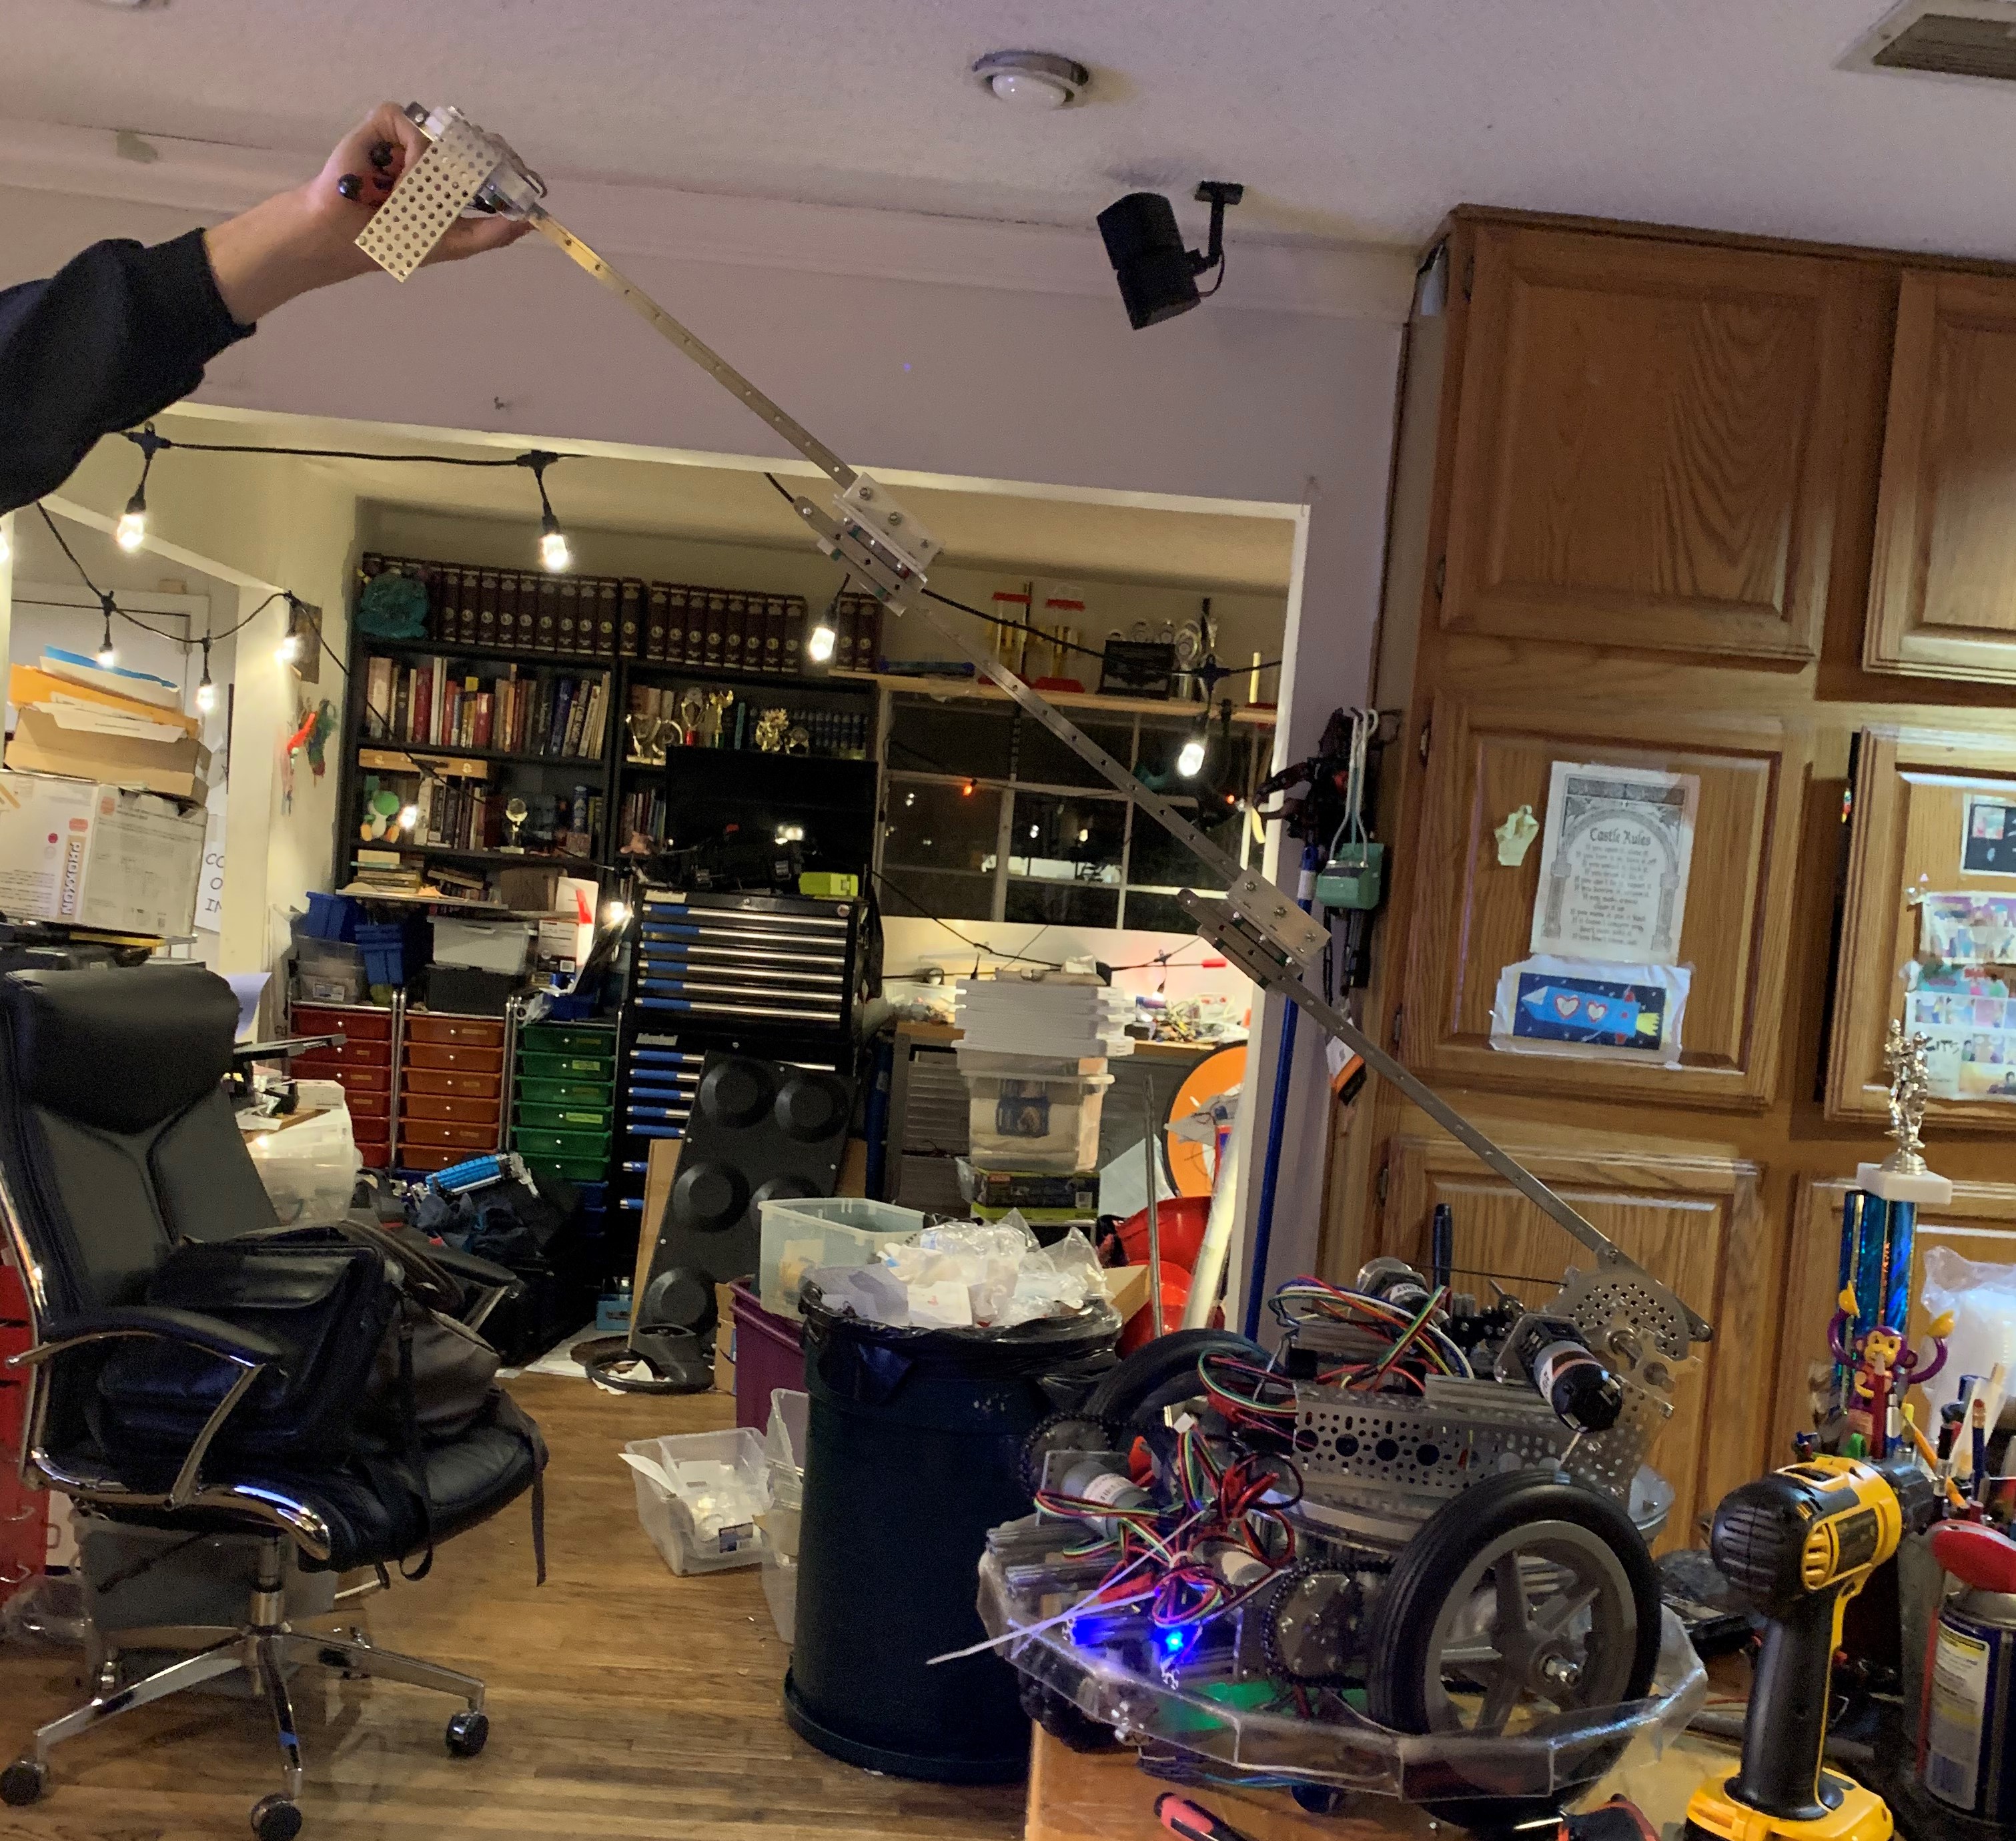
Today we focused on getting the arm and linear slide ready to be powered up. Our first task was to move down one of the stages of the linear slide to align the slides. We also adjusted where the carriage stops to further align the slides.
Next, we began to run the belts through the pulleys. We needed to run the belts around the motor and accidentally put on an extra pulley, but we got the slides to move by pulling on the belt. To let the motor power the slide, we had to attach the both ends of the belt to the same carriage. To reach the below the slides from the top carriage, we had to attach a bracket with a screw sticking across to tie the belt onto. The bracket was made out of a bent GoBILDA flat plate. The hole spacing on the plate matched exactly the hole spacing on the nylon mounts for the final stage, which were also CNC drilled into the metal bracket. This made attaching the mount and bent plate to the metal bracket very easy. We extended the bottom row of the bracket out to one side to place the crossing screw away from the gears of the arm. The plate has a slight flex to it under the load of the belt, but will function fine as a tensioner for now.
Next steps
Next, we need to check the robot for sizing and mount the last stage and gripper to the arm. The gripper mounting system needs to be decided, because wire won't hold up this weekend.