Robot in 2 Days - But in CAD
Tags: designPersonhours: 16
Task: CAD a robot for the Ultimate Goal Challenge quickly in order to get ideas for a final robot design and prototypes
A new season, a new design challenge, and more opportunities to compete. Last season we participated in the Robot in 3 Days Challenge where teams race to build a robot for the new season as quickly as possible in order to accelerate the brainstorming and prototyping phase of the season. Due to certain circumstances this couldn't happen this season but overcoming the situation the idea of transferring the challenge to CAD arose.
Day 1
The first step of course is to come up with a design for this robot. Many ideas came and went, many ideas were inspired by previous seasons' robots, but ultimately the main design was decided over a few hours and a basic CAD model was made. A time lapse of this can be seen here:
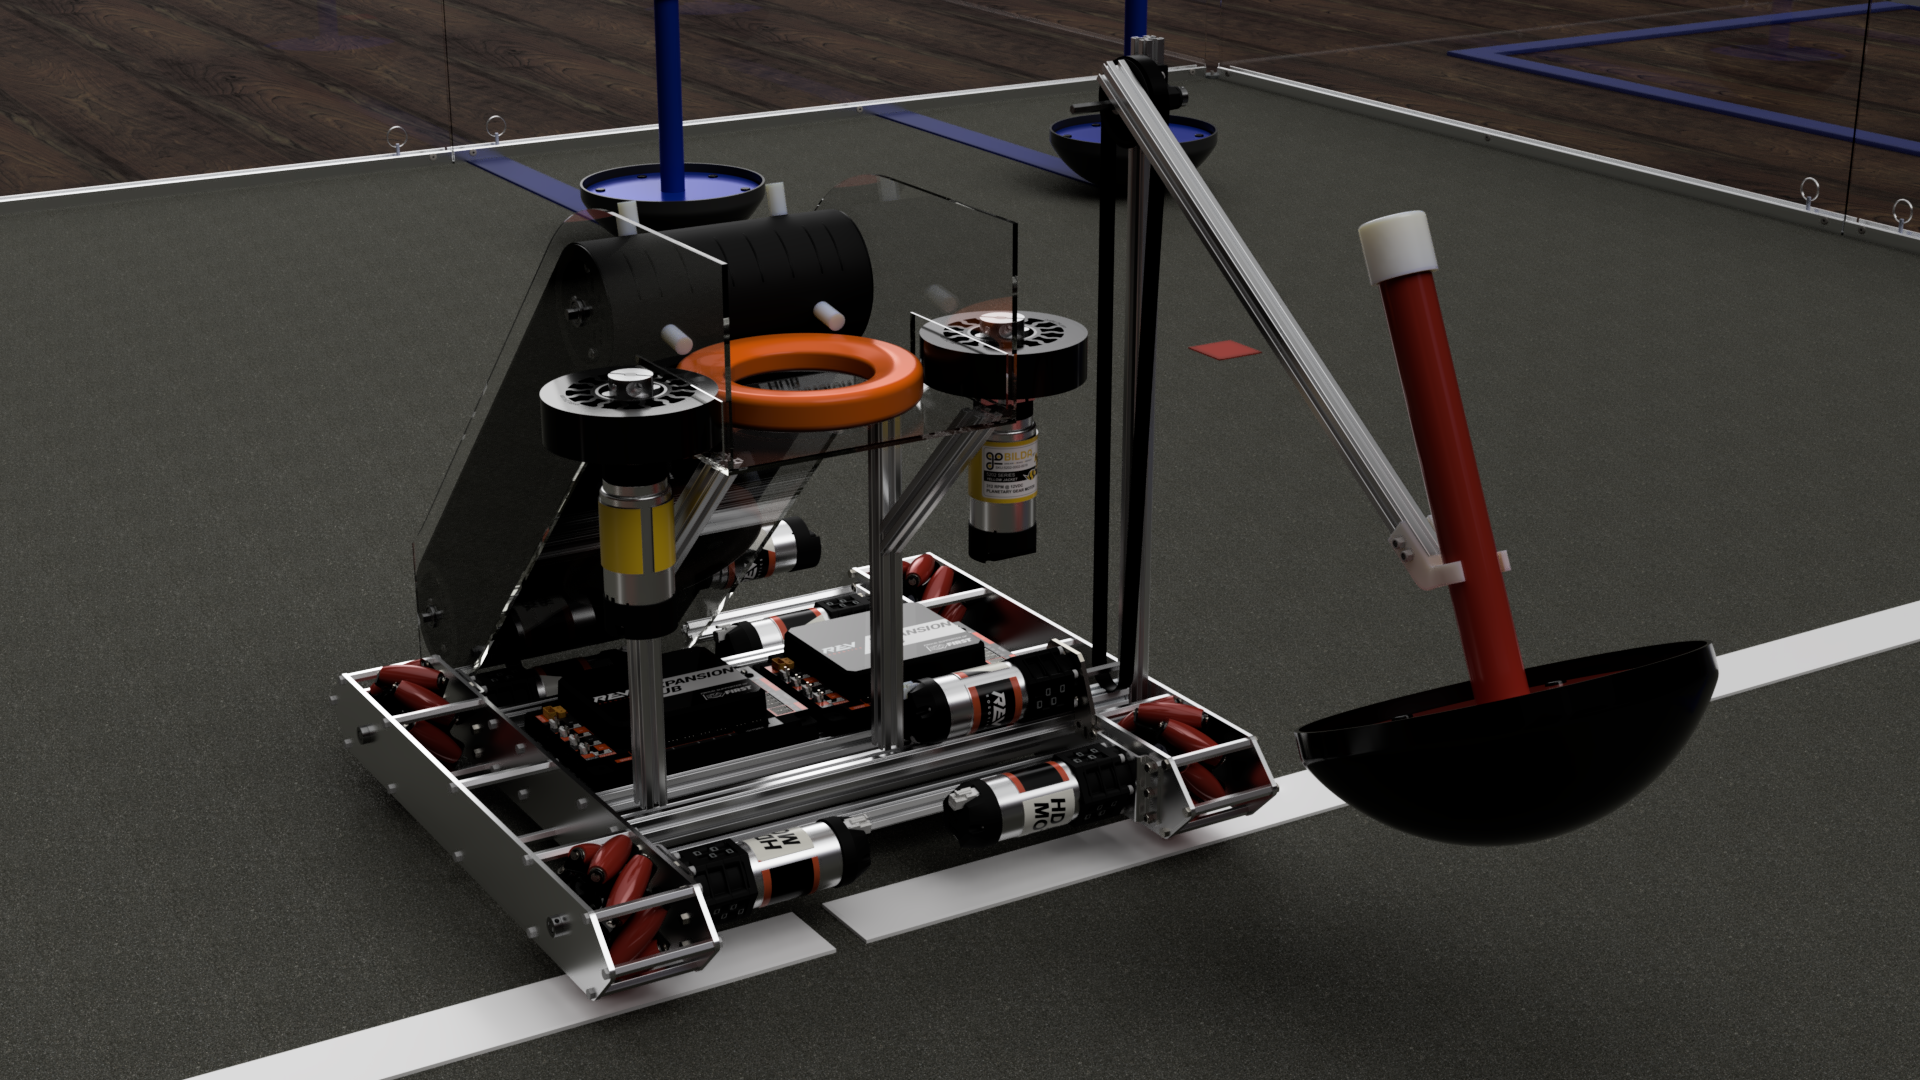
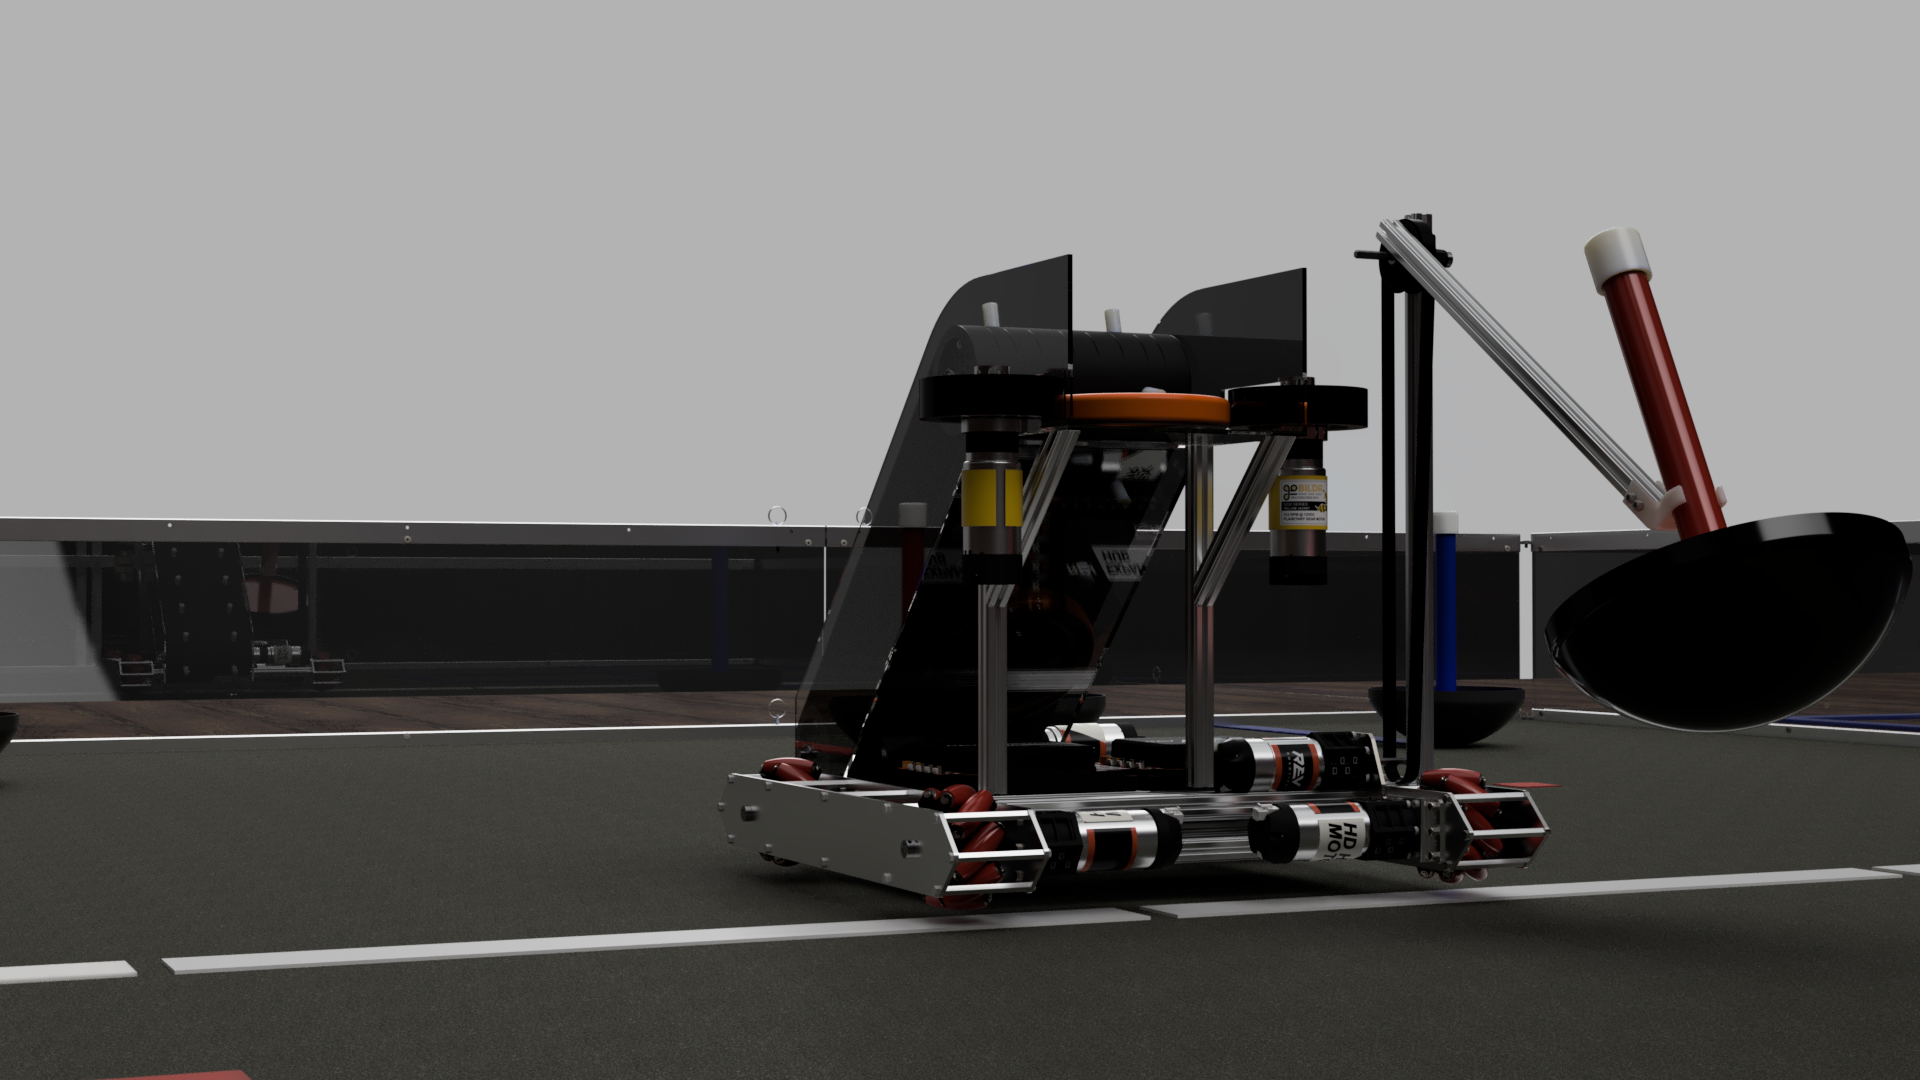
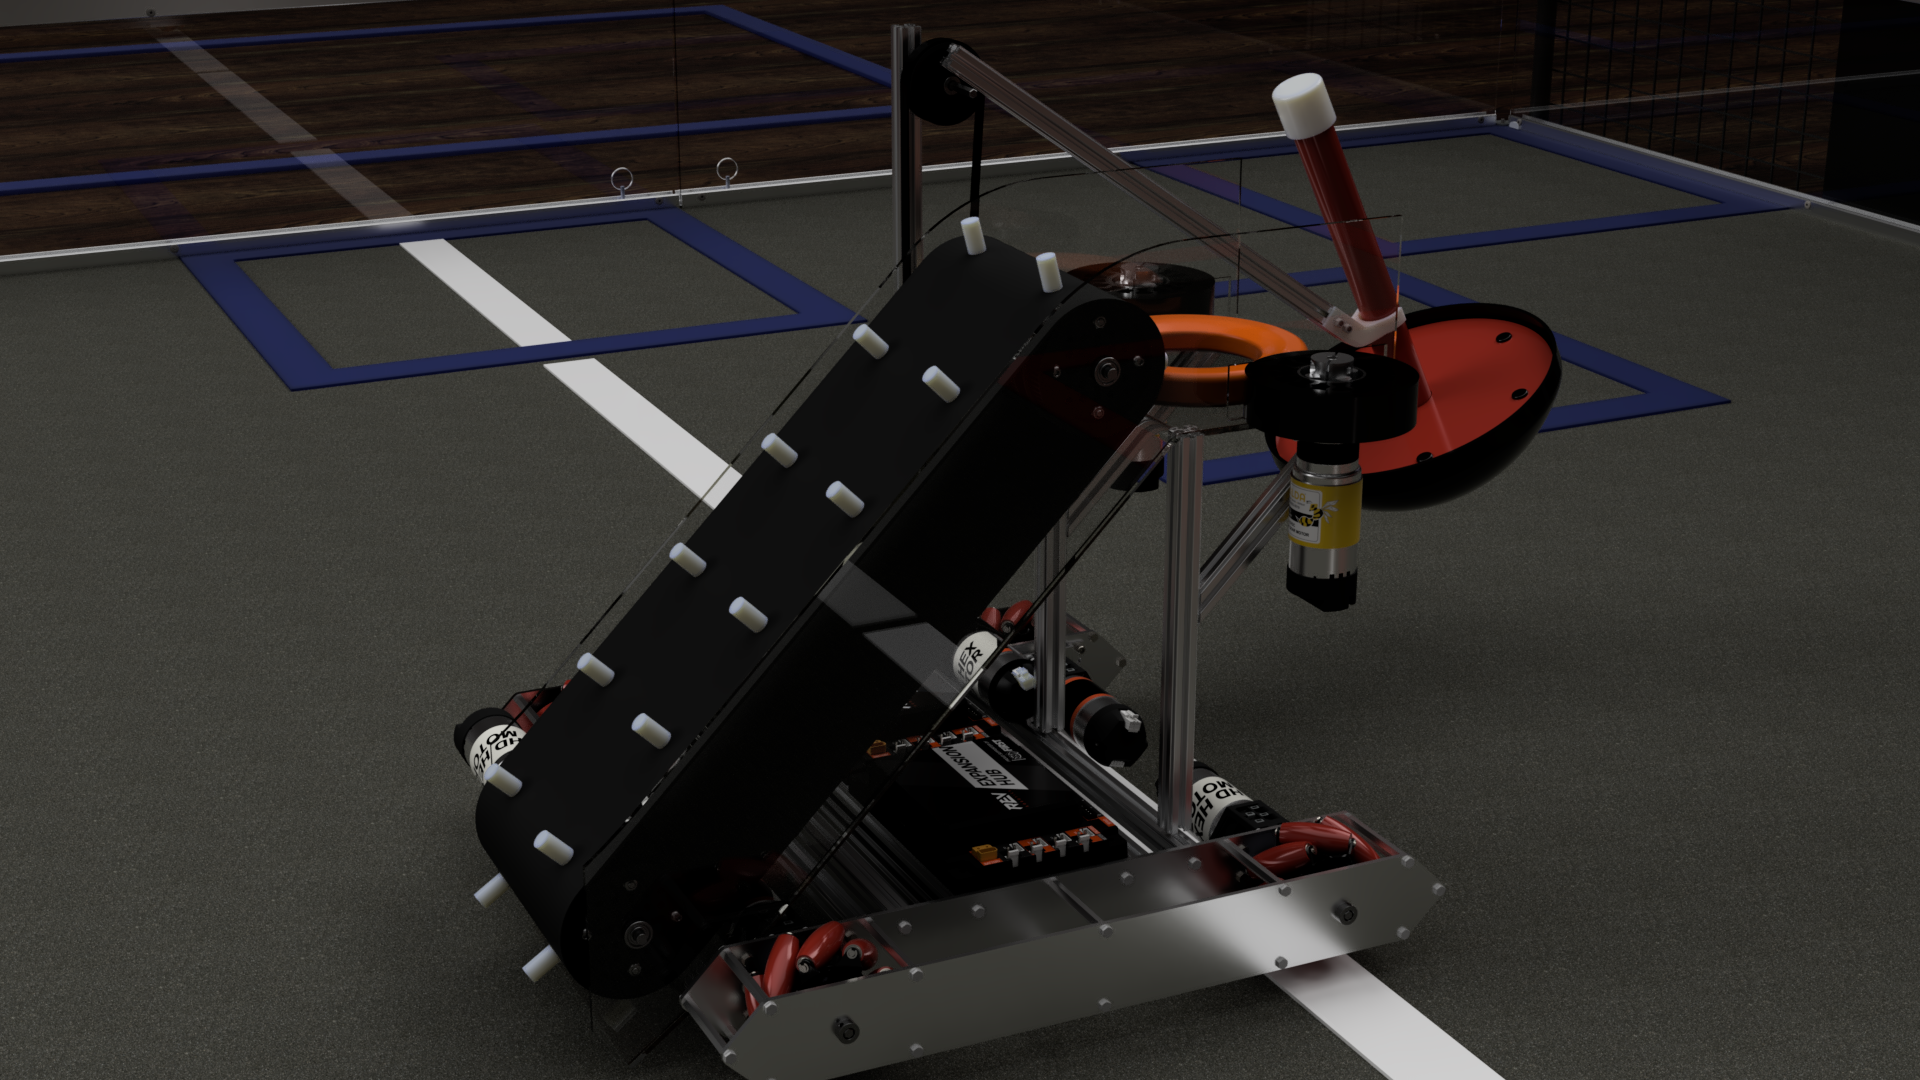
Since I was really lazy today, I mean since coming up with the design of the robot took a while and I was very busy today not much could be done in the first day. I began working on the claw to grab the wobble goal and taking inspiration from the one used in the xRC Sim version of the game(the sim can be found here: https://xrcsimulator.org/downloads/) I decided on a simple arm mechanism with a hook. The hook is designed to be passive, it's wide enough to go around the pvc pipe of the wobble goal, but small enough such that the top of the wobble goal can't escape as easily. Since the wobble goal isn't as heavy the arm doesn't need such a high gear ratio, so I went for a 30:1 final gear ratio.

Day 2
Day 2! Time to do everything I was too lazy to do yesterday, I mean too busy to finish. The first step today was to check how much length I had left over for the ring intake, this turned out to be a little over an inch, not much, but enough. Since I am going for a conveyor design for this robot a base is needed below it to not only support the conveyor, but to also make sure the rings don't fall since they will be travelling below the conveyor in order to feed into the shooter. Some supports were added with REV extrusions, which made things start to come together.
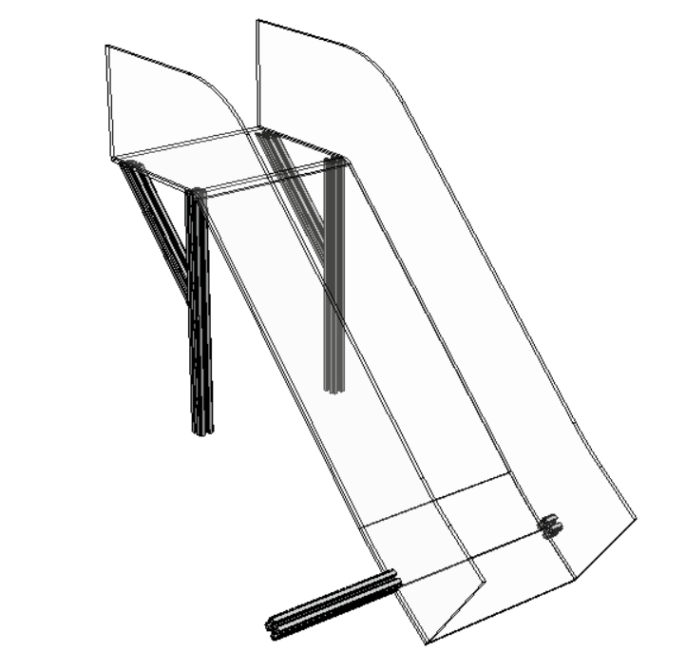
Up next was to actually have a way to power the wobble goal grabber. However, this was really simple as I just needed to add an ultraplanetary motor and a belt.
Next on the list for today was to actually make the conveyor belt, this will have "spikes" in order to grab the rings. The conveyor is about 6 inches long to allow for some extra room when intaking. Spikes are in pairs and spaced about 3 inches apart. This was a simple assembly and I was able to move on to adding the pulleys and bearing shortly after. As far as a gear ratio goes, a direct drive 19.2:1 should do.
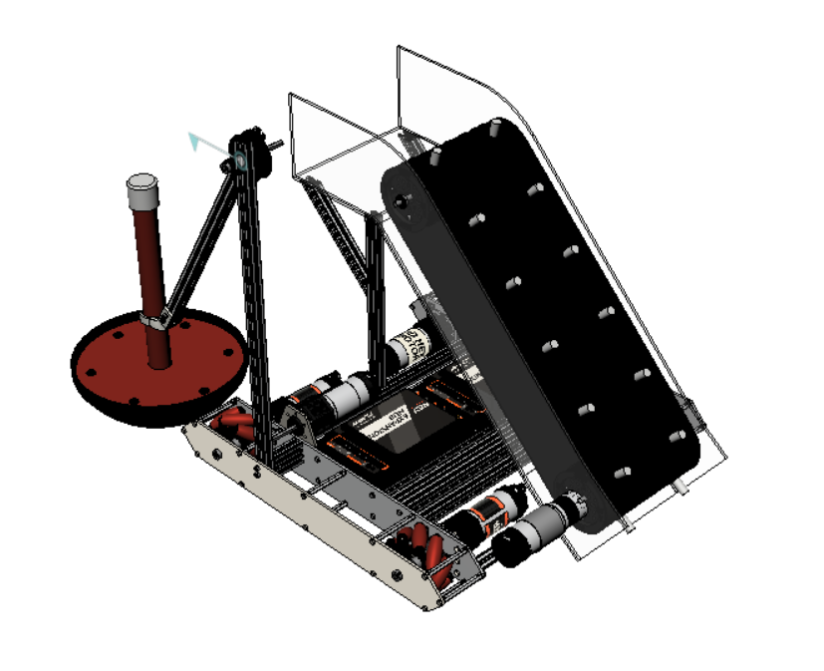
It's the final countdown..[plays the final countdown music], time for the final sub-assembly, the shooter. This was very simple to make. Holes in the polycarbonate base were made to allow for the shooter wheels(I used the new goBilda Gecko Wheel) and these were also direct driven with a 5.2:1 goBilda motor. This may be too slow but since this is CAD, it isn't very easy to test this. The process of getting renders of this robot proved to be resource demanding but it got done and here is the final product: