
Ring Launcher 9000 On-Bot Testing
Tags: control and connectPersonhours: 8
Task: Test the intake now that it is on the robot
Today we performed proper field testing of the Launcher subsystem. While we have done many tests in the past with it, this was the first time we ran arrays of consecutive shooting with the launcher on the robot. Doing this meant some small modifications that led to an evolution of the “trigger” of the subsystem. Performing the tests was one of my friends, who we let drive the robot to gauge interest in being in the robotics program, and his ability driving.
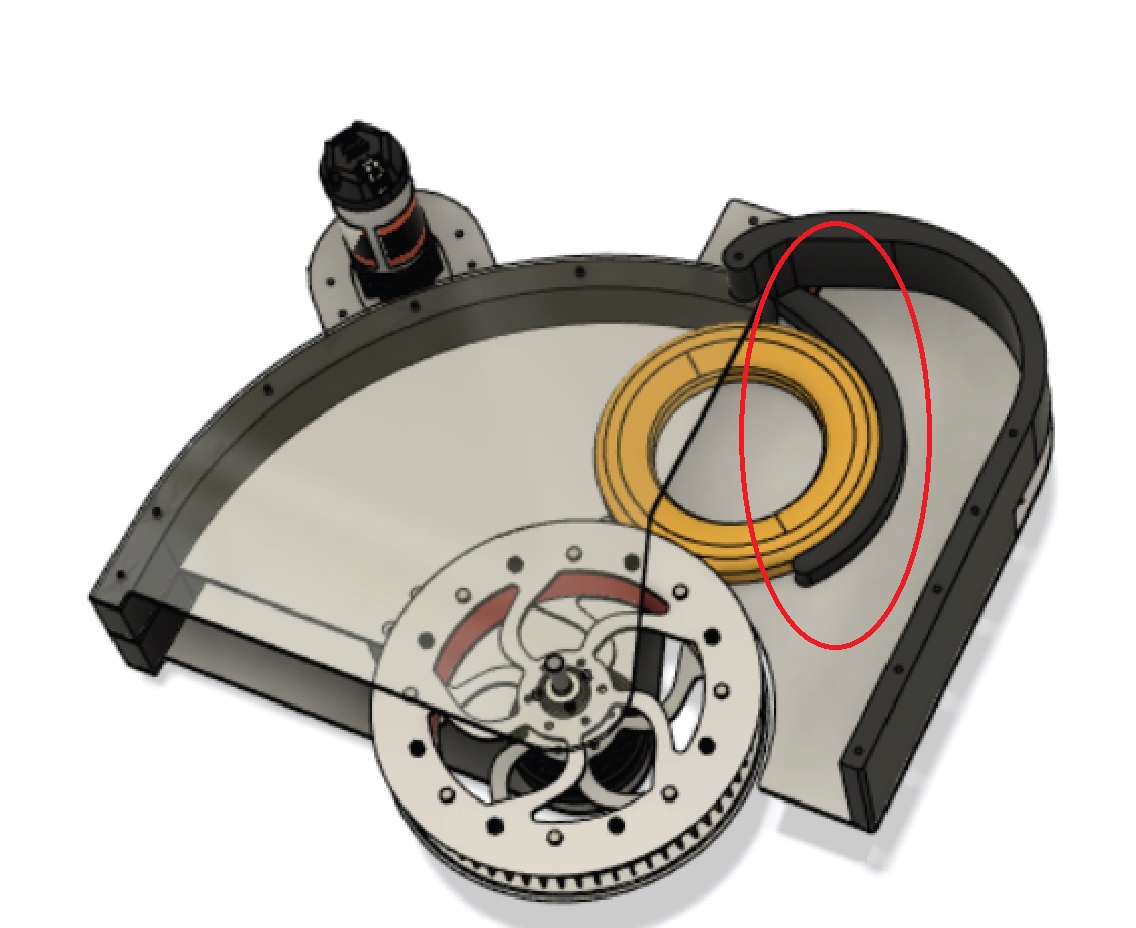
First, lets cover the trigger evolution, which is what lets us more smoothly conduct the tests. As it stood, and as pictured above, the trigger was a single spike-like piece of 3-d printed nylon attached to a servo. Wherein it pushes rings into the flywheel to shoot them. It’s main body follows the contour of the shooter’s body that is directly above and below it, as to conserve space. We initially thought that this would be feasible to keep so small, however, we noticed in previous testing that the rings did not chamber correctly when fed by the in-built gravity-fed magazine. The ring would fall onto the trigger, and tilt backwards, leading to the ring getting jammed behind the trigger when it tried to return to its original position. That effectively meant that we could only shoot one ring before we would have to physically reload. To combat this, it was devised that a small plate would have to be added to the top of the trigger, protruding at the back top of the trigger. Since it was just me and the driver there that day, I fashioned a mock-up out of cardboard and painters tape, as seen in the video below. You might also notice a cardboard piece in front of the rings in the magazine, and this was another impromp-to thing, which addressed the unforeseen movement of the rings in the magazine during on-bot use. This ended up, later that night, for the resident CAD/CAM expert, Jose, to make adjustments to the model. The following day, a version of the trigger was printed that had the plate, and was tested/proofed to see that it worked as expected.
Moving on, let's talk performance. The shooter, after replacing the motor gears and removing an elastic band from the arm, did wonderfully. When firing consecutively in the same position, the effective spread of the shots was tight enough to actually hit whichever goal was being aimed for. The driver also came up with a test, where he would shoot a goal, move, and then return to the same position, to see if the turret auto-turn was fine enough. Turns out, having a different subsystem with different weight distributions means that the PID coefficients aren’t properly tuned. Of course this was to be expected, but it wasn’t too off, suggesting that all that needs to be done is to adjust ki and kd.
Next Steps:
Tune said coefficients, make a final version of the magazine retainer, and further test the driver.