
Ringevator Overview
Tags: design, innovate, think, and mechanicalPersonhours: 2
Task: Describe the construction and development of the Ringevator intake
This year we have done a lot of work on intakes and launchers. The purpose of this post is to go over the function and overall design and build of the Ringevator intake. It doesn’t go too far in-depth so if you are looking for something more specific I would recommend that you look at specific posts discussing different parts of our design but if not you are in the right place.
Build Breakdown:
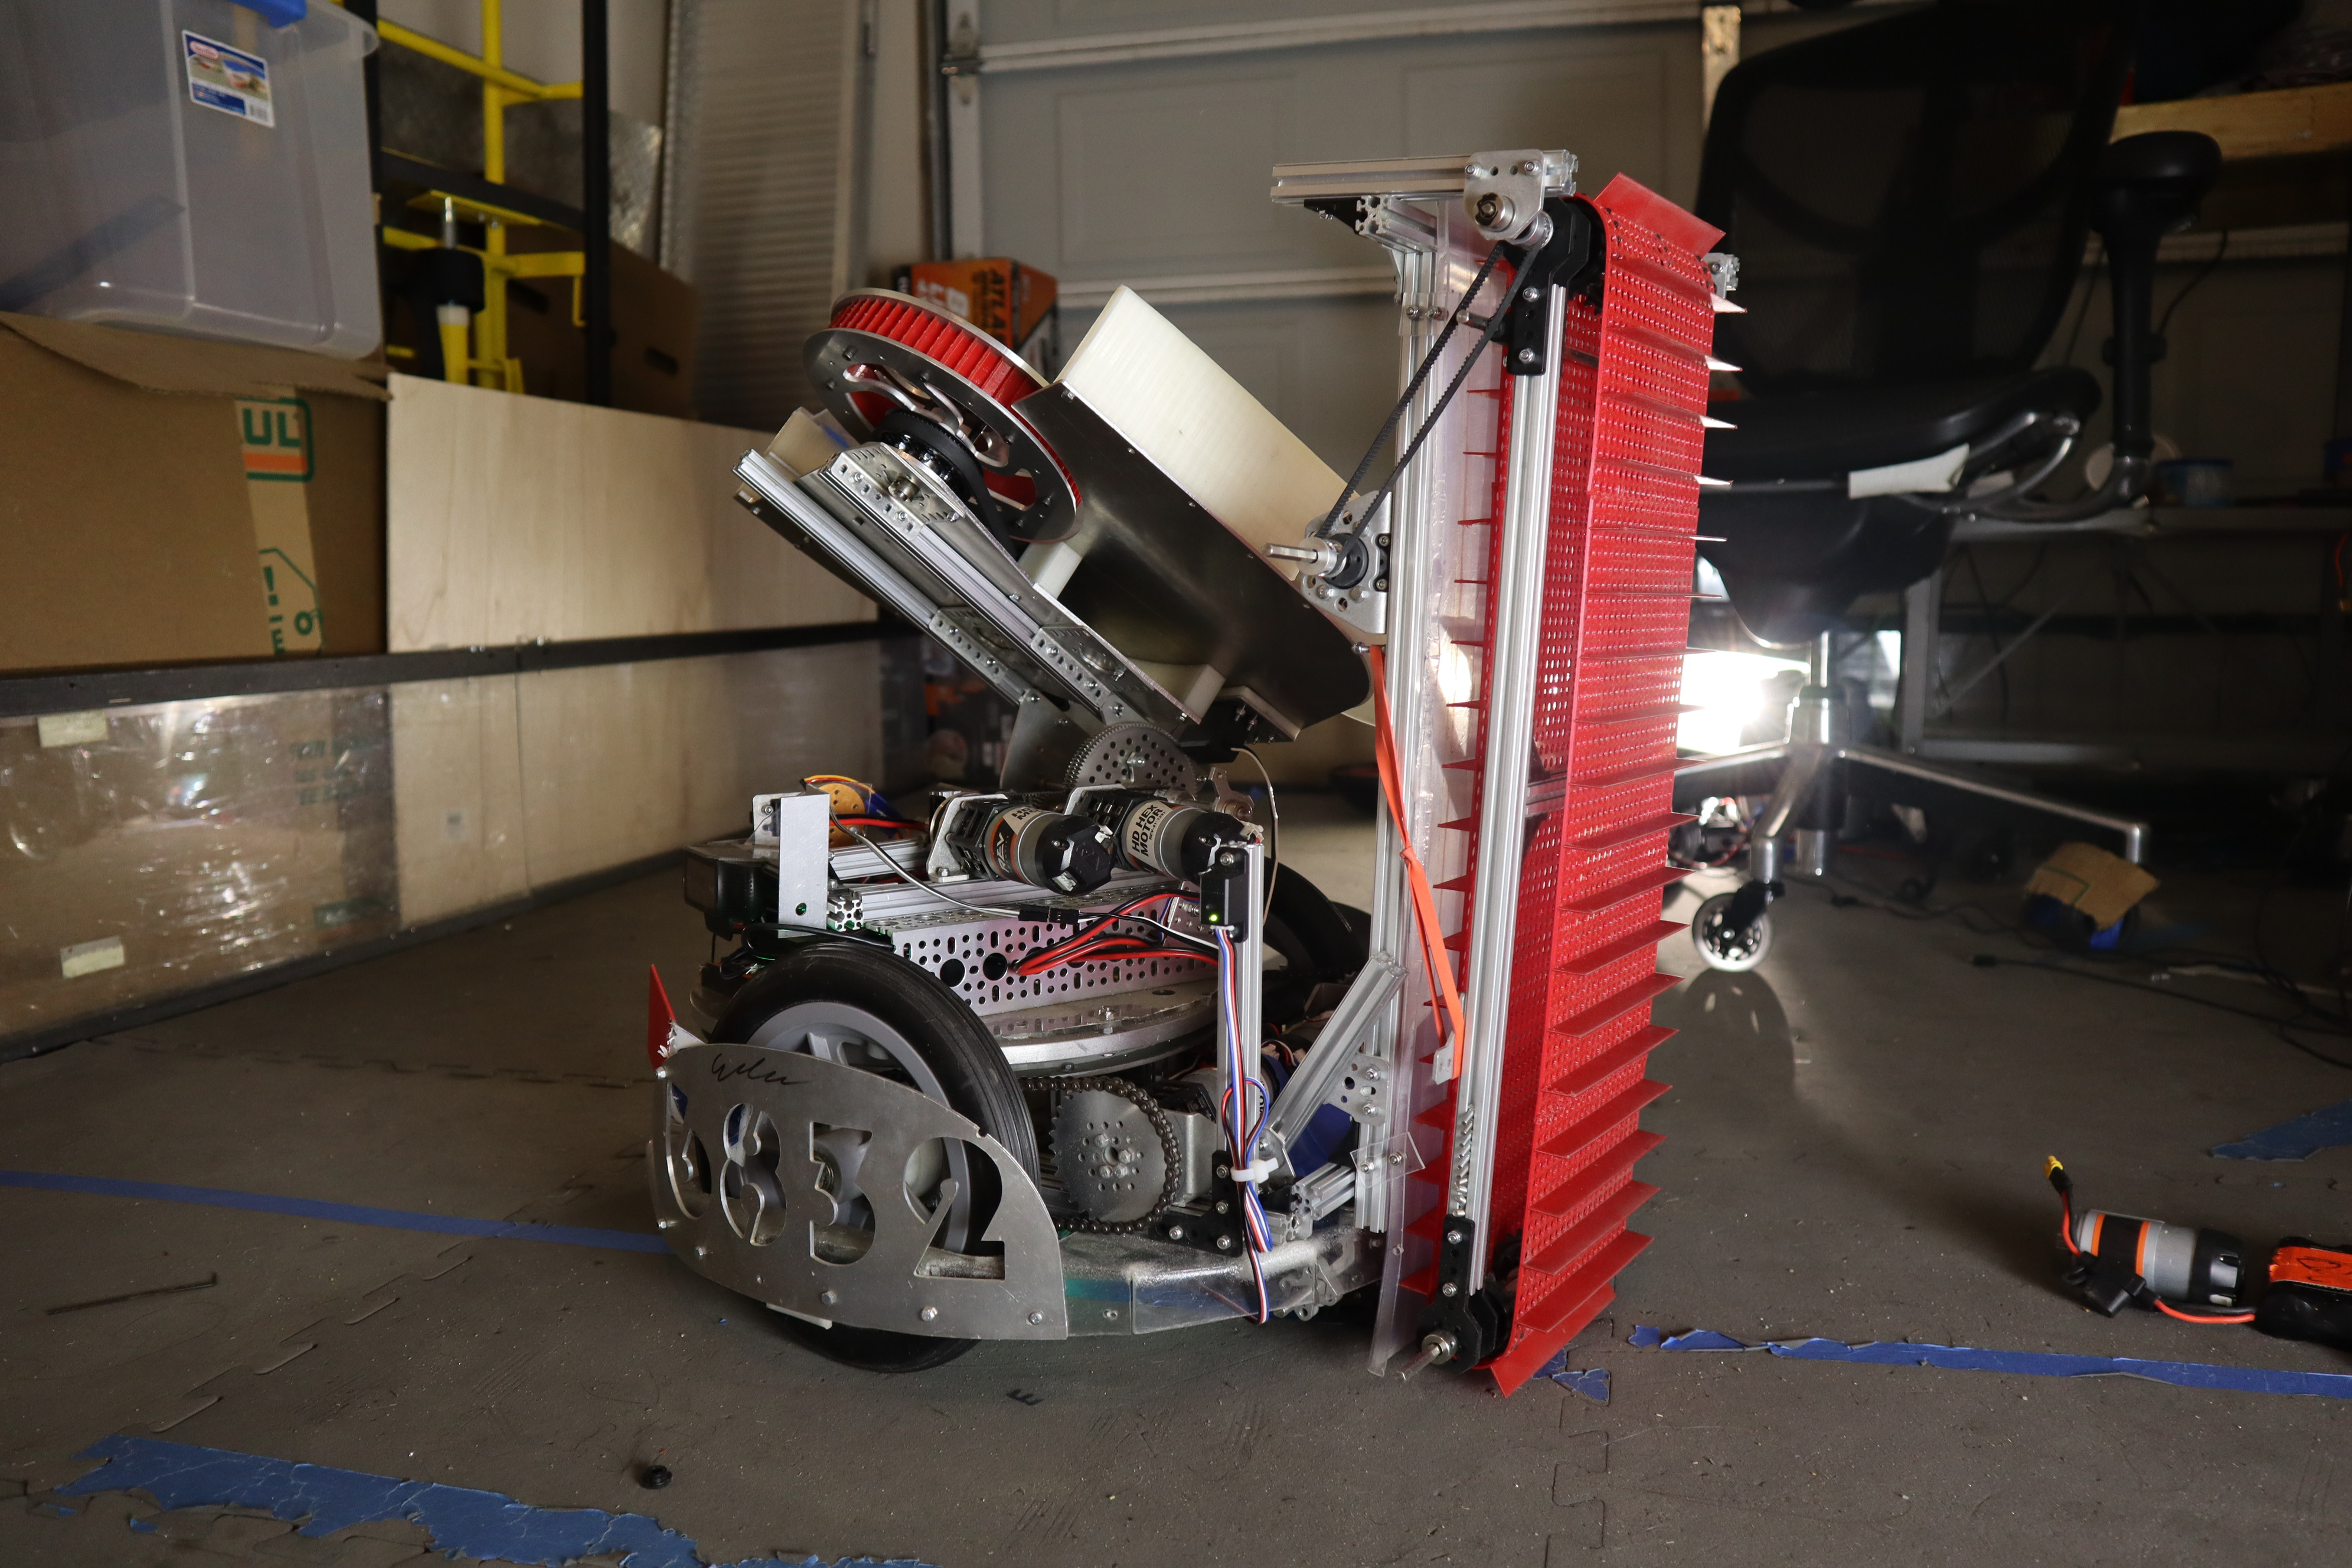
The construction of the Ringevator is moderately complex. It consists of a custom belt, two axels, a motor, a pivot, a base, and some elastics. The belt is custom modeled and printed in NinjaFlex. The design is based on the belt seen in one of our previous robots, Kraken, which competed in 2018. It has flaps that do the work of pulling in the rings and holes that are used by sprockets to drive the belt. The holes are the exact size and space apart to be fitted onto the sprockets on the drive axels which are attached to the base. The base is a simple H design that used to be in between the sprockets but now sits so that the sprockets are inside to make mounting easy. The axels are driven by one motor attached by a belt on the base of the robot.
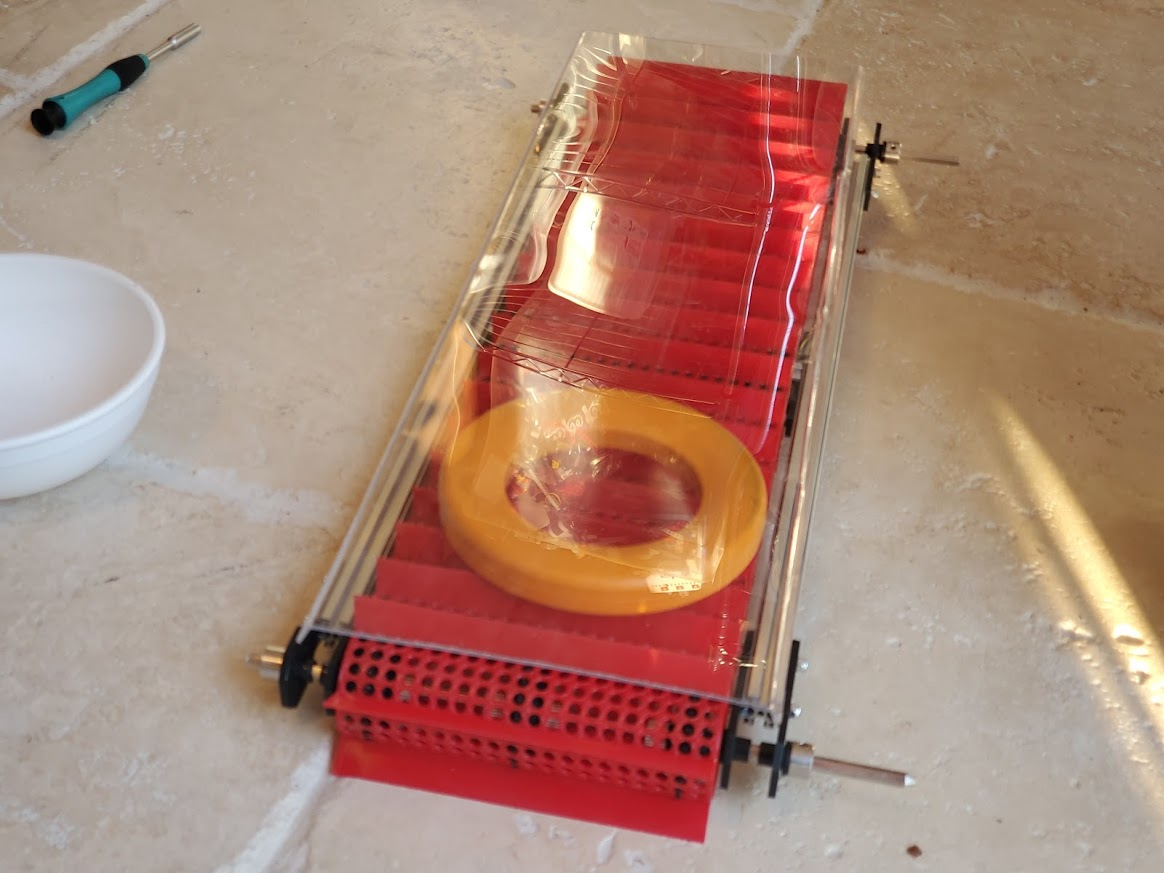
As you can see in the photo above, the belt assembly base and the robot base have a pivot between them. The purpose of this pivot is to make picking the rings much easier. Normally you would have to pick a ring up horizontally and then turn it to a vertical orientation which is what we need but instead, the pivot allows for the belt assembly to walk over rings. This means that when the intake reaches a ring, the movement of the belt causes the mechanism to open and consume the whole ring. Since only one side of the ring is being pulled up by the belt, it is flipped vertically and travels up the rest of the mechanism and out the top. The elastics make sure that the belt keeps in contact with the ring at all times. The only other thing that is apart of the design is a guide ramp on the inside made of heat-bended polycarbonate. You can see a photo of this ramp below along with the intake before it was attached to the robot on a pivot.
Testing:
We tested the Ringevator multiple times throughout its life to make sure that it will work. It gets a good grip on the rings and is able to pull them up most of the time. We still need to iron out a few tensioning issues with the elastics to make it more consistent but other than that it works well based on our tests so far which are few and far between. More testing will come.
Improvements:
The design didn’t start out this well though, we made several improvements since the start. For starters, the whole pivot idea was a mistake, to begin with; however, we discovered while doing preliminary tests that the belt walking over rings was a feature, not a defect. We realized that picking up rings without the pivot would be far more difficult and that was the spark for the design we have now. We also suffered some grip issues with the polycarbonate ramp which wanted to grip the rings too much and hindered the ability of the intake. We fixed this with some friction-reduced tape and now it works well. The design is still in its baby stages so we haven’t found a lot of problems but we will eventually and we are excited to address them.
Next Steps:
We are working right now on dialing in the shooter to make it more consistent and also testing a 1:1 motor to see how it compares to the 1:3 motor in terms of accuracy. We are also being posed with a challenge unlike any other challenge we have faced this season which is taking what we made when we were developing intakes and making a system that can feed into the shooter. This is going to prove a challenge because of the size of the shooter and the fact that it can be rotated or tilted to any angle. The challenge may be large but we are a worthy opponent.