October 29th Screamage Overview
Tags: think, mechanical, and designPersonhours: 54
Screamage at Marcus High School Overview

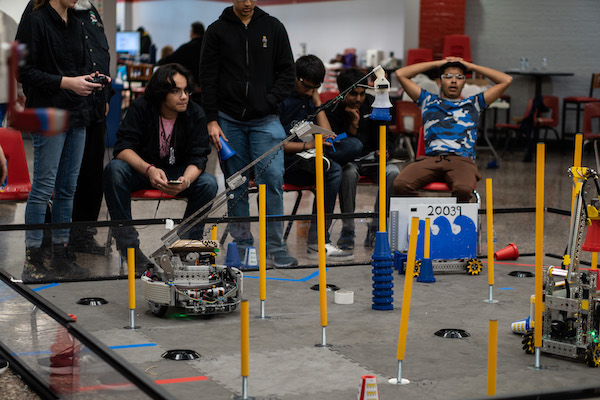
Today, Iron Reign attended the Screamage at Marcus High School to play a couple of practice matches. This event allowed us the opportunity to better understand the game flow and further develop a strategy, finally get some drive practice, and point out any flaws in the robot and its design to help improve the next iteration of TauBot.
Initially, we were faced with a lot of structural issues regarding the build of the robot. The wire connection on the arm had to be properly secured to ensure that cables did not get tangled or caught whenever the crane extended, and minor modifications to the chassis were required to properly secure the LED Panels to the robot.
Then came the software troubleshooting. The robot struggled to properly drive without drifting and our drivers needed minor modifications to the mapping of the buttons to streamline gameplay. However, we were able to get tons of solid drive practice at the practice field and were able to consistently score multiple cones on all 3 levels of the poles by the end of the scrimmage. We also utilized our memory functions to help automate the pickup and drop-off process and taught our drivers how to best use those capabilities.
Then came the actual practice matches, and let's just say, they did not proceed as smoothly as expected. Our lack of drive practice was evident, as we often dropped cones short of the poles and were barely able to score successfully. At one point, we managed to pick up around 6-7 cones, but only succeeded in scoring 1-2 cones onto the actual pole. Evidently, this is something that will need to be addressed before the first league meet.
Robot reliability also proved to be a major concern and created a lot of issues during gameplay as our robot would often break down during the game, rendering it useless and incapable of doing anything. After ramming our robot into a junction during gameplay, part of the polycarb chassis cracked where the screws were attached to the Rev Rails, which also locked up our front set of Omni wheels that we used for stability. We managed to restore the robot to a usable state, but the cracked polycarbonate will remain until we build the new robot. These issues continued to plague our robot, and during a match, the axle holding up the crane dislodged from the motor mount, which caused the entire crane to shut down mid-match, and led to us replacing the axle and the screws used to secure it.
Next Steps
The first thing we need to do is shave off part of the arm so our robot will fit within the sizing cube. Secondly, we need to redesign the configuration of the LED panel and battery mount, bottom battery wire, and the arm wire holder, so the wires do not hinder the robot's movement and ability to perform. Thirdly, we must find a way to keep the left motor from slipping out of its mount. We also need to adjust the height of the front Omni wheels, using spacers to allow for more movement and prevent them from locking up. Finally, we need to add polycarb plates to the chassis to prevent furthur damage.
