Articles by tag: software

Articles by tag: software

    Position Tracking

    Position Tracking By Abhi

    Task: Design a way to track the robot's location

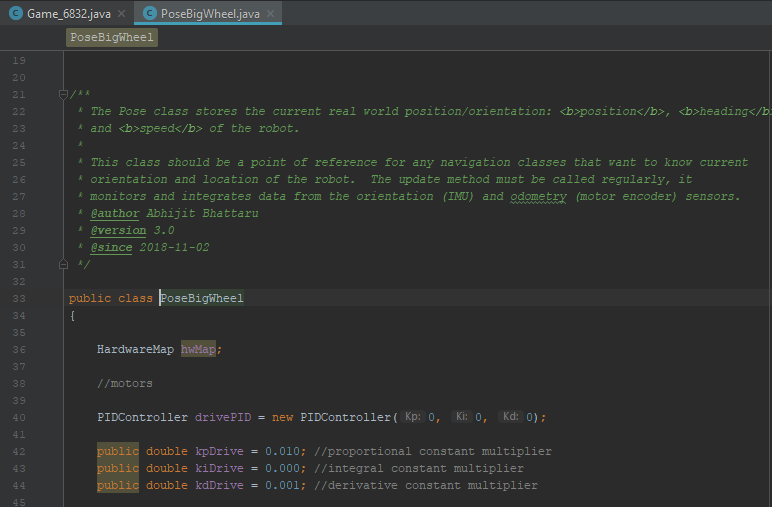
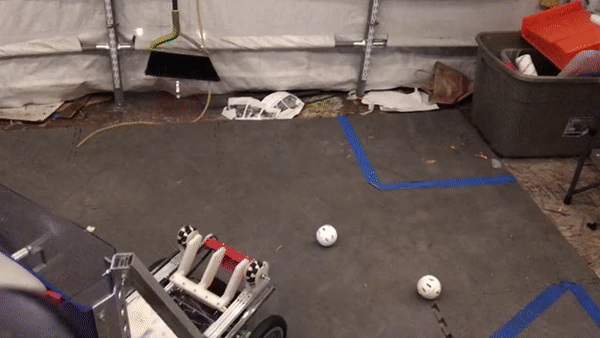
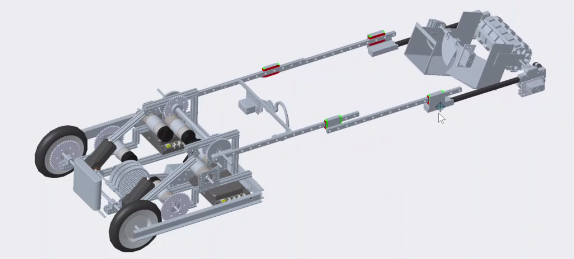
    During Relic Recovery season, we had many problems with our autonomous due to slippage in the mecanum wheels and our need to align to the balancing stone, both of which created high error in our encoder feedback. To address this recurring issue, we searched for an alternative way to identify our position on the field. Upon researching online and discussing with other teams, we discovered an alternative tracker sensor with unpowered omni wheels. This tracker may be used during Rover Ruckus or beyond depending on what our chassis will be.

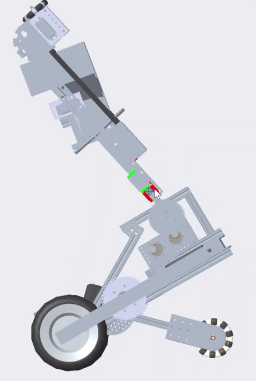
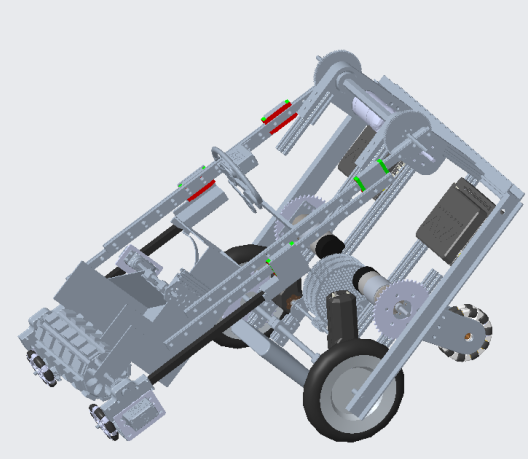
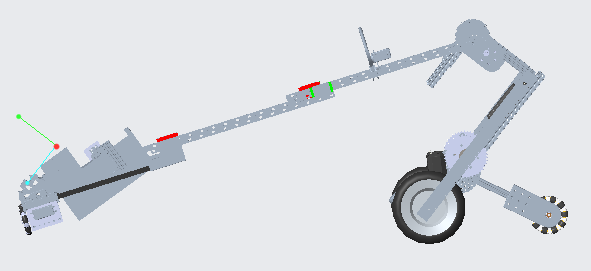
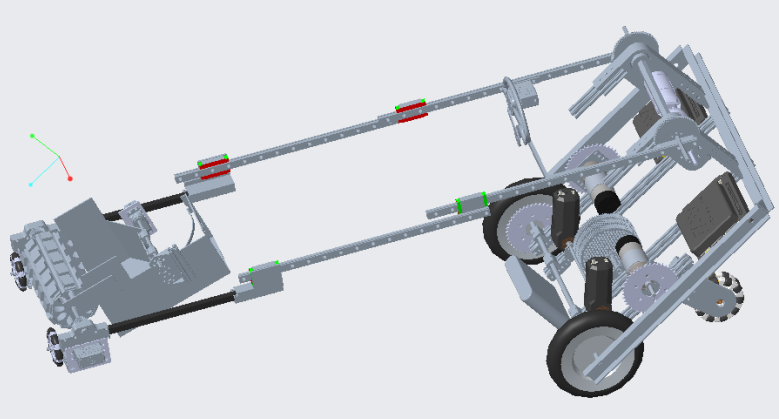
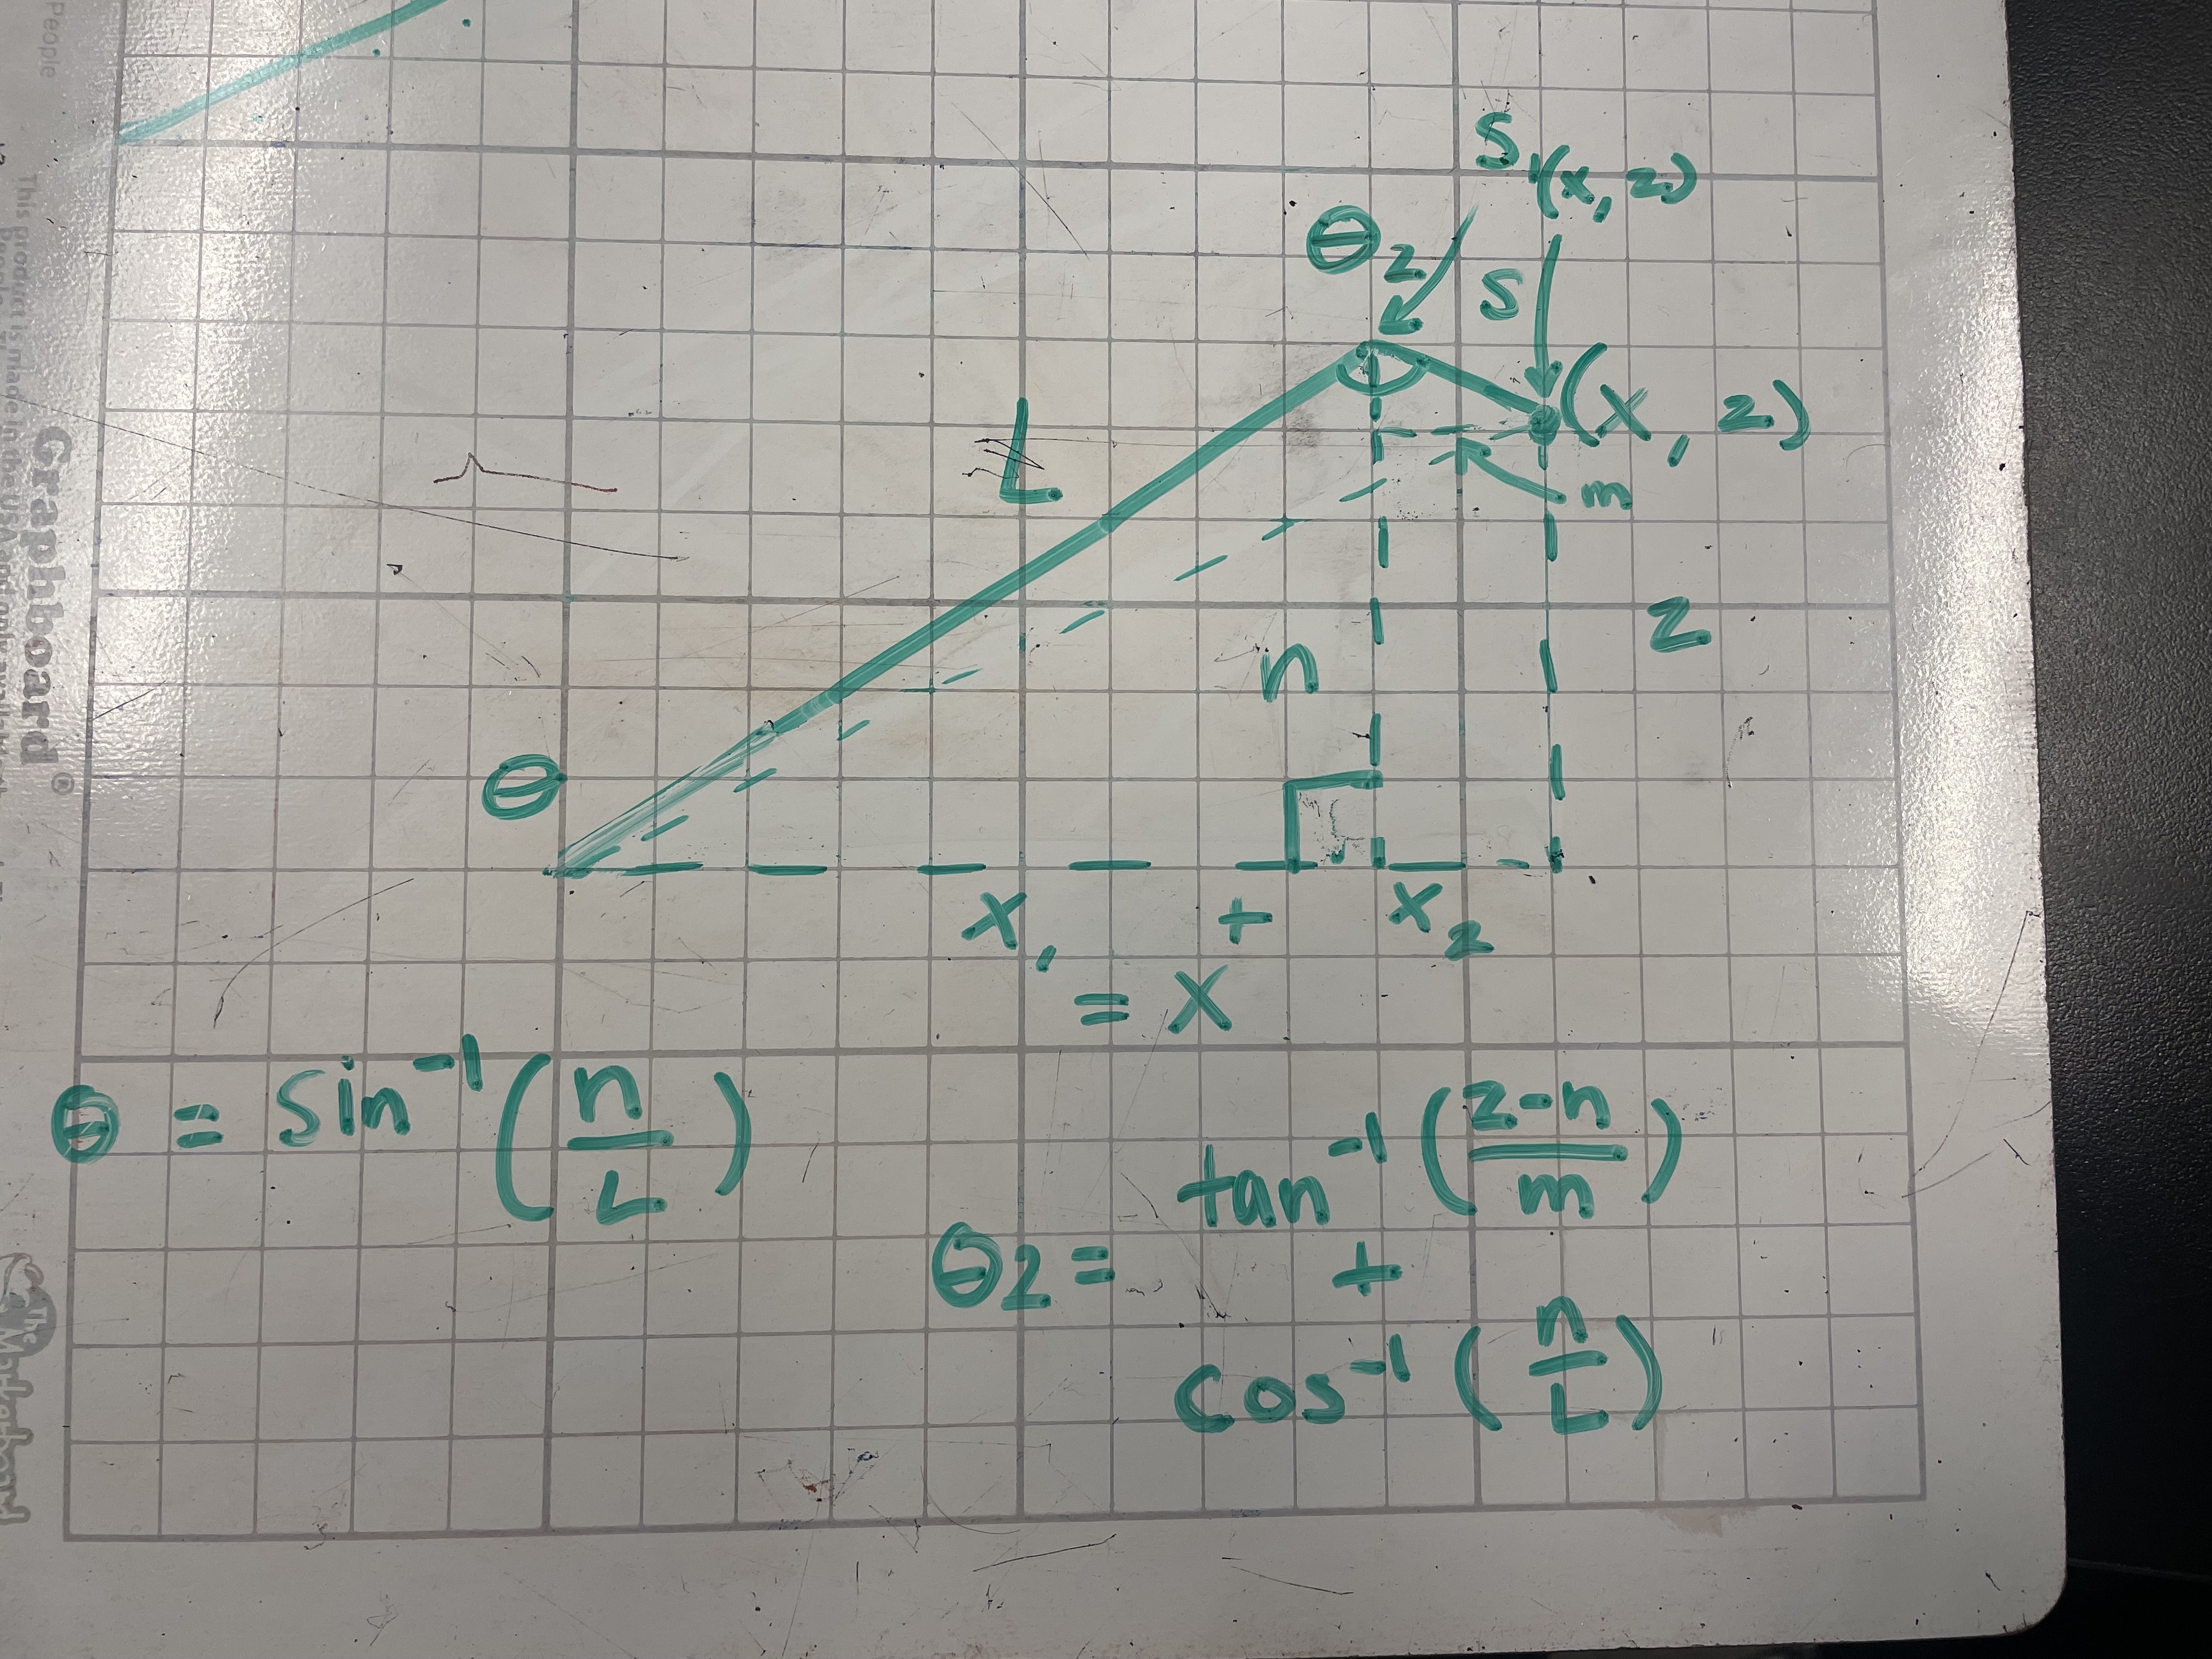
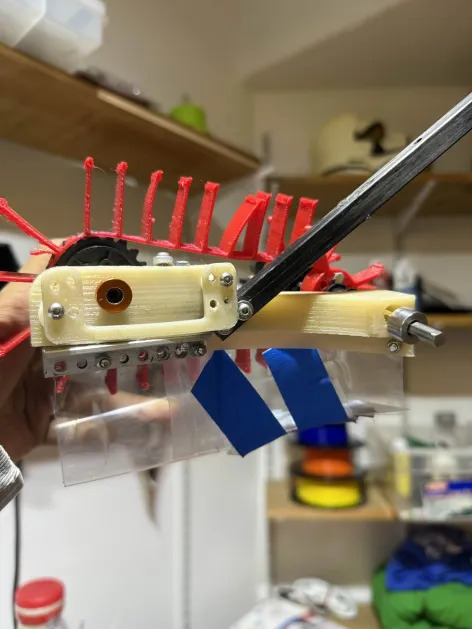
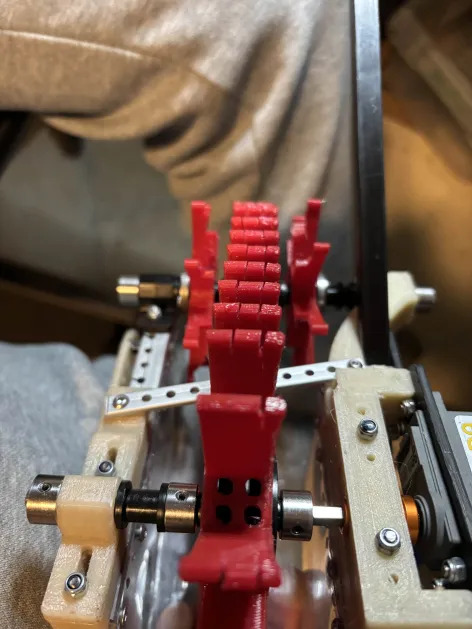
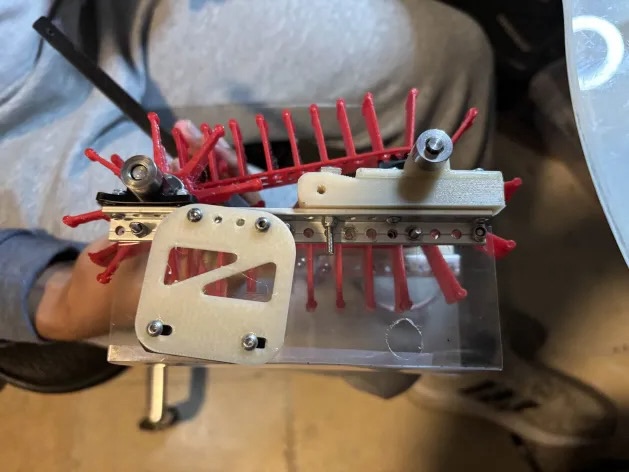
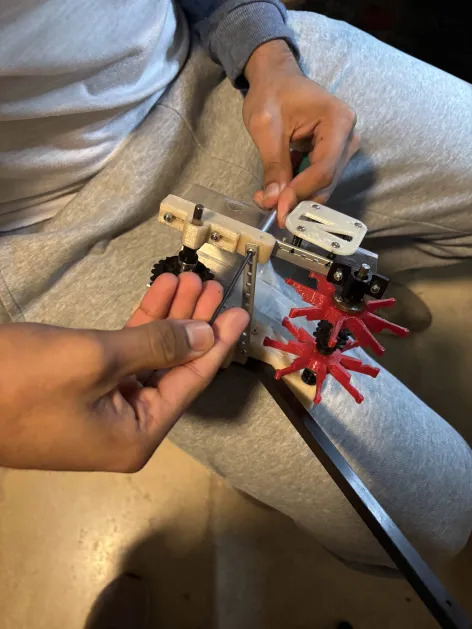
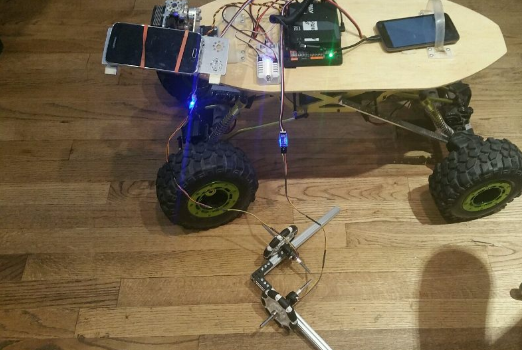
    We designed the tracker by building a small right angular REV rail assembly. On this, we attached 2 omni wheels at 90 degrees to one another and added axle encoders. The omni wheels were not driven because we simply wanted them to glide along the floor and read the encoder values of the movements. This method of tracking is commonly referred to as "dead wheel tracking". Since the omnis will always be touching the ground, any movement will be sensed in them and prevents changes in readings due to defense or drive wheel slippage.

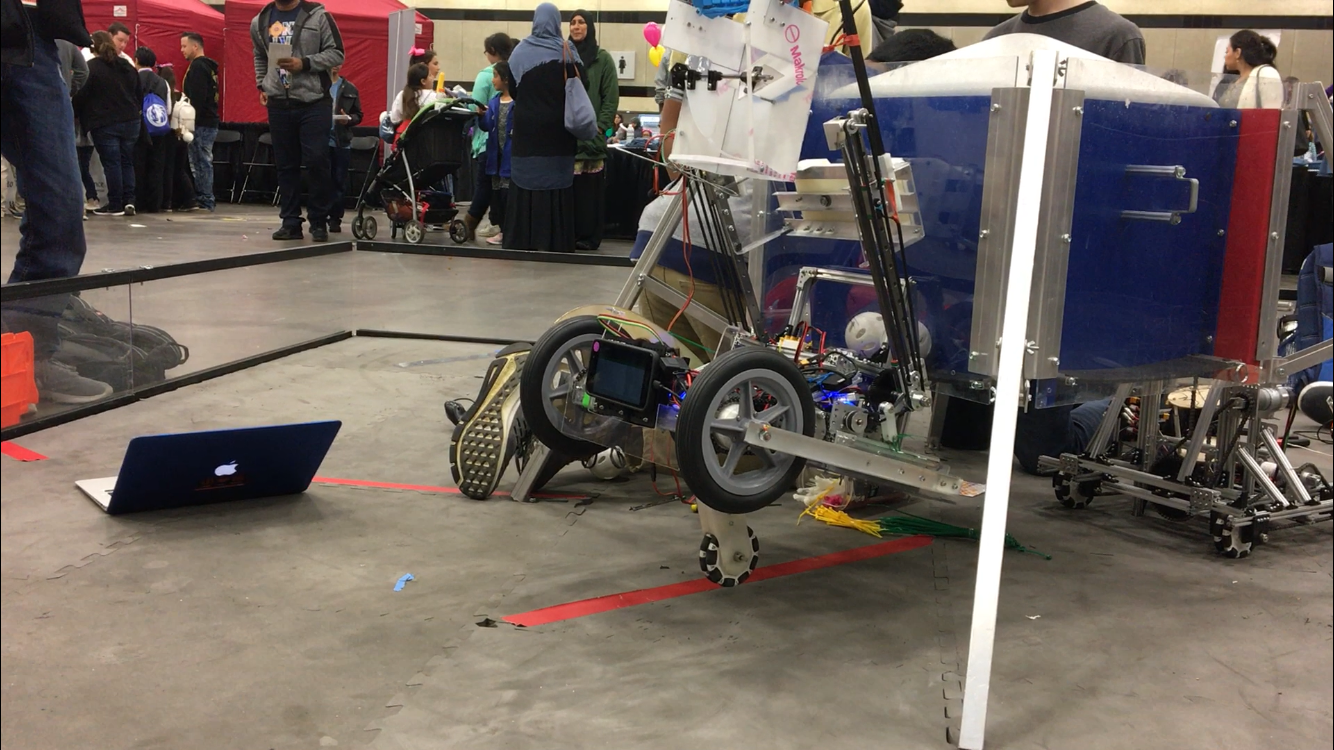
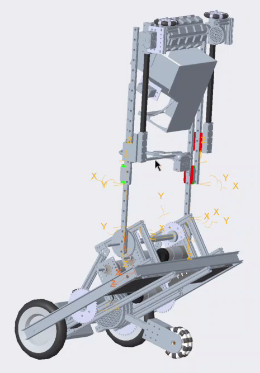
    To test the concept, we attached the apparatus to ARGOS. With some upgrades to the ARGOS code by using the IMU and omni wheels, we added some basic trigonometry to the code to accurately track the position. The omni setup was relatively accurate and may be used for future projects and robots.

    Next Steps

    Now that we have a prototype to track position without using too many resources, we need to test it on an actual FTC chassis. Depending on whether or not there is terrain in Rover Ruckus, the use of this system will change. Until then, we can still experiment with this and develop a useful multipurpose sensor.

    Replay Autonomous

    Replay Autonomous By Arjun

    Task: Design a program to record and replay a driver run

    One of the difficulties in writing an autonomous program is the long development cycle. We have to unplug the robot controller, plug it into a computer, make a few changes to the code, recompile and download the code, and then retest our program. All this must be done over and over again, until the autonomous is perfected. Each autonomous takes ~4 hours to write and tune. Over the entire season, we spend over 40 hours working on autonomous programs.

    One possible solution for this is to record a driver running through the autonomous, and then replay it. I used this solution on my previous robotics team. Since we had no access to a field, we had to write our entire autonomous at a competition. After some brainstorming, we decided to write a program to record our driver as he ran through our autonomous routine and then execute it during a match. It worked very well, and got us a few extra points each match.

    Using this program, writing an autonomous program is reduced to a matter of minutes. We just need to run through our autonomous routine a few times until we're happy with it, and then take the data from the console and paste it into our program. Then we recompile the program and run it.

    There are two parts to our replay program. One part (a Tele-op Opmode) records the driver's motions and outputs it into the Android console. The next part (an Autonomous Opmode) reads in that data, and turns it into a working autonomous program.

    Next Steps

    Our current replay program requires one recompilation. While it is very quick, one possible next step is to save the autonomous data straight into the phone's internal memory, so that we do not have to recompile the program. This could further reduce the time required to create an autonomous.

    One more next step could be a way to easily edit the autonomous. The output data is just a big list of numbers, and it is very difficult to edit it. If we need to tune the autonomous due to wear and tear on the robot, it is difficult to do so without rerecording. If we can figure out a mechanism for editing the generated autonomous, we can further reduce the time we spend creating autonomous programs.

    Upgrading to FTC SDK version 4.0

    Upgrading to FTC SDK version 4.0 By Arjun

    Task: Upgrade our code to the latest version of the FTC SDK

    FTC recently released version 4.0 of their SDK, with initial support for external cameras, better PIDF motor control, improved wireless connectivity, new sensors, and other general improvements. Our code was based on last year's SDK version 3.7, so we needed to merge the new SDK with our repository.

    The merge was slightly difficult, as there were some issues with the Gradle build system. However, after a little fiddling with the configuration, as well as fixing some errors in the internal code we changed, we were able to successfully merge the new SDK.

    After the merge, we tested that our code still worked on Kraken, last year's competition robot. It ran with no problems.

    Pose BigWheel

    Pose BigWheel By Abhi

    Task: New Pose for Big Wheel robot

    Historically, Iron Reign has used a class called "Pose" to control all the hardware mapping of our robot instead of putting it directly into our opmodes. This has created cleaner code and smoother integration with our crazy functions. However, we used the same Pose for the past two years since both had an almost identical drive base. Since there wasn't a viable differential drive Pose in the past, I made a new one using inspiration from the mecanum one. Pose will be used from this point onwards in our code to setup.

    We start with initializing everything including PID constants and all our motors/sensors. I will skip all this for this post since this is repetitive in all team code.

    In the init, I made the hardware mapping for the motors we have on BigWheel right now. Other functions will come in later.

    Here is where a lot of the work happens. This is what allows our robot to move accurately using IMU and encoder values.

    There are a lot of other methods beyond these but there is just a lot of technical math behind them with trigonometry. I won't bore you with the details but our code is open source so you can find the necessary help if you just look at our github!

    RIP CNN

    RIP CNN By Abhi

    Task: Farewell Iron Reign's CNN

    FTC released new code to support Tensorflow and automatically detect minerals with the model they trained. Unfortunately, all of our CNN work was undercut by this update. The silver lining is that we have done enough research into how CNN's work and it will allow us to understand the mind of the FTC app better. In addition, we may retrain this model if we feel it doesn't work well. But now, it is time to bid farewell to our CNN.

    Next Steps

    From this point, we will further analyze the CNN to determine its ability to detect the minerals. At the same time, we will also look into OpenCV detection.

    Code Post-Mortem after Conrad Qualifier

    Code Post-Mortem after Conrad Qualifier By Arjun and Abhi

    Task: Analyze code failure at Conrad Qualifier

    Iron Reign has been working hard on our robot, but despite that, we did not perform well owing to our autonomous performance.

    Our autonomous plan was fairly simple: perform sampling, deploy the team marker, then drive to the crater to park. We planned to use the built-in TensorFlow object detection for our sampling, and thus assumed that our autonomous would be fairly easy.

    On Thursday, I worked on writing a class to help us detect the location of the gold mineral using the built-in TensorFlow object detection. While testing this class, I noticed that it produced an error rather than outputting the location of the gold mineral. This error was not diagnosed until the morning of the competition.

    On Friday, Abhi worked on writing code for the driving part of the autonomous. He wrote three different autonomous routines, one for each position of the gold mineral. His code did not select the routine to use yet, leaving it open for us to connect to the TensorFlow class to determine which position the gold mineral was.

    On Saturday, the morning of the competition, we debugged the TensorFlow class that was written earlier and determined the cause of the error. We had misused the API for the TensorFlow object detection, and after we corrected that, our code didn't spit out an error anymore. Then, we realized that TensorFlow only worked at certain camera positions and angles. We then had to adjust the position of our robot on the field, so that we could.

    Our code failure was mostly due to the fact that we only started working on our autonomous two days before the competition. Next time, we plan to make our autonomous an integral part of our robot, and focus on it much earlier.

    Next Steps:

    We spend more time focusing on code and autonomous, to ensure that we enter our next competition with a fully working autonomous.

    Auto Paths

    Auto Paths By Abhi

    Task: Map and code auto for depot side start

    Today, we implemented our first autonomous path. Since we we still didn't have a complete vision software, we made these manually so we can integrate vision without issues. Here are videos of all of the paths. For the sake of debugging the bot stops after turning towards the crater but in reality it will drive and park in the far crater. These paths will help us score highly during autonomous.

    Center

    Left

    Right

    Next Steps

    We will get vision integrated into the paths.

    Vision Summary

    Vision Summary By Arjun and Abhi

    Task: Reflect on our vision development

    One of our priorities this season was our autonomous, as a perfect autonomous could score us a considerable amount of points. A large portion of these points come from sampling, so that was one of our main focuses within autonomous. Throughout the season, we developed a few different approaches to sampling.

    Early on in the season, we began experimenting with using a Convolutional Neural Network to detect the location of the gold mineral. A Convolutional Neural Network, or CNN, is a machine learning algorithm that uses multiple layers which "vote" on what the output should be based on the output of previous layers. We developed a tool to label training images for use in training a CNN, publicly available at https://github.com/arjvik/MineralLabler. We then began training a CNN with the training data we labeled. However, our CNN was unable to reach a high accuracy level, despite us spending lots of time tuning it. A large part of this came to our lack of training data. We haven't given up on it, though, and we hope to improve this approach in the coming weeks.

    We then turned to other alternatives. At this time, the built-in TensorFlow Object Detection code was released in the FTC SDK. We tried out TensorFlow, but we were unable to use it reliably. Our testing revealed that the detection provided by TensorFlow was not always able to detect the location of the gold mineral. We attempted to modify some of the parameters, however, since only the trained model was provided to us by FIRST, we were unable to increase its accuracy. We are currently looking to see if we can detect the sampling order even if we only detect some of the sampling minerals. We still have code to use TensorFlow on our robot, but it is only one of a few different vision backends available for selection during runtime.

    Another alternative vision framework we tried was OpenCV. OpenCV is a collection of vision processing algorithms which can be combined to form powerful pipelines. OpenCV pipelines perform sequential transformations on their input image, until it ends up in a desired form, such as a set of contours or boundaries of all minerals detected in the image. We developed an OpenCV pipeline to find the center of the gold mineral given an image of the sampling order. To create our pipeline, we used a tool called GRIP, which allows us to visualize and tune our pipeline. However, since we have found that bad lighting conditions greatly influence the quality of detection, we hope to add LED lights to the top of our phone mount so we can get consistent lighting on the field, hopefully further increasing our performance in dark field conditions.

    Since we wanted to be able to switch easily between these vision backends, we decided to write a modular framework which allows us to swap out vision implementations with ease. As such, we are now able to choose which vision backend we would like to use during the match, with just a single button press. Because of this, we can also work in parallel on all of the vision backends.

    Another abstraction we made was the ability to switch between different viewpoints, or cameras. This allows us to decide at runtime which viewpoint we wish to use, either the front/back camera of the phone, or external webcam. Of course, while there is no good reason to change this during competition (hopefully by then the placement of the phone and webcam on the robot will be finalized), it is extremely useful during the development of the robot, because we don't have everything about our robot finalized.

      Summary of what we have done:
    • Designed a convolutional neural network to perform sampling.
    • Tested out the provided TensorFlow model for sampling.
    • Developed an OpenCV pipeline to perform sampling.
    • Created a framework to switch between different Vision Providers at runtime.
    • Created a framework to switch between different camera viewpoints at runtime.

    Next Steps

    We would like to continue improving on and testing our vision software so that we can reliably sample during our autonomous.

    Code Updates

    Code Updates By Abhi and Arjun

    Task: Detail last-minute code changes to autonomous

    It is almost time for competition and with that comes a super duper autonomous. For the past couple of weeks and today, we focused on making our depot side work consistently. Because our robot wasn't fully built, we couldn't do auto-delatching. Today, we integrated our vision pipelines into the auto and tested all the paths with vision. They seemed to work at home base but the field we have isn't built to exact specifications.

    Next Steps

    At Wylie, we will have to tune auto paths to adjust from our field's discrepancies.

    Competition Day Code

    Competition Day Code By Abhi and Arjun

    Task: Update our code

    While at the Wylie quaiifier, we had to make many changes because our robot broke the night before.

    First thing that happened was that the belt code was added. Previously, we had relied on gravity and the polycarb locks we had on the slides but we quickly realized that the slides needed to articulate in order to preserve Superman. As a result, we added the belts into our collector class and used the encoders to power them.

    Next, we added manual overrides for all functions of our robot. Simply due to lack of time, we didn't add any presets and we focused on making the robot functional enough for competition. During competition, Karina was able to latch during endgame with purely the manual overrides.

    Finally, we did auto path tuning. We ended up using an OpenCV pipeline and we were accurately able to detect the gold mineral at all times. However, our practice field wasn't setup to the exact specifications needed so we spent the majority the day at the Wylie practice field tuning depot side auto (by the end of the day it worked almost perfectly every time.

    Next Steps

    We were lucky to have qualified early in the season we could make room for mistakes such as this. However, it will be hard to sustain this, so we must implement build freezes in the future.

    Code Updates

    Code Updates By Abhi

    Task: DISD STEM EXPO

    The picture above is a representation of our work today. After making sure all the manual drive controls were working, Karina found the positions she preferred for intake, deposit, and latch. Taking these encoder values from telemetry, we created new methods for the robot to run to those positions. As a result, the robot was very functional. We could latch onto the lander in 10 seconds (a much faster endgame than we had ever done).

    Next Steps

    The code is still a little messy so we will have to do further testing before any competition.

    Autonomous Non-Blocking State Machines

    Autonomous Non-Blocking State Machines By Arjun

    Task: Design a state machine class to make autonomous easier

    In the past our autonomous routines were tedious and difficult to change. Adding one step to the beginning of an autonomous would require changing the indexes of every single step afterwards, which could take a long time depending on the size of the routine. In addition, simple typos could go undetected, and cause lots of problems. Finally, there was so much repetitive code, making our routines over 400 lines long.

    In order to remedy this, we decided to create a state machine class that takes care of the repetitive parts of our autonomous code. We created a StateMachine class, which allows us to build autonomous routines as sequences of "states", or individual steps. This new state machine system makes autonomous routines much easier to code and tune, as well as removing the possibility for small bugs. We also were able to shorten our code by converting it to the new system, reducing each routine from over 400 lines to approximately 30 lines.

    Internally, StateMachine uses instances of the functional interface State (or some of its subclasses, SingleState for states that only need to be run once, TimedState, for states that are run on a timer, or MineralState, for states that do different things depending on the sampling order). Using a functional interface lets us use lambdas, which further reduce the length of our code. When it is executed, the state machine takes the current state and runs it. If the state is finished, the current state index (stored in a class called Stage) is incremented, and a state switch action is run, which stops all motors.

    Here is an autonomous routine which has been converted to the new system:

    private StateMachine auto_depotSample = getStateMachine(autoStage)
                .addNestedStateMachine(auto_setup) //common states to all autonomous
                .addMineralState(mineralStateProvider, //turn to mineral, depending on mineral
                        () -> robot.rotateIMU(39, TURN_TIME), //turn left
                        () -> true, //don't turn if mineral is in the middle
                        () -> robot.rotateIMU(321, TURN_TIME)) //turn right
                .addMineralState(mineralStateProvider, //move to mineral
                        () -> robot.driveForward(true, .604, DRIVE_POWER), //move more on the sides
                        () -> robot.driveForward(true, .47, DRIVE_POWER), //move less in the middle
                        () -> robot.driveForward(true, .604, DRIVE_POWER))
                .addMineralState(mineralStateProvider, //turn to depot
                        () -> robot.rotateIMU(345, TURN_TIME),
                        () -> true,
                        () -> robot.rotateIMU(15, TURN_TIME))
                .addMineralState(mineralStateProvider, //move to depot
                        () -> robot.driveForward(true, .880, DRIVE_POWER),
                        () -> robot.driveForward(true, .762, DRIVE_POWER),
                        () -> robot.driveForward(true, .890, DRIVE_POWER))
                .addTimedState(4, //turn on intake for 4 seconds
                        () -> robot.collector.eject(),
                        () -> robot.collector.stopIntake())
                .build();
    

    Big Wheel Articulations

    Big Wheel Articulations By Abhi

    Task: Summary of all Big Wheel movements

    In our motion, our robot shifts multiple major subsystems (the elbow and Superman) that make it difficult to keep the robot from tipping. Therefore, through driver practice, we determined the 5 major deployment modes that would make it easier for the driver to transition from mode to mode. Each articulation is necessary to maintain the robot's center of gravity as its mode of operation shifts.

    The position seen above is called "safe drive". During normal match play, our drivers can go to this position to navigate the field quickly and with the arm out of the way.

    When the driver control period starts, we normally navigate to the crater then enter the intake position shown above. From this position, we can safely pick up minerals from the crater.

    From the intake position, the robot goes to safe drive to fix the weight balance then goes to the deposit position shown above. The arm can still extend upwards above the lander and our automatic sorter can place the minerals appropriately.

    During the end game, we enter a latchable position where our hook can easily slide into the latch. After hooked on, our robot can slightly lift itself off the ground to hook.

    At the beginning of the match, we can completely close the arm and superman to fit in sizing cube and latch on the lander.

    As you can see, there is a lot of articulations that need to work together during the course of the match. By putting this info in a state machine, we can easily toggle between articulations. Refer to our code snippets for more details.

    Next Steps

    At this point, we have 4 cycles in 1 minute 30 seconds. By adding some upgrades to the articulations using our new distance sensors, we hope to speed this up even more.

    Cart Hack

    Cart Hack By Arjun

    Task: Tweaking ftc_app to allow us to drive robots without a Driver Station phone

    As you already know, Iron Reign has a mechanized cart called Cartbot that we bring to competitions. We used the FTC control system to build it, so we could gain experience. However, this has one issue: we can only use one pair of Robot Controller and Driver Station phones at a competition, because of WiFi interference problems.

    To avoid this pitfall, we decided to tweak the ftc_app our team uses to allow us to plug in a controller directly into the Robot Controller. This cuts out the need for a Driver Station phone, which means that we can drive around Cartbot without worrying about breaking any rules.

    Another use for this tweak could be for testing, since with this new system we don't need a Driver Station when we are testing our tele-op.

    As of now this modification lives in a separate branch of our code, since we don't know how it may affect our match code. We hope to merge this later once we confirm it doesn't cause any issues.

    Code Refactor

    Code Refactor By Abhi and Arjun

    Task: Code cleanup and season analysis

    At this point in the season, we have time to clean up our code before development for code. This is important to do now so that the code remains understandable as we make many changes for worlds.

    There aren't any new features that were added during these commits. In total, there were 12 files changed, 149 additions, and 253 deletions.

    Here is a brief graph of our commit history over the past season. As you can see, there was a spike during this code refactor.

    Here is a graph of additions and deletions over the course of the season. There was also another spike during this time as we made changes.

    Next Steps

    Hopefully this cleanup will help us on our journey to worlds.

    Icarus Code Support

    Icarus Code Support By Abhi

    Task: Implement dual robot code

    With the birth of Icarus came a new job for the programmers: supporting both Bigwheel and Icarus. We needed the code to work both ways because new logic could be developed on bigwheel while the builders completed Icarus.

    This was done by simply creating an Enum for the robot type and feeding it into PoseBigWheel initialization. This value was fed into all the subsystems so they could be initialized properly. During init, we could now select the robot type and test with it. The change to the init loop is shown below.

    Next Steps

    After testing, it appears that our logic is functional for now. Coders can now further devlop our base without Icarus.

    Reverse Articulations

    Reverse Articulations By Abhi

    Task: Summary of Icarus Movements

    In post E-116, I showed all the big wheel articulations. As we shifted our robot to Icarus, we decided to change to a new set of articulations as they would work better to maintain the center of gravity of our robot. Once again, we made 5 major deployment modes. Each articulation is necessary to maintain the robot's center of gravity as its mode of operation shifts.

    The position seen above is called "safe drive". During normal match play, our drivers can go to this position to navigate the field quickly and with the arm out of the way. In addition, we use this articulation as we approach the lander to deposit.

    When the driver control period starts, we normally navigate to the crater then enter the intake position shown above. From this position, we can safely pick up minerals from the crater. Note that there are two articulations shown here. These show the intake position both contracted and extended during intake.

    During the end game, we enter a latchable position where our hook can easily slide into the latch. After hooked on, our robot can slightly lift itself off the ground to hook. This is the same articulation as before.

    At the beginning of the match, we can completely close the arm and superman to fit in sizing cube and latch on the lander. This is the same articulation as before.

    These articulations were integrated into our control loop just as before. This allowed smooth integration

    Next Steps

    As the final build of Icarus is completed, we can test these articulations and their implications.

    Code updates at UIL

    Code updates at UIL By Arjun, Abhi, and Ben O

    Task: Update code to get ready for UIL

    It's competition time again, and with that means updating our code. We have made quite a few changes to our robot in the past few weeks, and so we needed to update our code to reflect those changes.

    Unfortunately, because the robot build was completed very late, we did not have much time to code. That meant that we not only needed to stay at the UIL event center until the minute it closed to use their practice field (we were literally the last team in the FTC pits), we also needed to pull a late-nighter and stay up from 11 pm to 4 am coding.

    One of our main priorities was autonomous. We decided early on to focus on our crater-side autonomous, because in our experience, most teams who only had one autonomous chose depot-side because it was easier to code.

    Unfortunately, we were quite wrong about that. We were forced to run our untested depot-side auto multiple times throughout the course of the day, and it caused us many headaches. Because of it, we missampled, got stuck in the crater, and tipped over in some of our matches where we were forced to run depot-side. Towards the end of the competition, we tried to quickly hack together a better depot-side autonomous, but we ran out of time to do so.

    Some of the changes we made to our crater-side auto were:

    • Updating to use our new reverse articulations
    • Moving vision detection during the de-latch sequence
    • Speeding up our autonomous by replacing driving with belt extensions
    • Sampling using the belt extensions instead of driving to prevent accidental missamples
    • Using PID for all turns to improve accuracy

    We also made some enhancements to teleop. We added a system to correct the elbow angle in accordance to the belt extensions so that we don't fall over during intake when drivers adjust the belts. We also performed more tuning to our articulations to make them easier to use.

    Finally, we added support for the LEDs to the code. After attaching the Blinkin LED controller late Friday night, we included LED color changes in the code. We use them to signal to drivers what mode we are in, and to indicate when our robot is ready to go.

    Auto Paths, Updated

    Auto Paths, Updated By Abhi

    Task: Reflect and develop auto paths

    It has been a very long time since we have reconsidered our auto paths. Between my last post and now, we have made numerous changes to both the hardware and the articulations. As a result, we should rethink the paths we used and optimize them for scoring. After testing multiple paths and observing other teams, I identified 3 auto paths we will try to perfect for championships.

    These two paths represent crater side auto. Earlier in the season, I drew one of the paths to do double sampling. However, because of the time necessary for our delatch sequence, I determined we simply don't have the time necessary to double sample. The left path above is a safe auto path that we had tested many times and used at UIL. However, it doesn't allow us to score the sampled mineral into the lander which would give us 5 extra points during auto. That's why we created a theoretical path seen on the right side that would deposit the team marker before sampling. This allows us to score the sampling mineral rather than just pushing it.

    This is the depot path I was thinking about. Though it looks very similar to the past auto path, there are some notable differences. After the robot delatches from the lander, the lift will simply extend into the depot rather than driving into it. This allows us to extend back and pick up the sampling mineral and score it. Then the robot can turn to the crater and park.

    Next Steps

    One of the crater paths is already coded. Our first priority is to get the depot auto functional for worlds. If we have time still remaining, we can try to do the second crater path.

    Code Progess for November

    Code Progess for November By Vance and David

    April Tags

    This year, using FTC 6547's tutorial on april tags, we developed a system to detect which parking location we should park in. The april tag system allows the onboard camera to detect the sleeve at a distance without it being directly in front of the camera unlike other systems. It also requires much less processing than QR codes which allow it to detect the sleeve faster and with greater accuracy.

    Crane Memory System

    One unique feature of this robot is the crane's memory system. The crane remembers its position where it picks up a cone and where it drops the cone. This memory allows the crane to take over positioning the gripper for picking up a cone and dropping it off. The driver now only has to finetune the pickup and drop position and initiate the pickup and drop sequence.

    Grid Drive

    One helpful feature that would make the robot more reliable is grid drive. Since the field this year has all the objects placed in a grid, the robot can navigate between the pylons relatively easily however we found that drivers could not be as precise driving than the robot’s odometry and as such we developed a system where the driver tells the robot where they want the robot to go and the robot creates and follows a path to get to its target location. This system decreases transit time significantly and makes driving more precise. This system can also be used with the crane to pick up cones from a specific location and drop them at a certain pylon of the driver's choosing.

    Field Class

    We've also developed a special class to keep track of the current state of the field. The Field class keeps track of all objects on the field and their location, height, and name by creating a separate fieldObject object for each. These objects are then stored in a list and that list can be sorted through to find for example the closest object to the robot of a specific height. The robot using grid drive can then drive to a location where it can then score on that object.

    UnderArm Inverse Kinematics

    UnderArm Inverse Kinematics By Jai, Vance, Alex, Aarav, and Krish

    Task: Implement Inverse Kinematics on the UnderArm

    Inverse kinematics is the process of finding the joint variables needed for a kinematic chain to reach a specified endpoint. In the context of TauBot2, inverse kinematics, or IK is used in the crane and the UnderArm. In this blog post, we'll be focused on the implementation of IK in the UnderArm.

    The goal of this problem was to solve for the angles of the shoulder and the elbow that would get us to a specific field coordinate. Our constants were the end coordinates, the lengths of both segments of our UnderArm, and the starting position of the UnderArm. We already had the turret angle after a simple bearing calculation based on the coordinates of the field target and the UnderArm.

    First, we set up the problem with the appropriate triangles and variables. Initially, we tried to solve the problem with solely right angle trigonometry. After spending a couple hours scratching our heads, we determined that the problem wasn't possible with solely right angle trig. Here's what our initial setup looked like.

    In this image, the target field coordinate is labeled (x, z) and the upper and lower arm lengths are labeled S and L. n is the height of the right triangle formed by the upper arm, a segment of x, and the height of the target. m is the perpendicular line that extends from the target and intersects with n. We solved this problem for θ and θ2, but we solved for them in terms of n and m, which were unsolvable.

    After going back to the drawing board, we attempted another set of equations with the law of sines. More frustration ensued, and we ran into another unsolveable problem.

    Our Current Solution

    Finally, we attempted the equations one more time, this time implementing the law of cosines. The law of cosines allows us to solve for the side lengths of non-right triangles.


    Using this, we set up the triangles one more time.

    Our goals in this problem were to solve for q1 and for α.

    We quickly calculated a hypotenuse from the starting point to the target point with the Pythagorean Theorem. Using the radius and our arm length constants we determined cos(α). All we had to do from there was take the inverse cosine of that same equation, and we'd calculated α. To calculate q1, we had to find q2; and add it to the inverse tangent of our full right triangle's height and width. We calculated q2 using the equation at the very bottom of the image, and we had all of the variables that we needed.


    After we solved for both angles, we sanity checked our values with Desmos using rough estimates of the arm segment lengths. Here's what the implementation looks like in our robot's code.

    Positioning Algorithms

    Positioning Algorithms By Jai and Alex

    Task: Determine the robot’s position on the field with little to no error

    With the rigging and the backdrops being introduced as huge obstacles to pathing this year, it’s absolutely crucial that the robot knows exactly where it is on the field. Because we have a Mecanum drivetrain, the included motor encoders slip too much for the fine-tuned pathing that we’d like to do. This year, we use as many sensors (sources of truth) as possible to localize and relocalize the robot.

    Odometry Pods (Deadwheels)

    There are three non-driven (“dead”) omni wheels on the bottom of our robot that serve as our first source of truth for position.

    The parallel wheels serve as our sensors for front-back motion, and their difference in motion is used to calculate our heading. The perpendicular wheel at the center of our robot tells us how far/in what direction we’ve strafed. Because these act just like DC Motor encoders, they’re updated with the bulk updates roughly every loop, making them a good option for quick readings.

    IMU

    The IMU on the Control Hub isn’t subject to field conditions, wheel alignment or minor elevation changes, so we use it to update our heading every two seconds. This helps avoid any serious error buildup in our heading if the dead wheels aren’t positioned properly. The downside to the IMU is that it’s an I2C sensor, and polling I2C sensors adds a full 7ms to every loop, so periodic updates help us balance the value of the heading data coming in and the loop time to keep our robot running smoothly.

    AprilTags

    AprilTags are a new addition to the field this year, but we’ve been using them for years and have built up our own in-house detection and position estimation algorithms. AprilTags are unique in that they convey a coordinate grid in three-dimensional space that the camera can use to calculate its position relative to the tag.

    Distance Sensors

    We also use two REV distance sensors mounted to the back of our chassis. They provide us with a distance to the backdrop, and by using the difference in their values, we can get a pretty good sense of our heading. The challenge with these, however, is that, like the IMU, they’re super taxing on the Control Hub and hurt our loop times significantly, so we’ve had to dynamically enable them only when we’re close enough to the backdrop to get a good reading.

    Meet Our Field Class

    Meet Our Field Class By Jai and Alex

    Task: Explain how we map the field and use it in our code

    A huge focus this season has been navigation; each scoring sequence spans the whole field: from the wing or stacks to the backdrop, and it’s crucial to make this happen as fast as possible to ensure high-scoring games. To do this, the robot needs deep knowledge of all of the components that make up the field.

    Enter: The Field

    Our field class is a 2D coordinate grid that lines up with our RoadRunner navigation coordinates. It’s made up of two types of components: locations & routes. Locations include our Zones, Subzones, and POIs.

    The field's red, blue, and green colors demarcate our overarching Zones. Zones are the highest level of abstraction in our Field class and serve as higher-level flags for changes in robot behavior. Which zone the robot is in determines everything from what each button on the robot does to whether or not it’ll try to switch into autonomous driving during Tele-Op.

    The crosshatched sections are our Subzones. Subzones serve as more concrete triggers for robot behaviors. For example, during autonomous navigation, our intake system automatically activates in the Wing Subzone and our drivetrain’s turning is severely dampened in the backdrop Subzone.

    The circles in the diagram are our POIs. POIs are single points on the field that serve mainly as navigation targets; our robot is told to go to these locations, and the navigation method “succeeds” when it’s within a radius of one of those POIs. A good example of this occurs in our autonomous endgame: the circle in front of the rigging serves as the first navigation target for hang and the robot suspends itself on the rigging at the lower circle.

    A combination of Zones, Subzones, and POIs play into our automation of every game, and our field class is crucial to our goal of automating the whole game.

    Applying Forward/Inverse Kinematics to Score with PPE

    Applying Forward/Inverse Kinematics to Score with PPE By Elias and Alex

    Task: Explain how we use kinematics to manipulate PixeLeviosa (our Outtake)

    This year’s challenge led Iron Reign down a complex process of developing an efficient means of scoring, which involved the interaction between the intake and outtake. Currently, we are in the process of implementing Forward and Inverse Kinematics to find and alter the orientation of our outtake, known as PixeLeviosa.

    Forward and Inverse kinematics both revolve around the part of a robot’s subsystem, known as the end-effector, which is essentially what the robot uses to score or achieve certain tasks (that being PPE’s scoopagon). The simple difference between forward and inverse kinematics is that forward is the method of find the end-effector’s position given the angles of each respective joint and using geometric principles to find its position from there, whereas inverse kinematics has you finding the angles of each joint given the position of the end-effector. Typically, one will use the methods and formulas derived from forward kinematics to then apply them for inverse kinematics.

    For PPE, we use inverse kinematics to set PixeLeviosa’s orientation given a point in relation to the backdrop such that the outtake maneuvers itself for effective scoring and reducing cycle times. We hope to have this fully fleshed out by State!