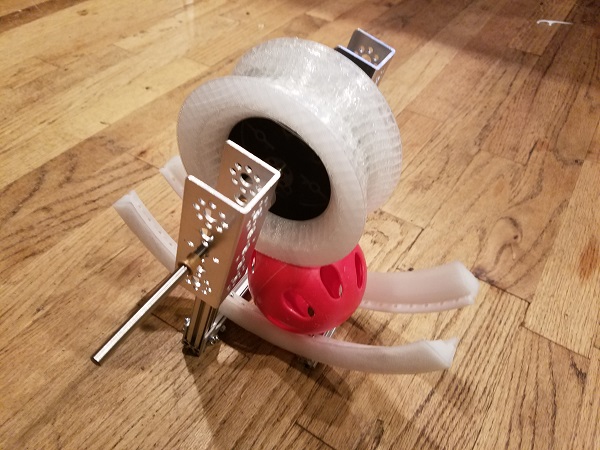
Roller Claw Update - Power!!!
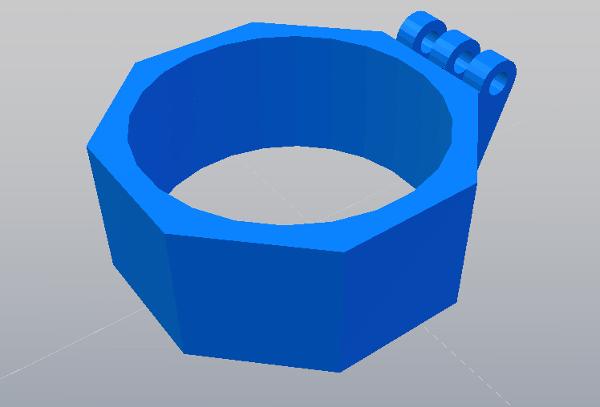
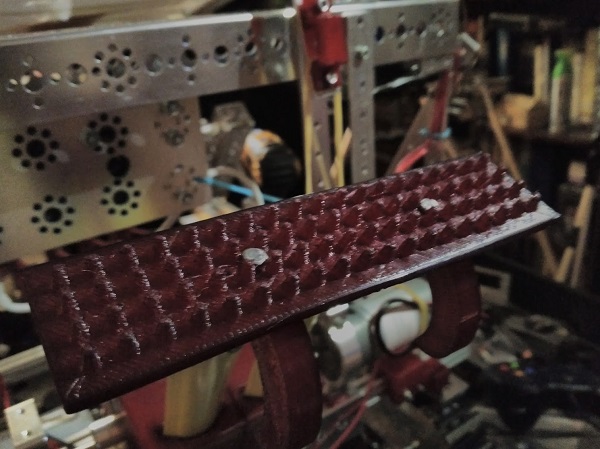
Over the past few weeks we have been working on getting V3 of our roller claw, now forever to be known as Speciminer, into working order. V2 of Speciminer worked well enough at intaking but could not eject or tell if we collected the correct sample color. Additionally, while V2 was sturdy enough, it likely would have failed in some capacity after just a few times of us using it for testing or practice....
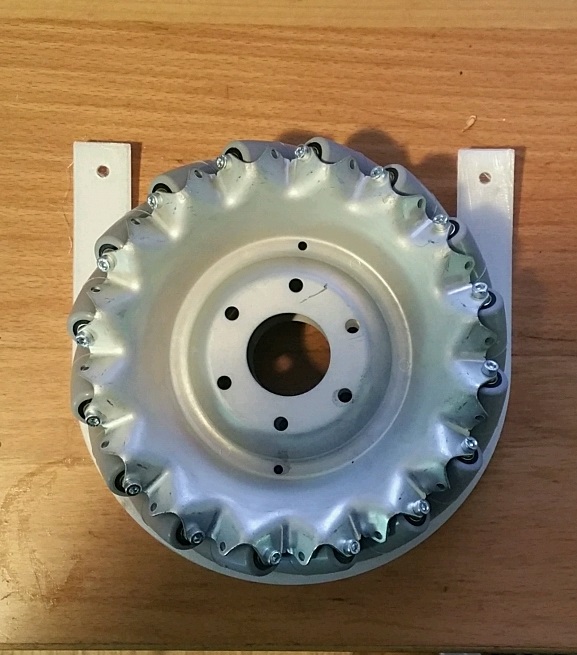
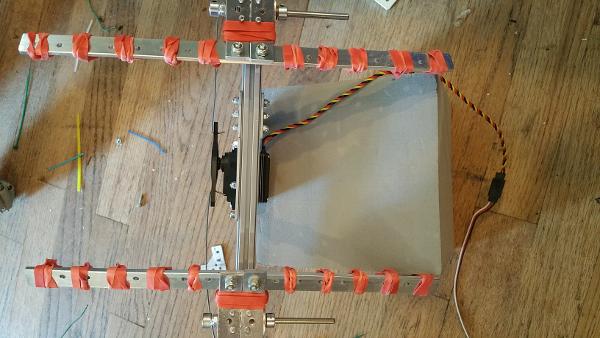
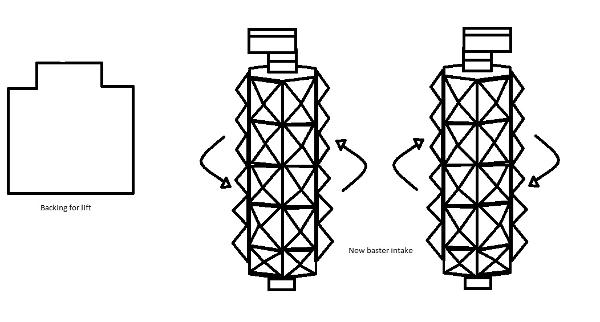


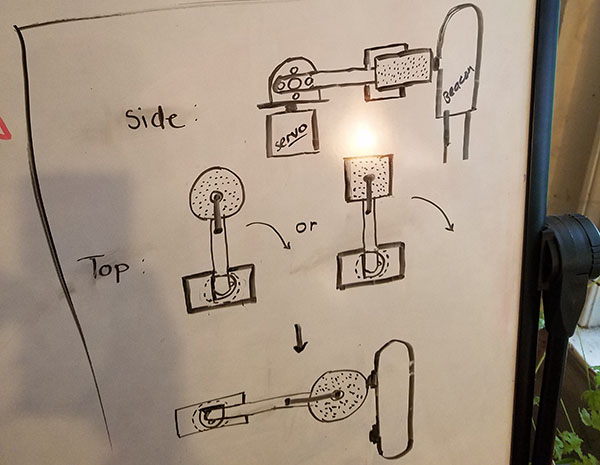
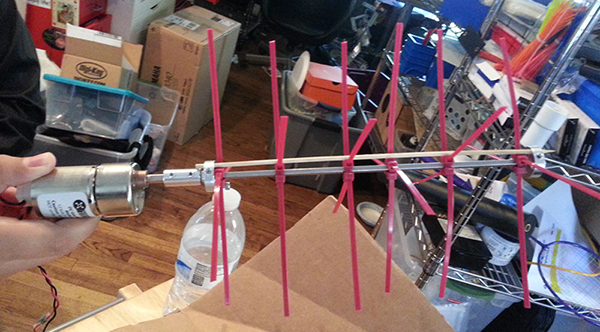
 The cool thing...
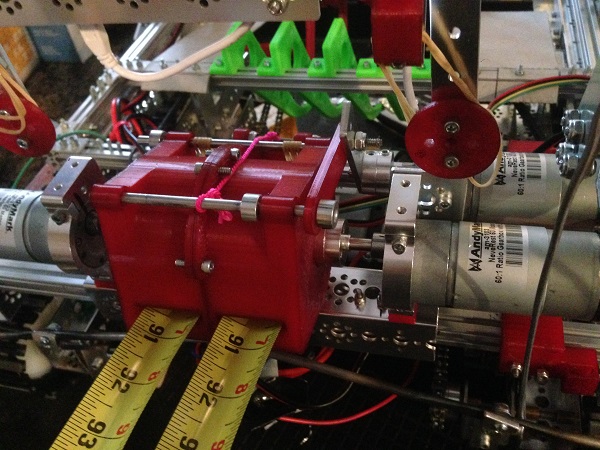


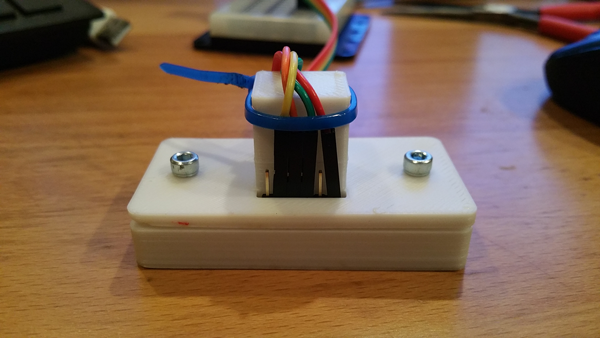
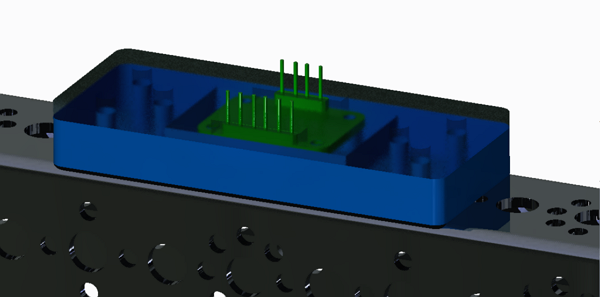
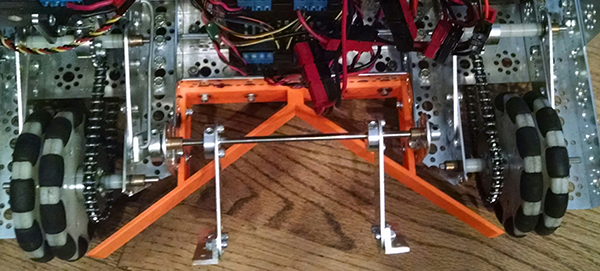
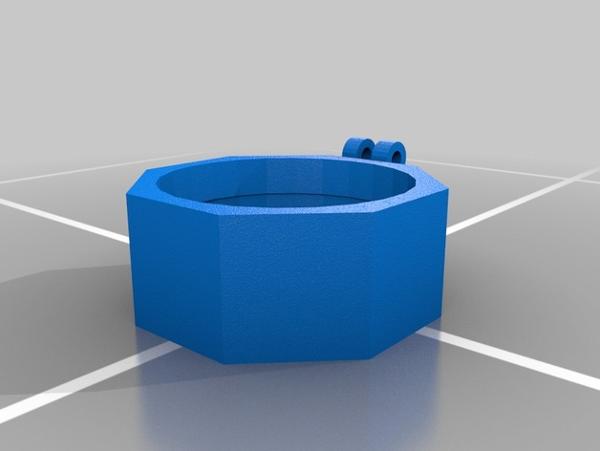
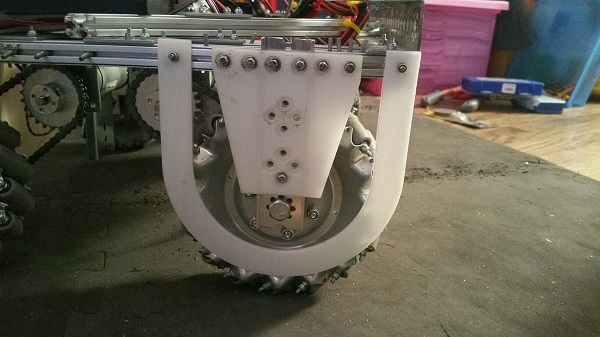
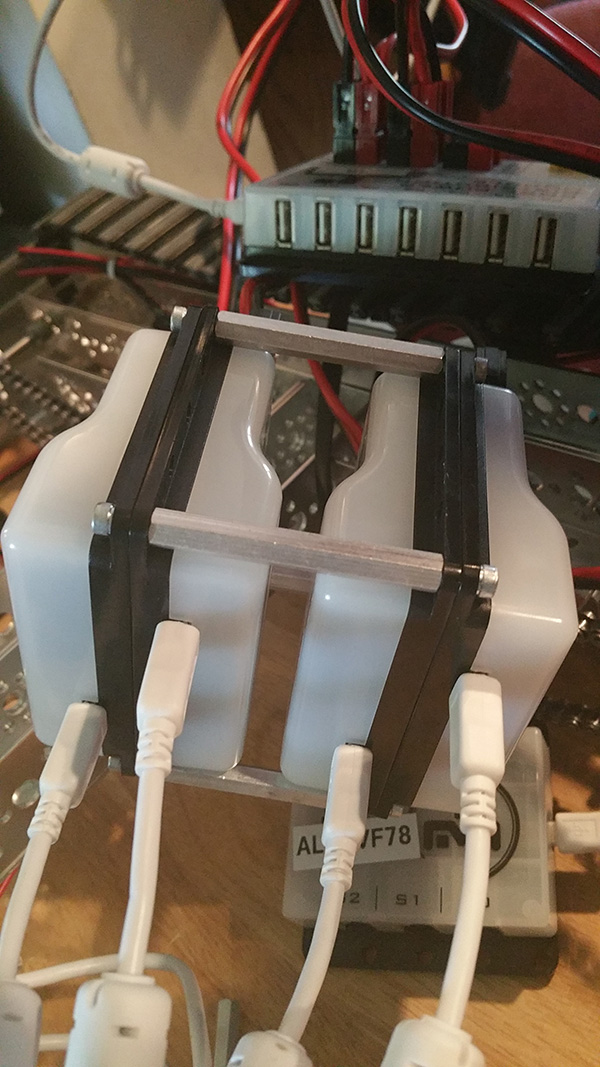 When placed on the robot,...
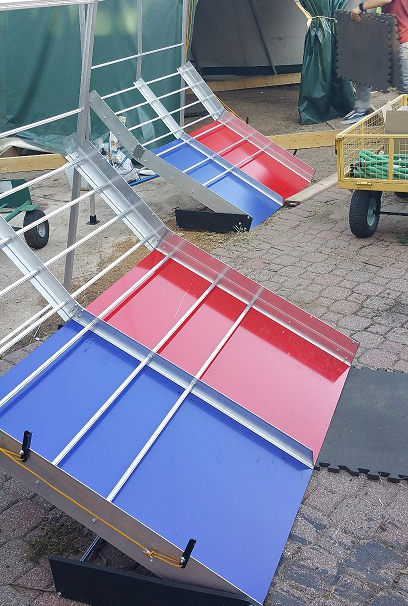
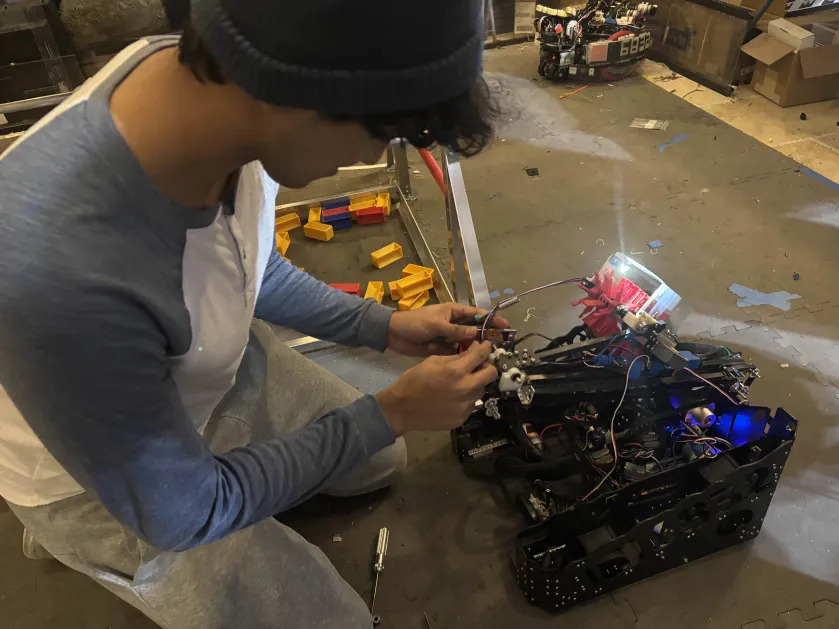
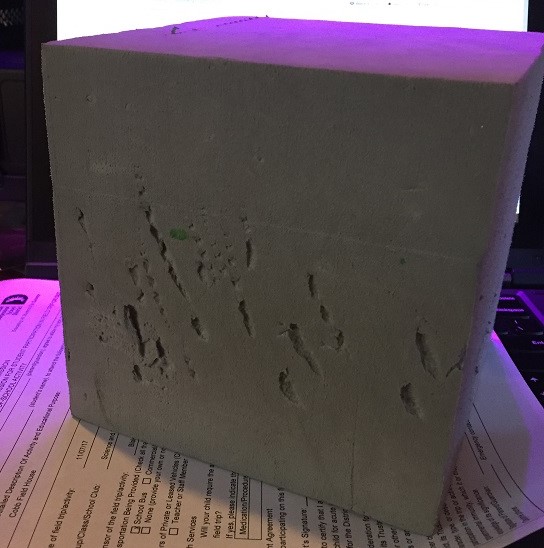
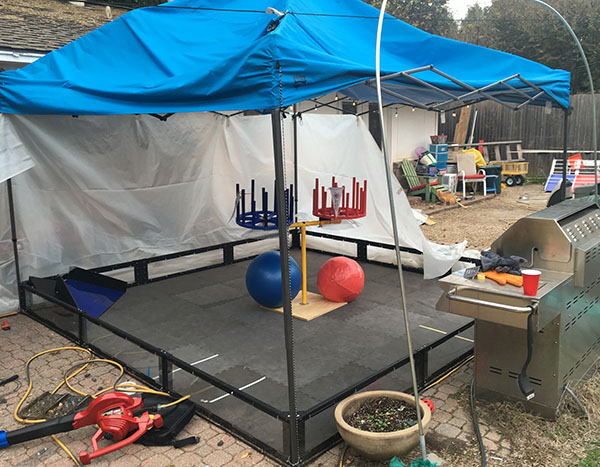
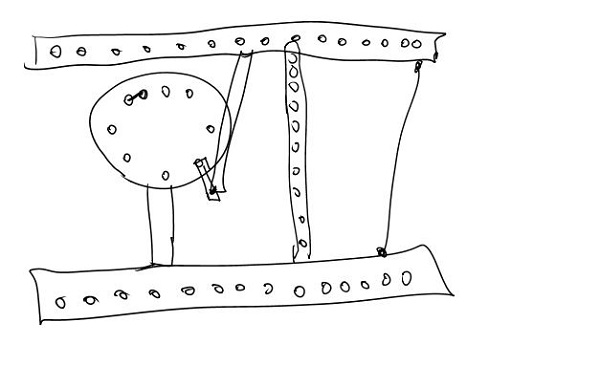
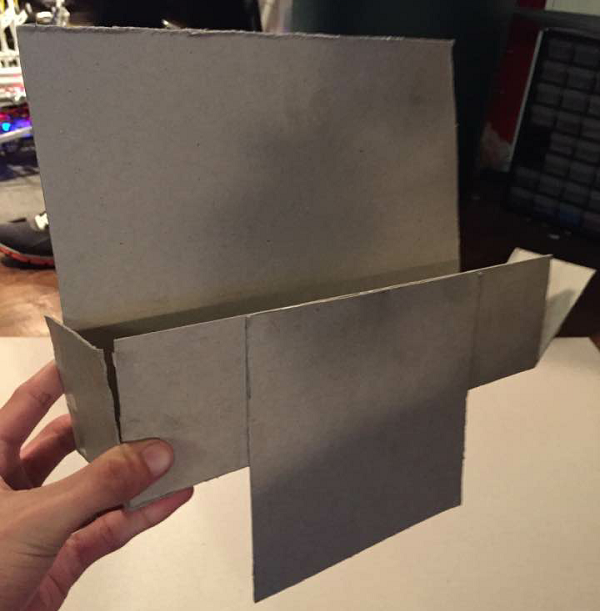
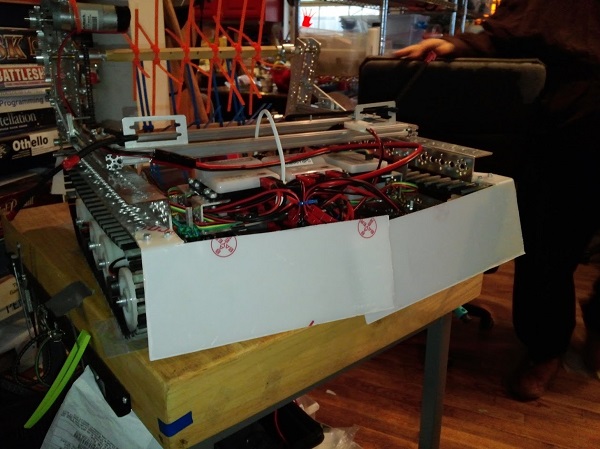
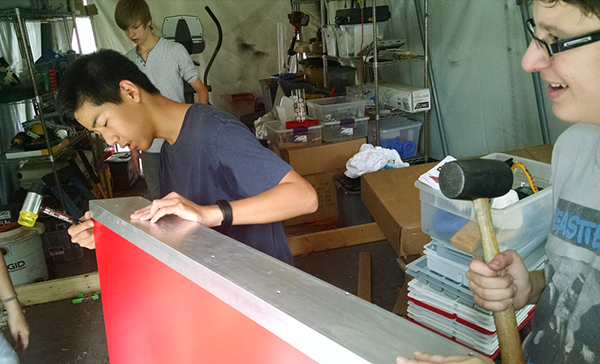 Today we were charged with the task of building the FTC field. There was one problem. The tent we were setting it up in was in a state of decay. We cleaned out the area to make space while others put together the field. It was changed comletely from when it started. When cleaning we discovered many cool things like cassettes and floppy disks. The mat of the field was a little old but...
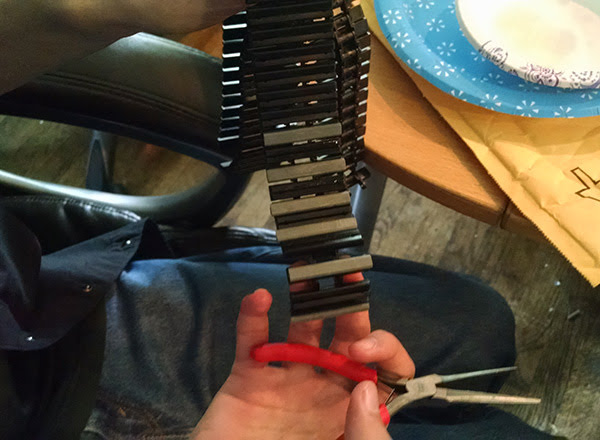
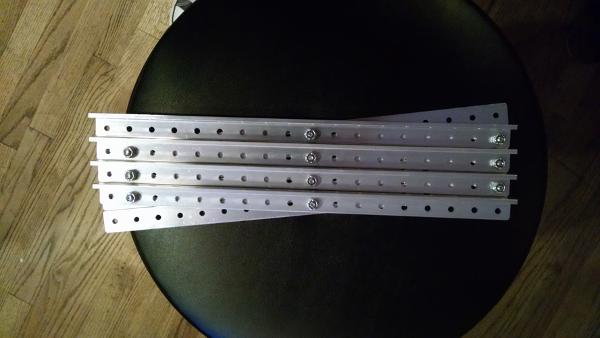
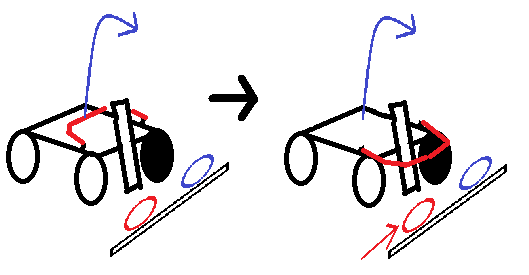
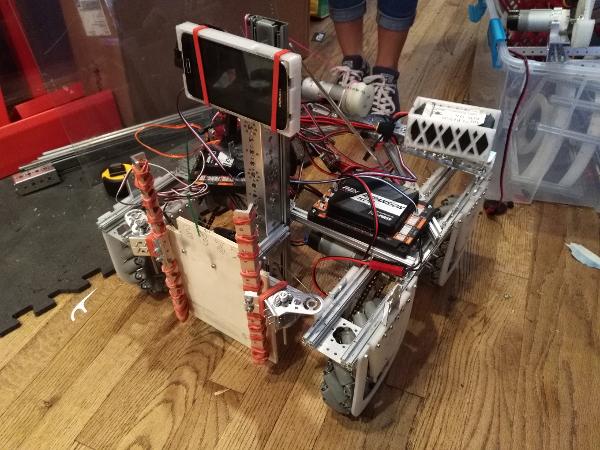
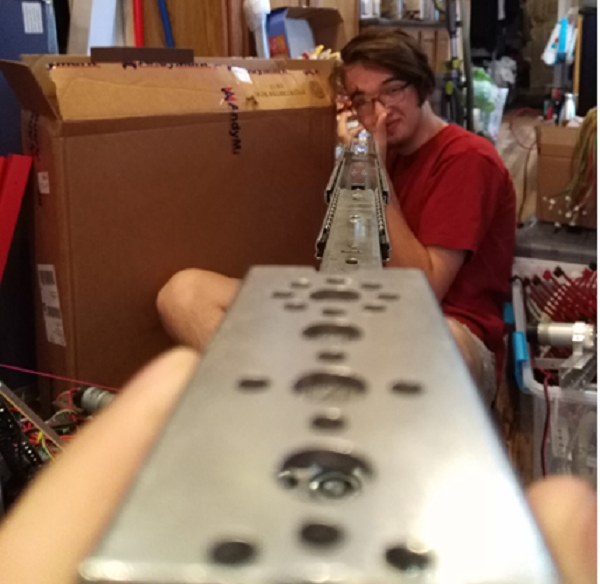
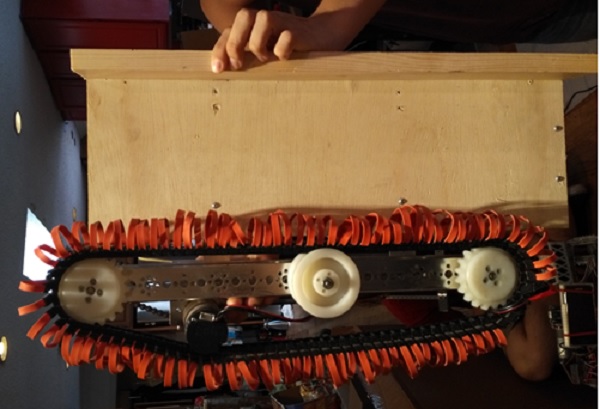
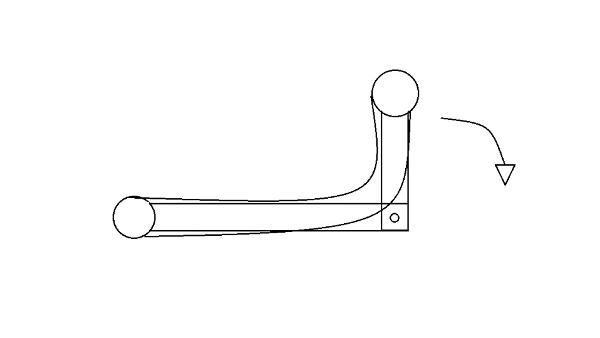
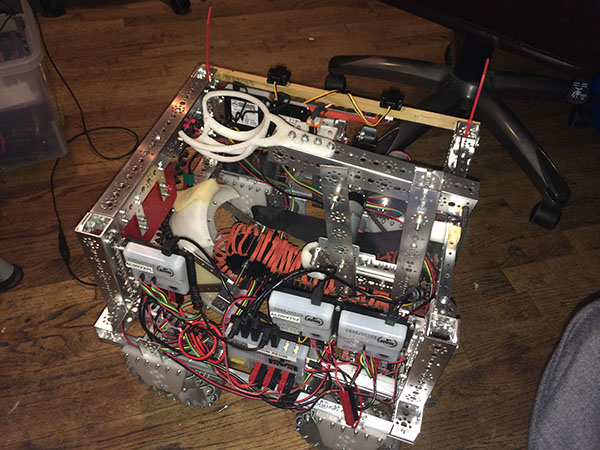
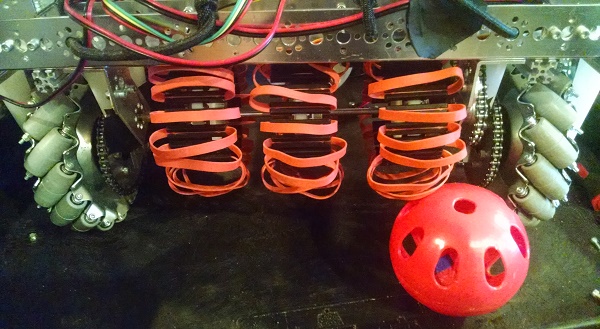
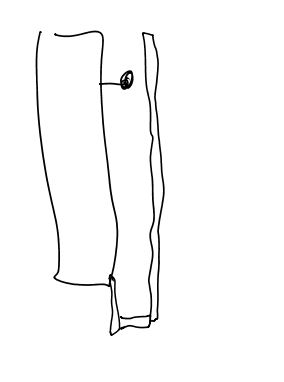
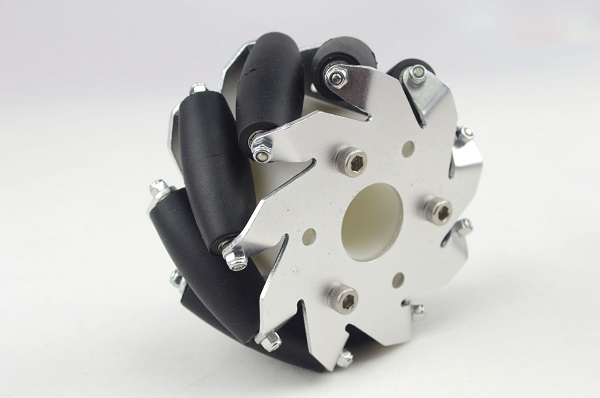
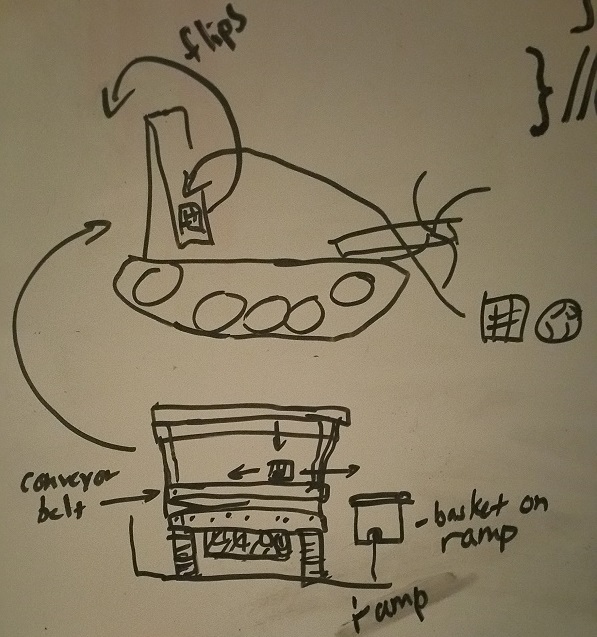
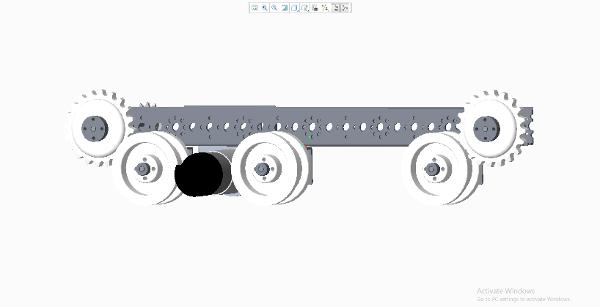 Since the robot game for this year came out about a week ago, we were thinking about which kind of drive system would work best for the challenge, which mostly involves climbing. Some of the concept we came up with were rocker bogies, rubber-banded tires and a tank drive with treads. Since we already had the preliminary design started for a tank drive, I started modeling that.