Roller Claw Update - Power!!!
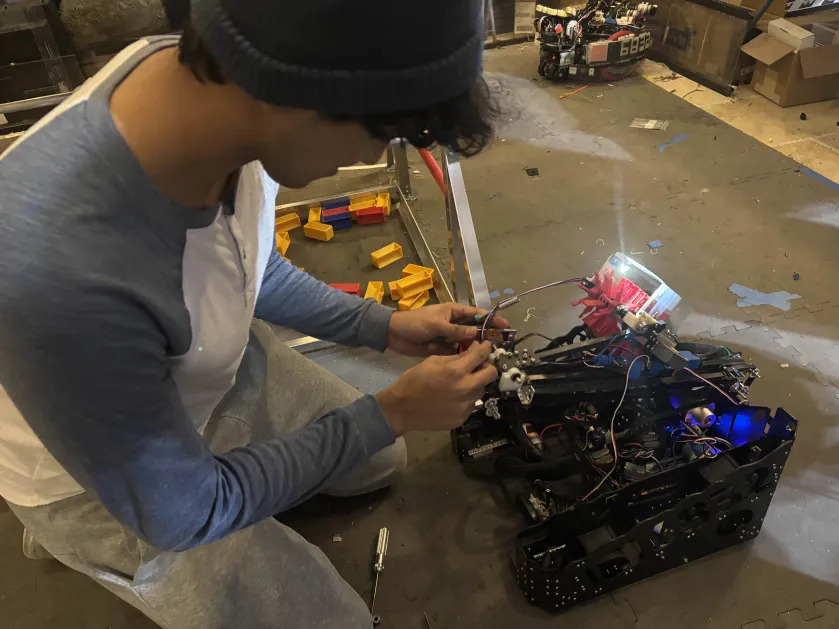
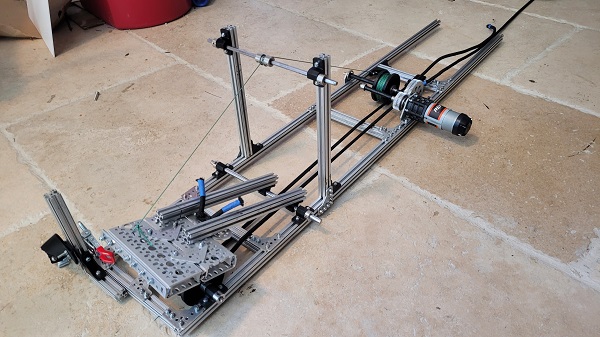
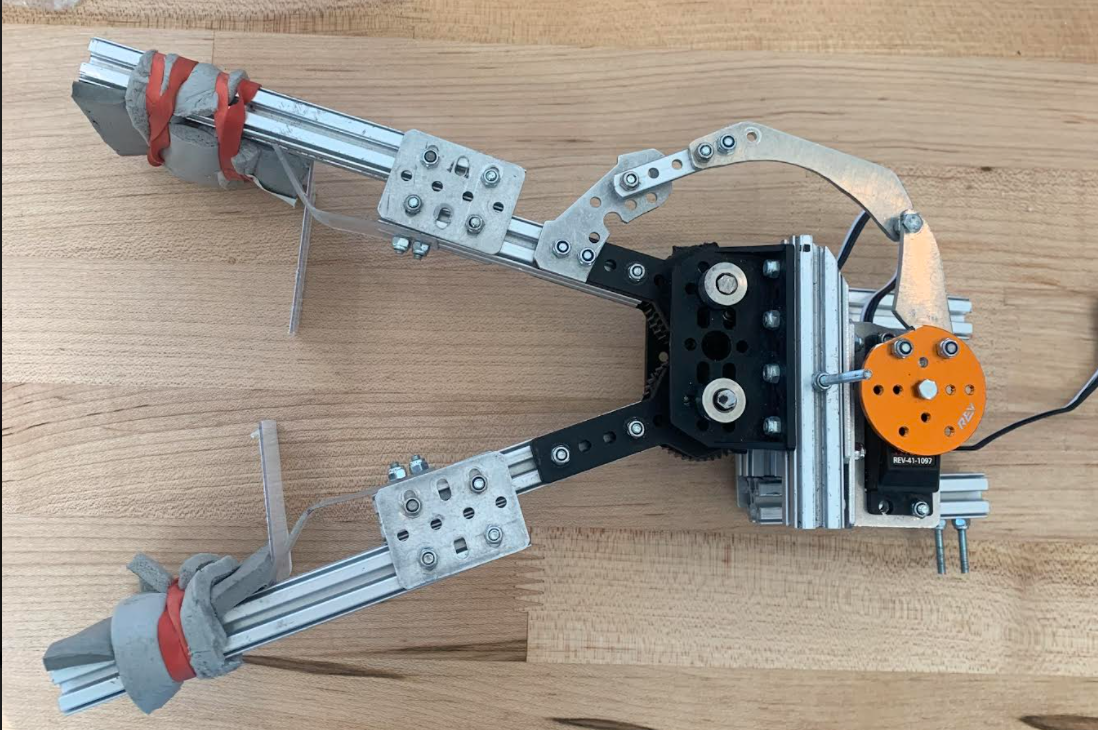
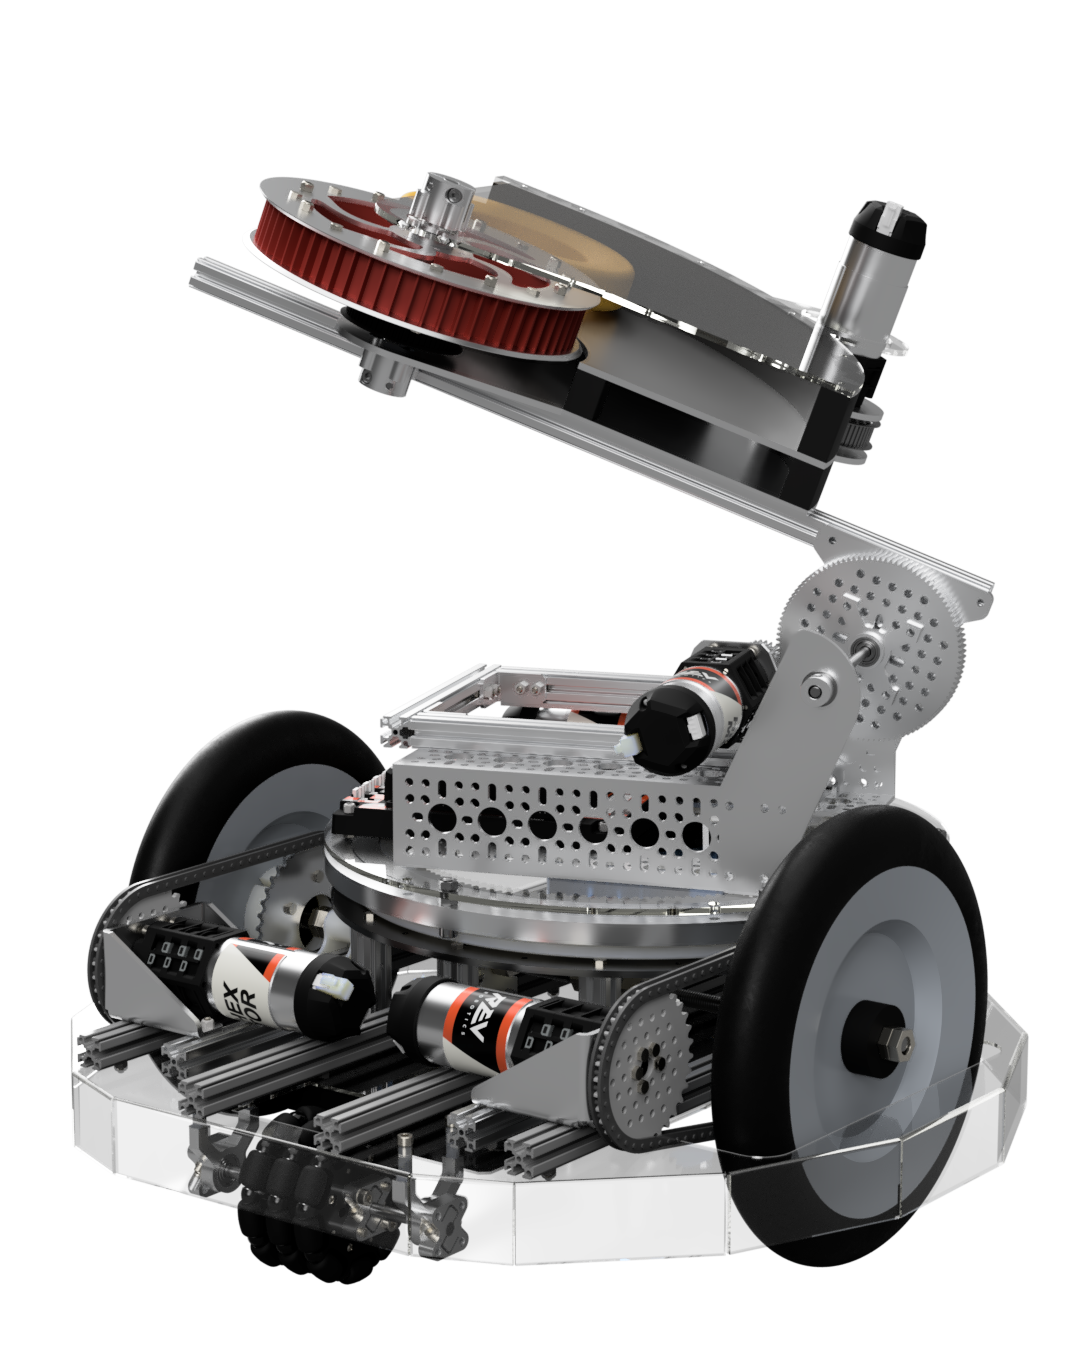
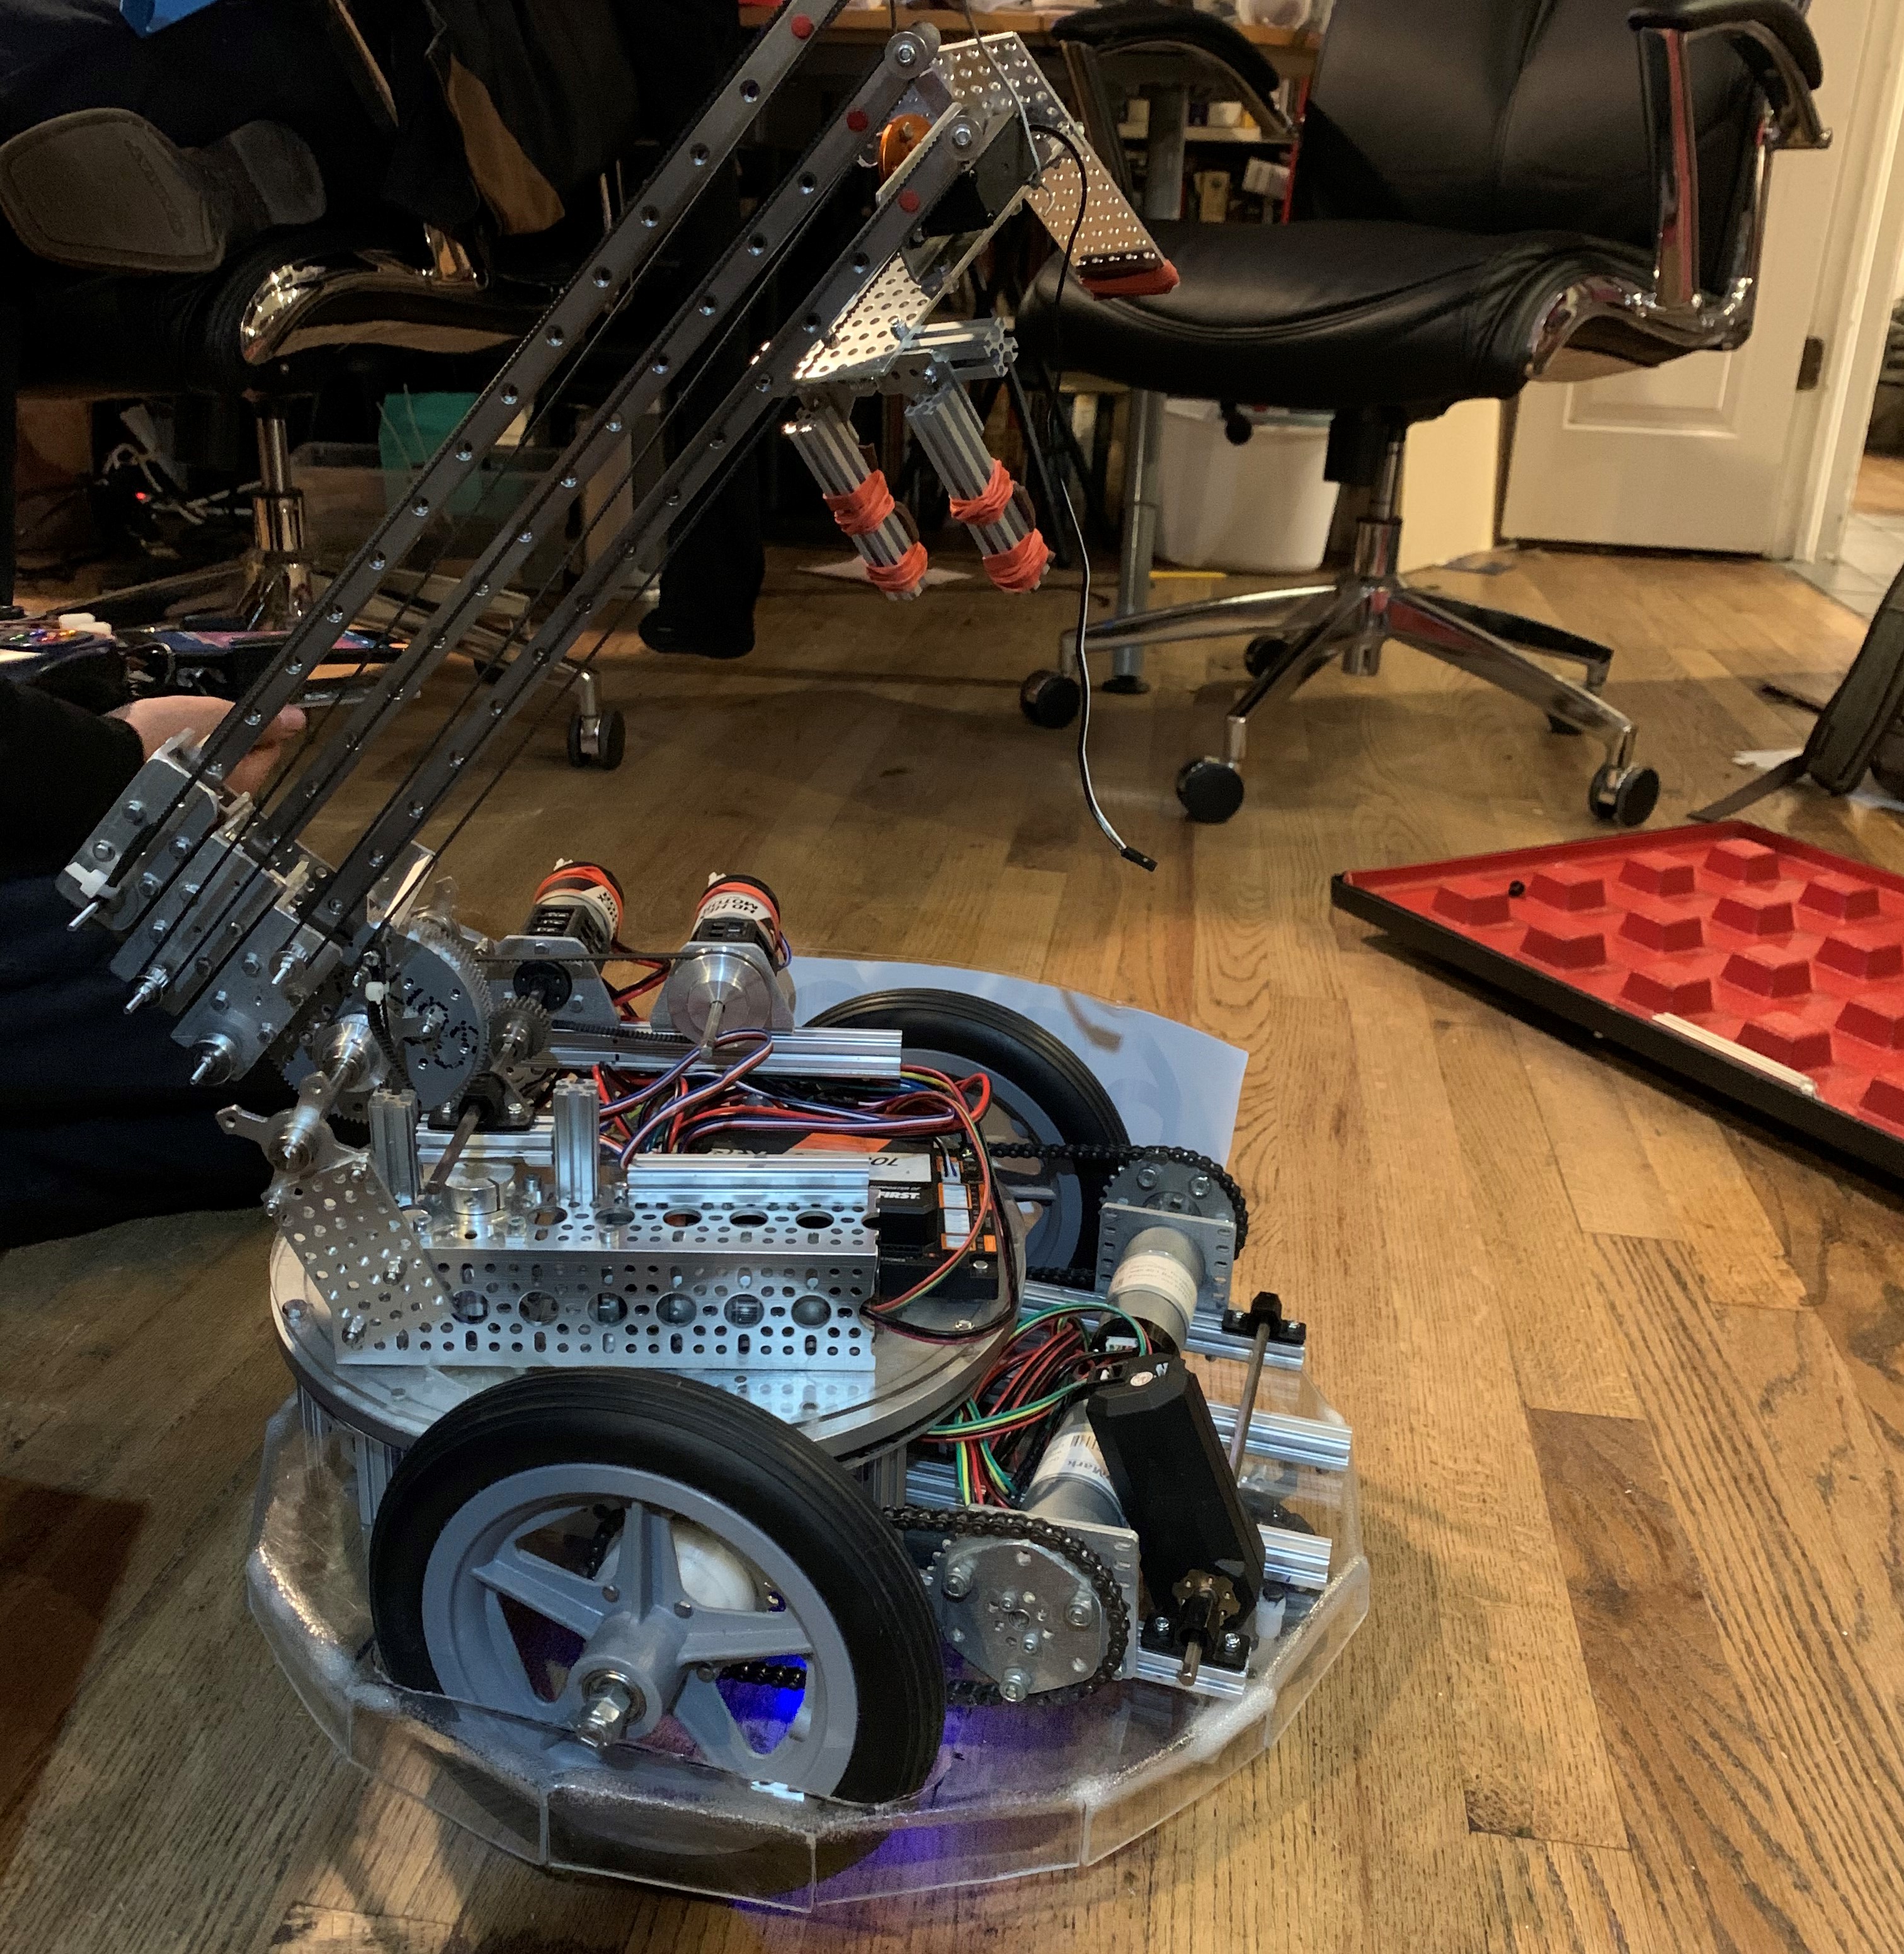
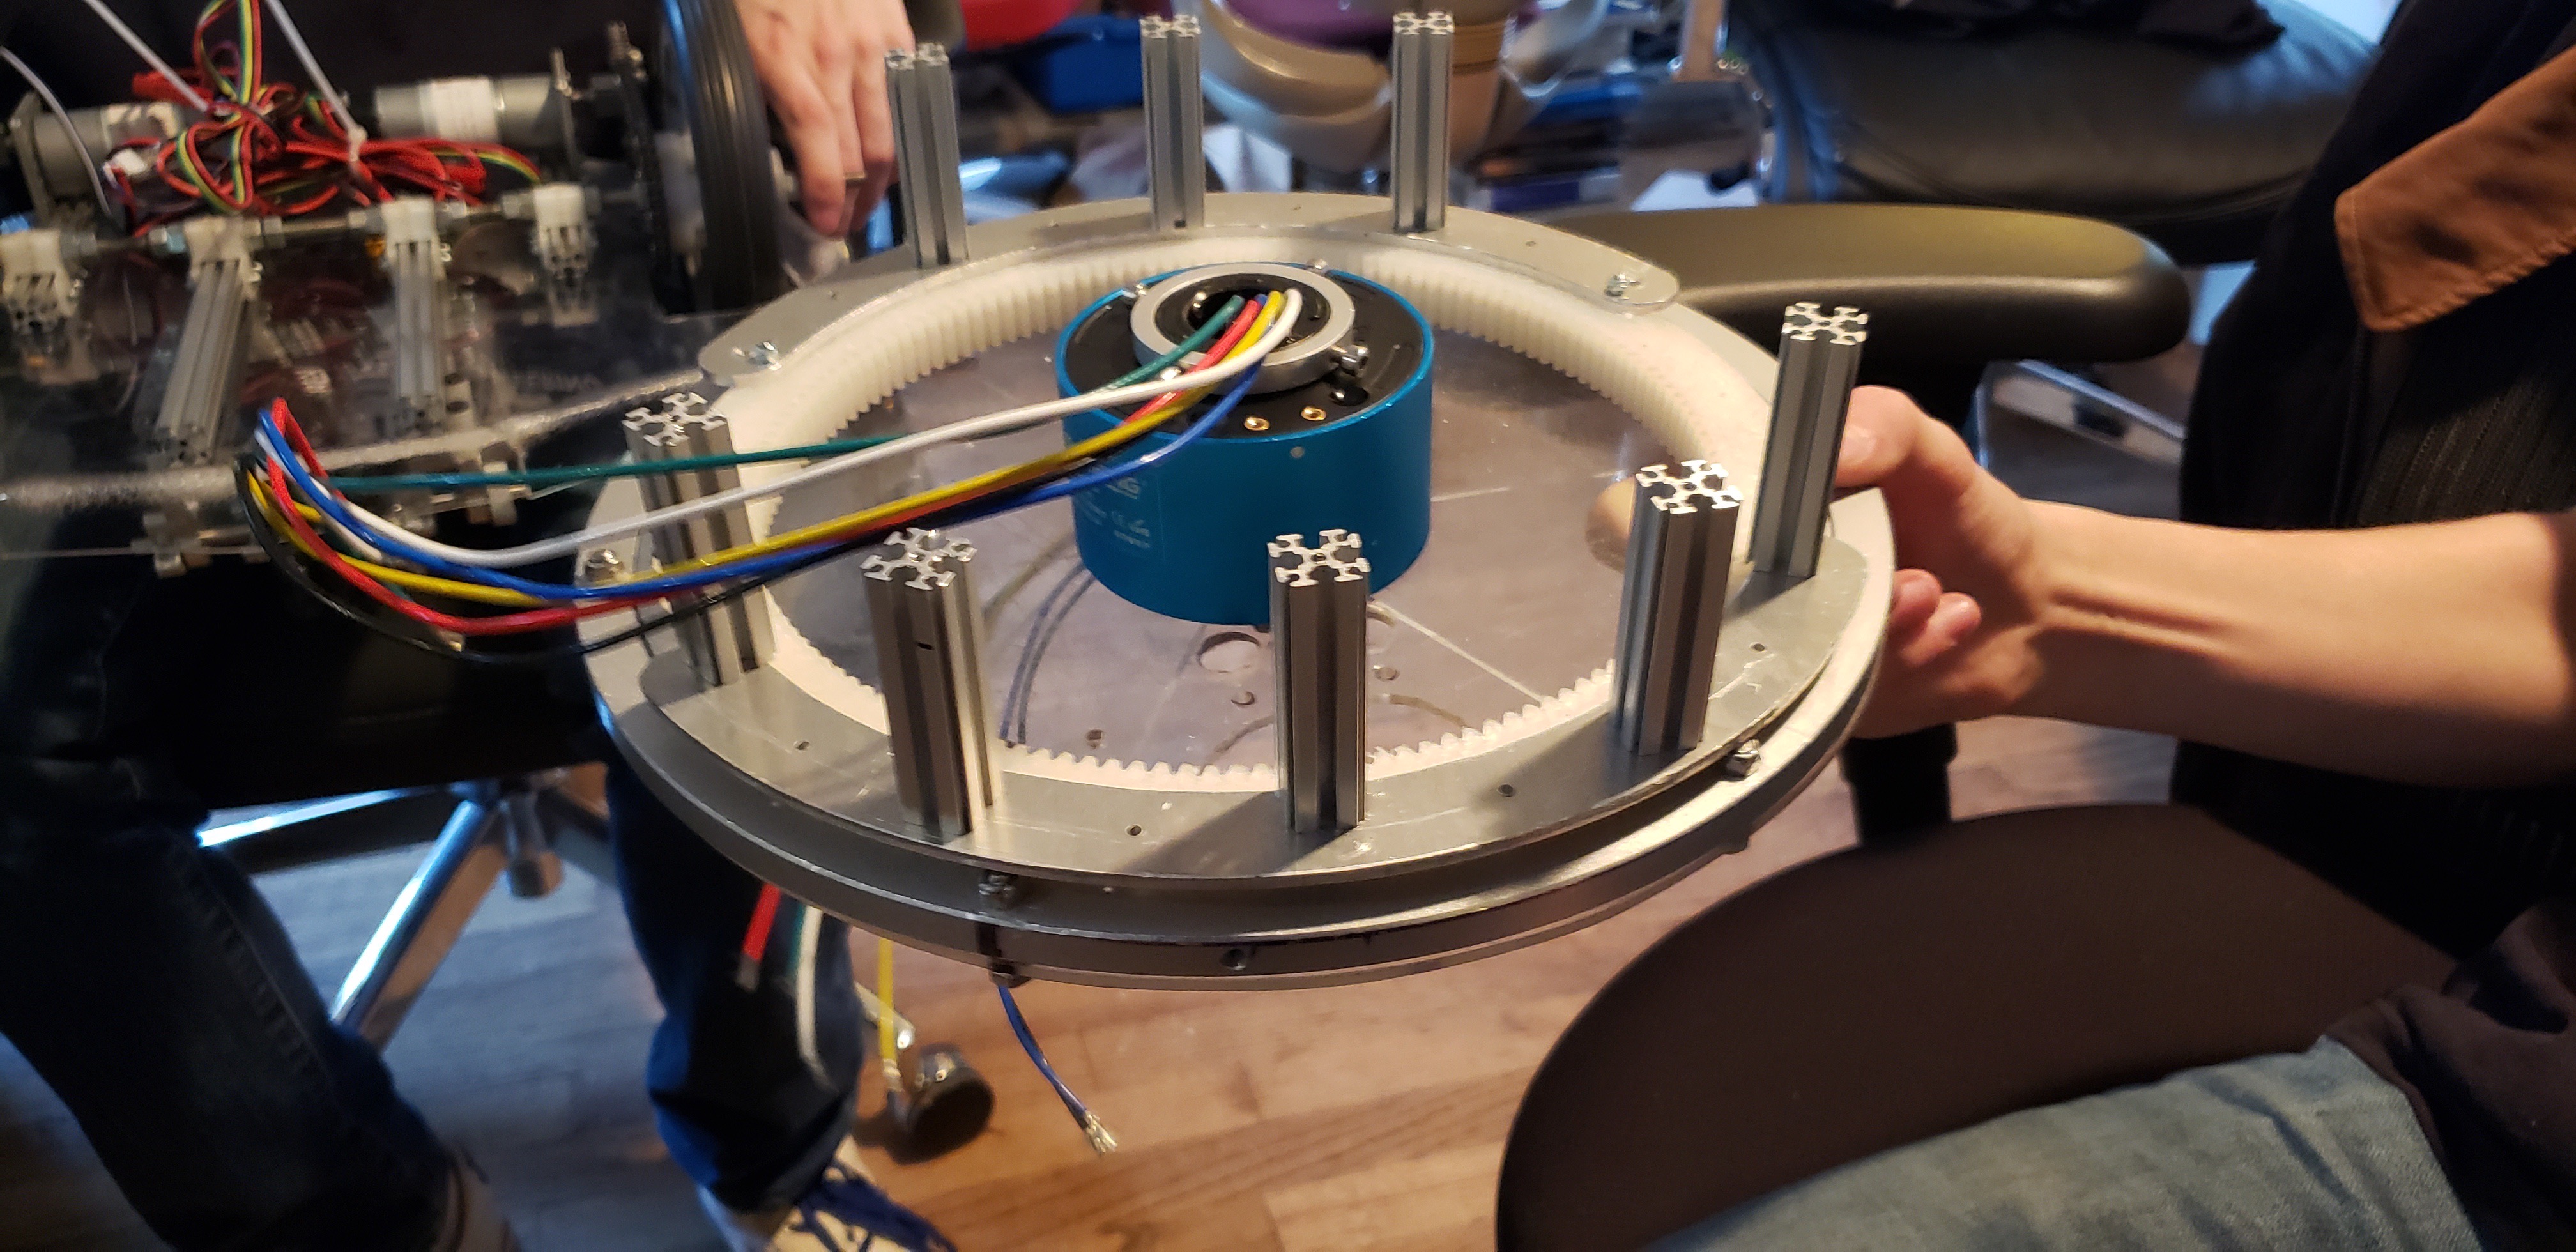
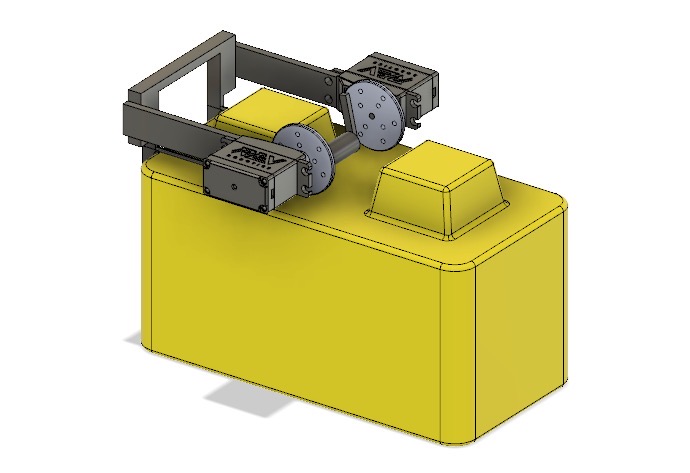
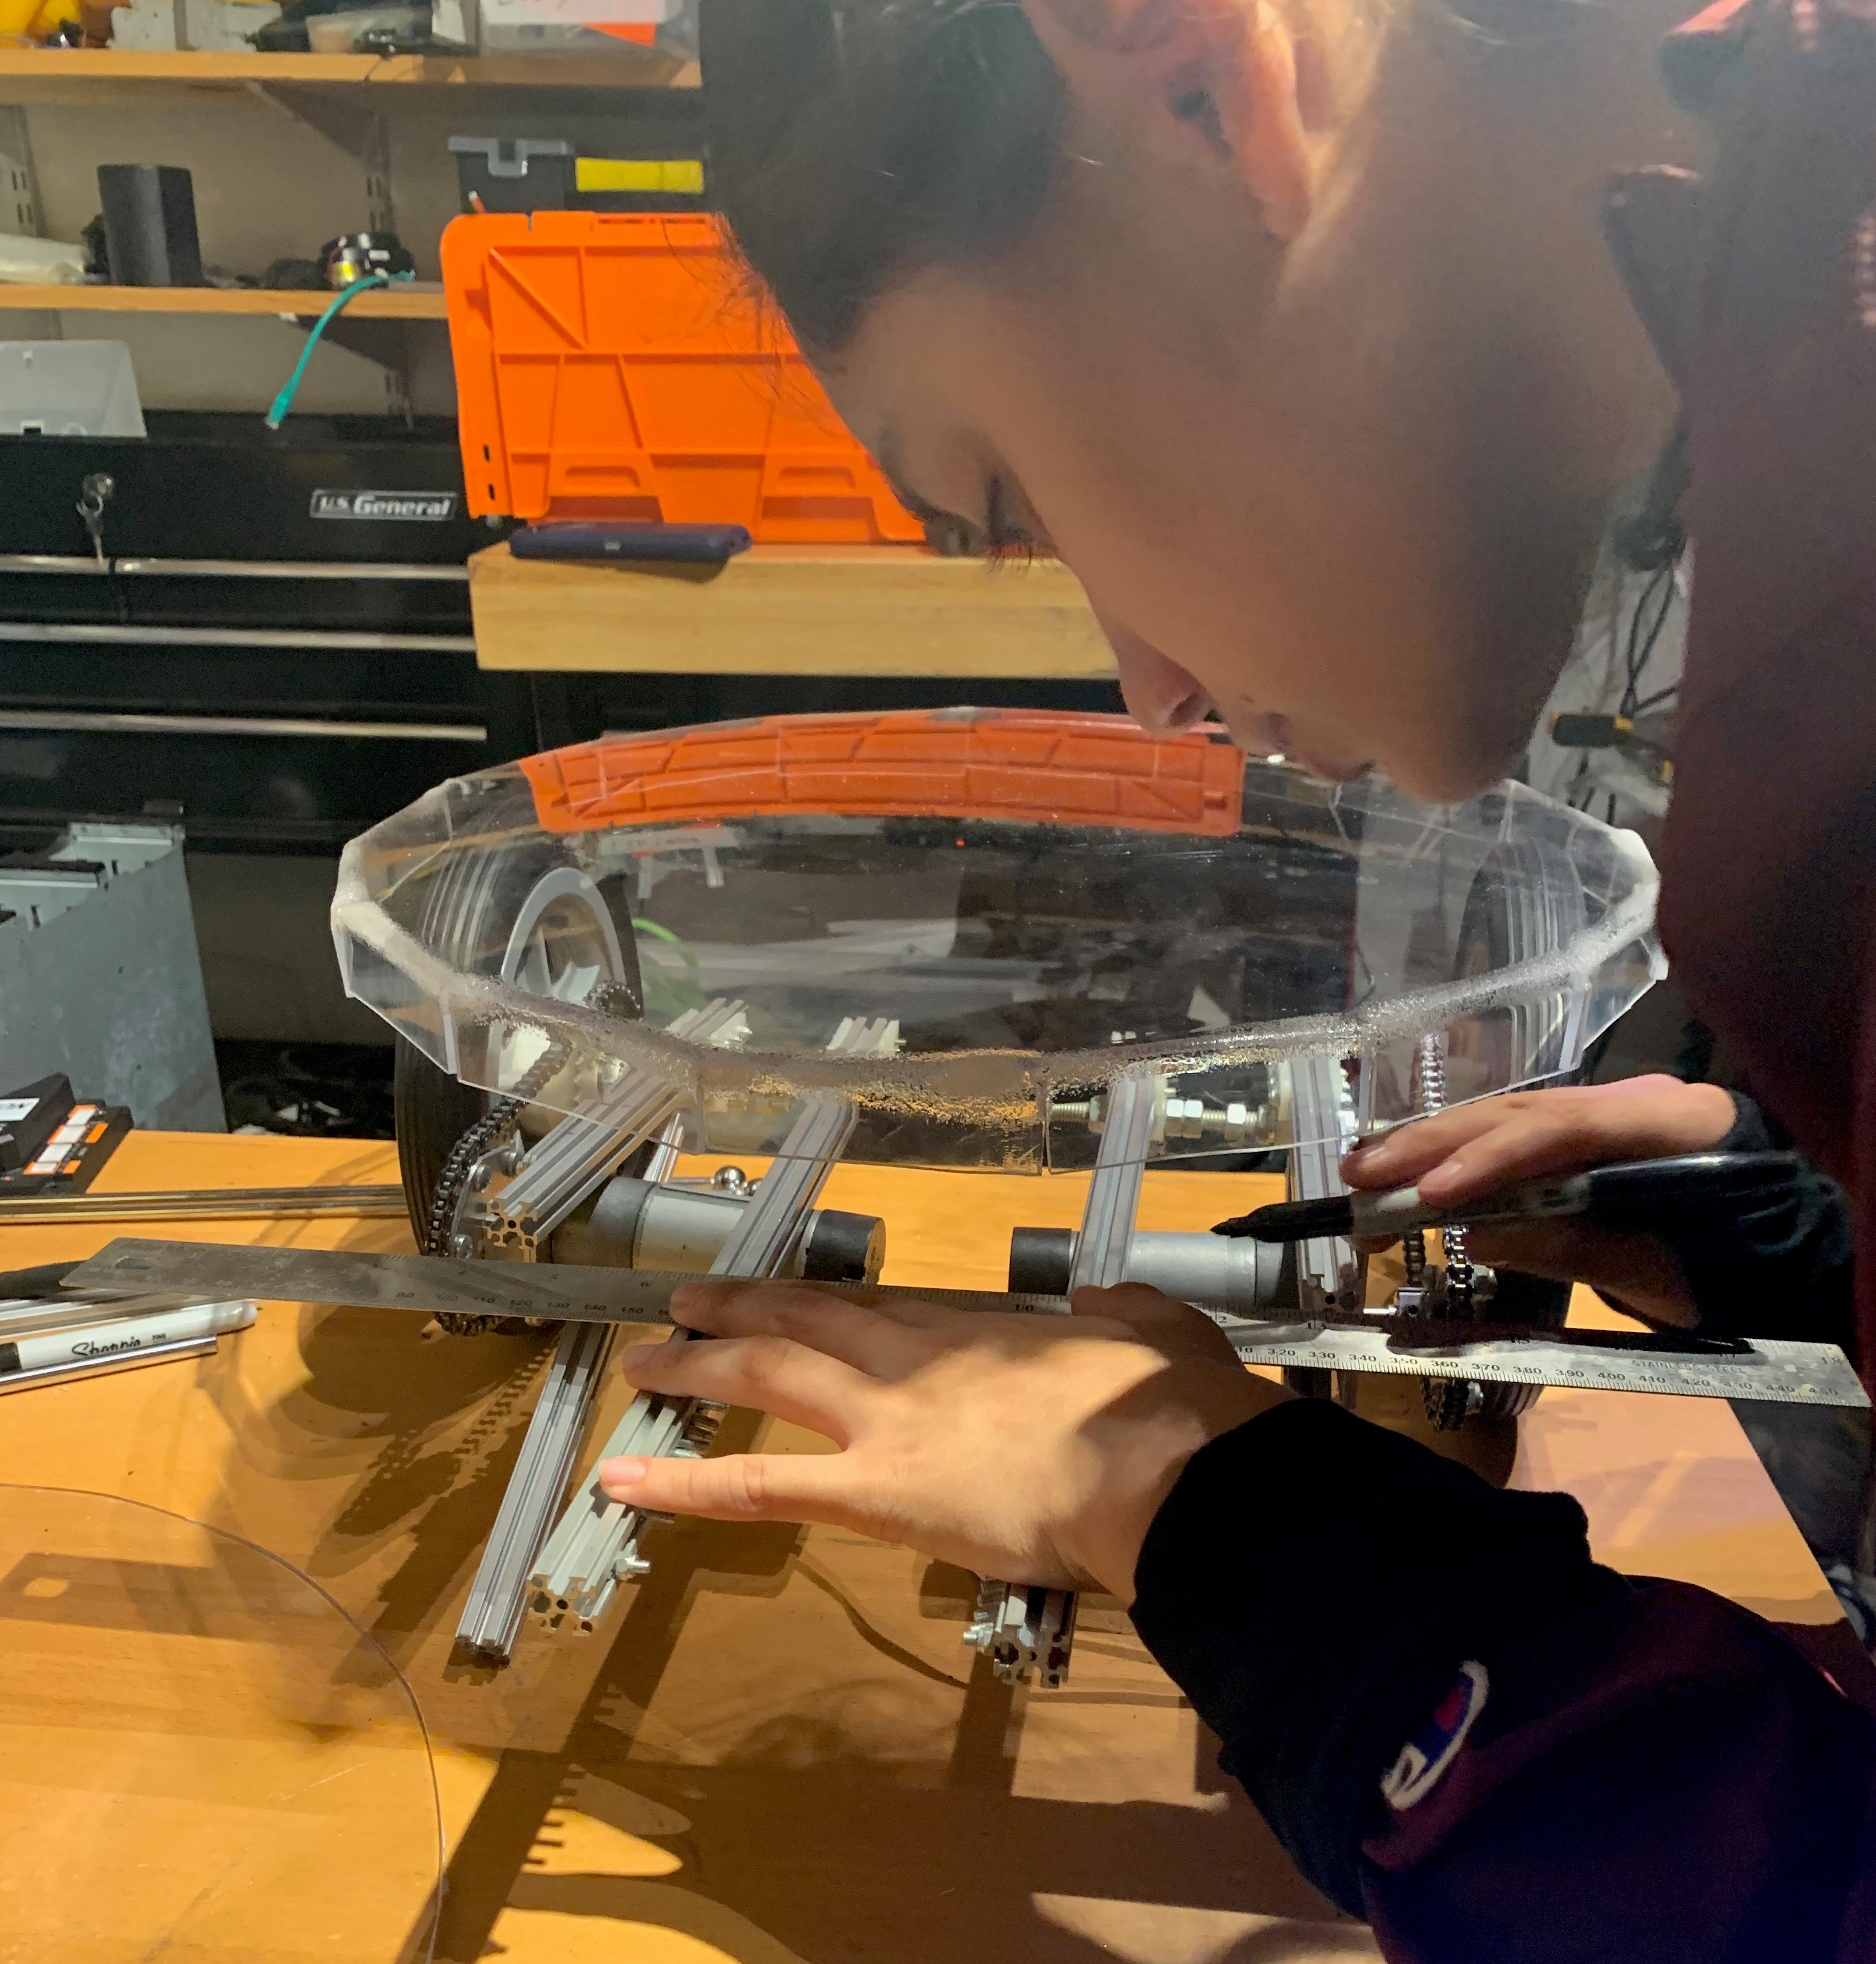
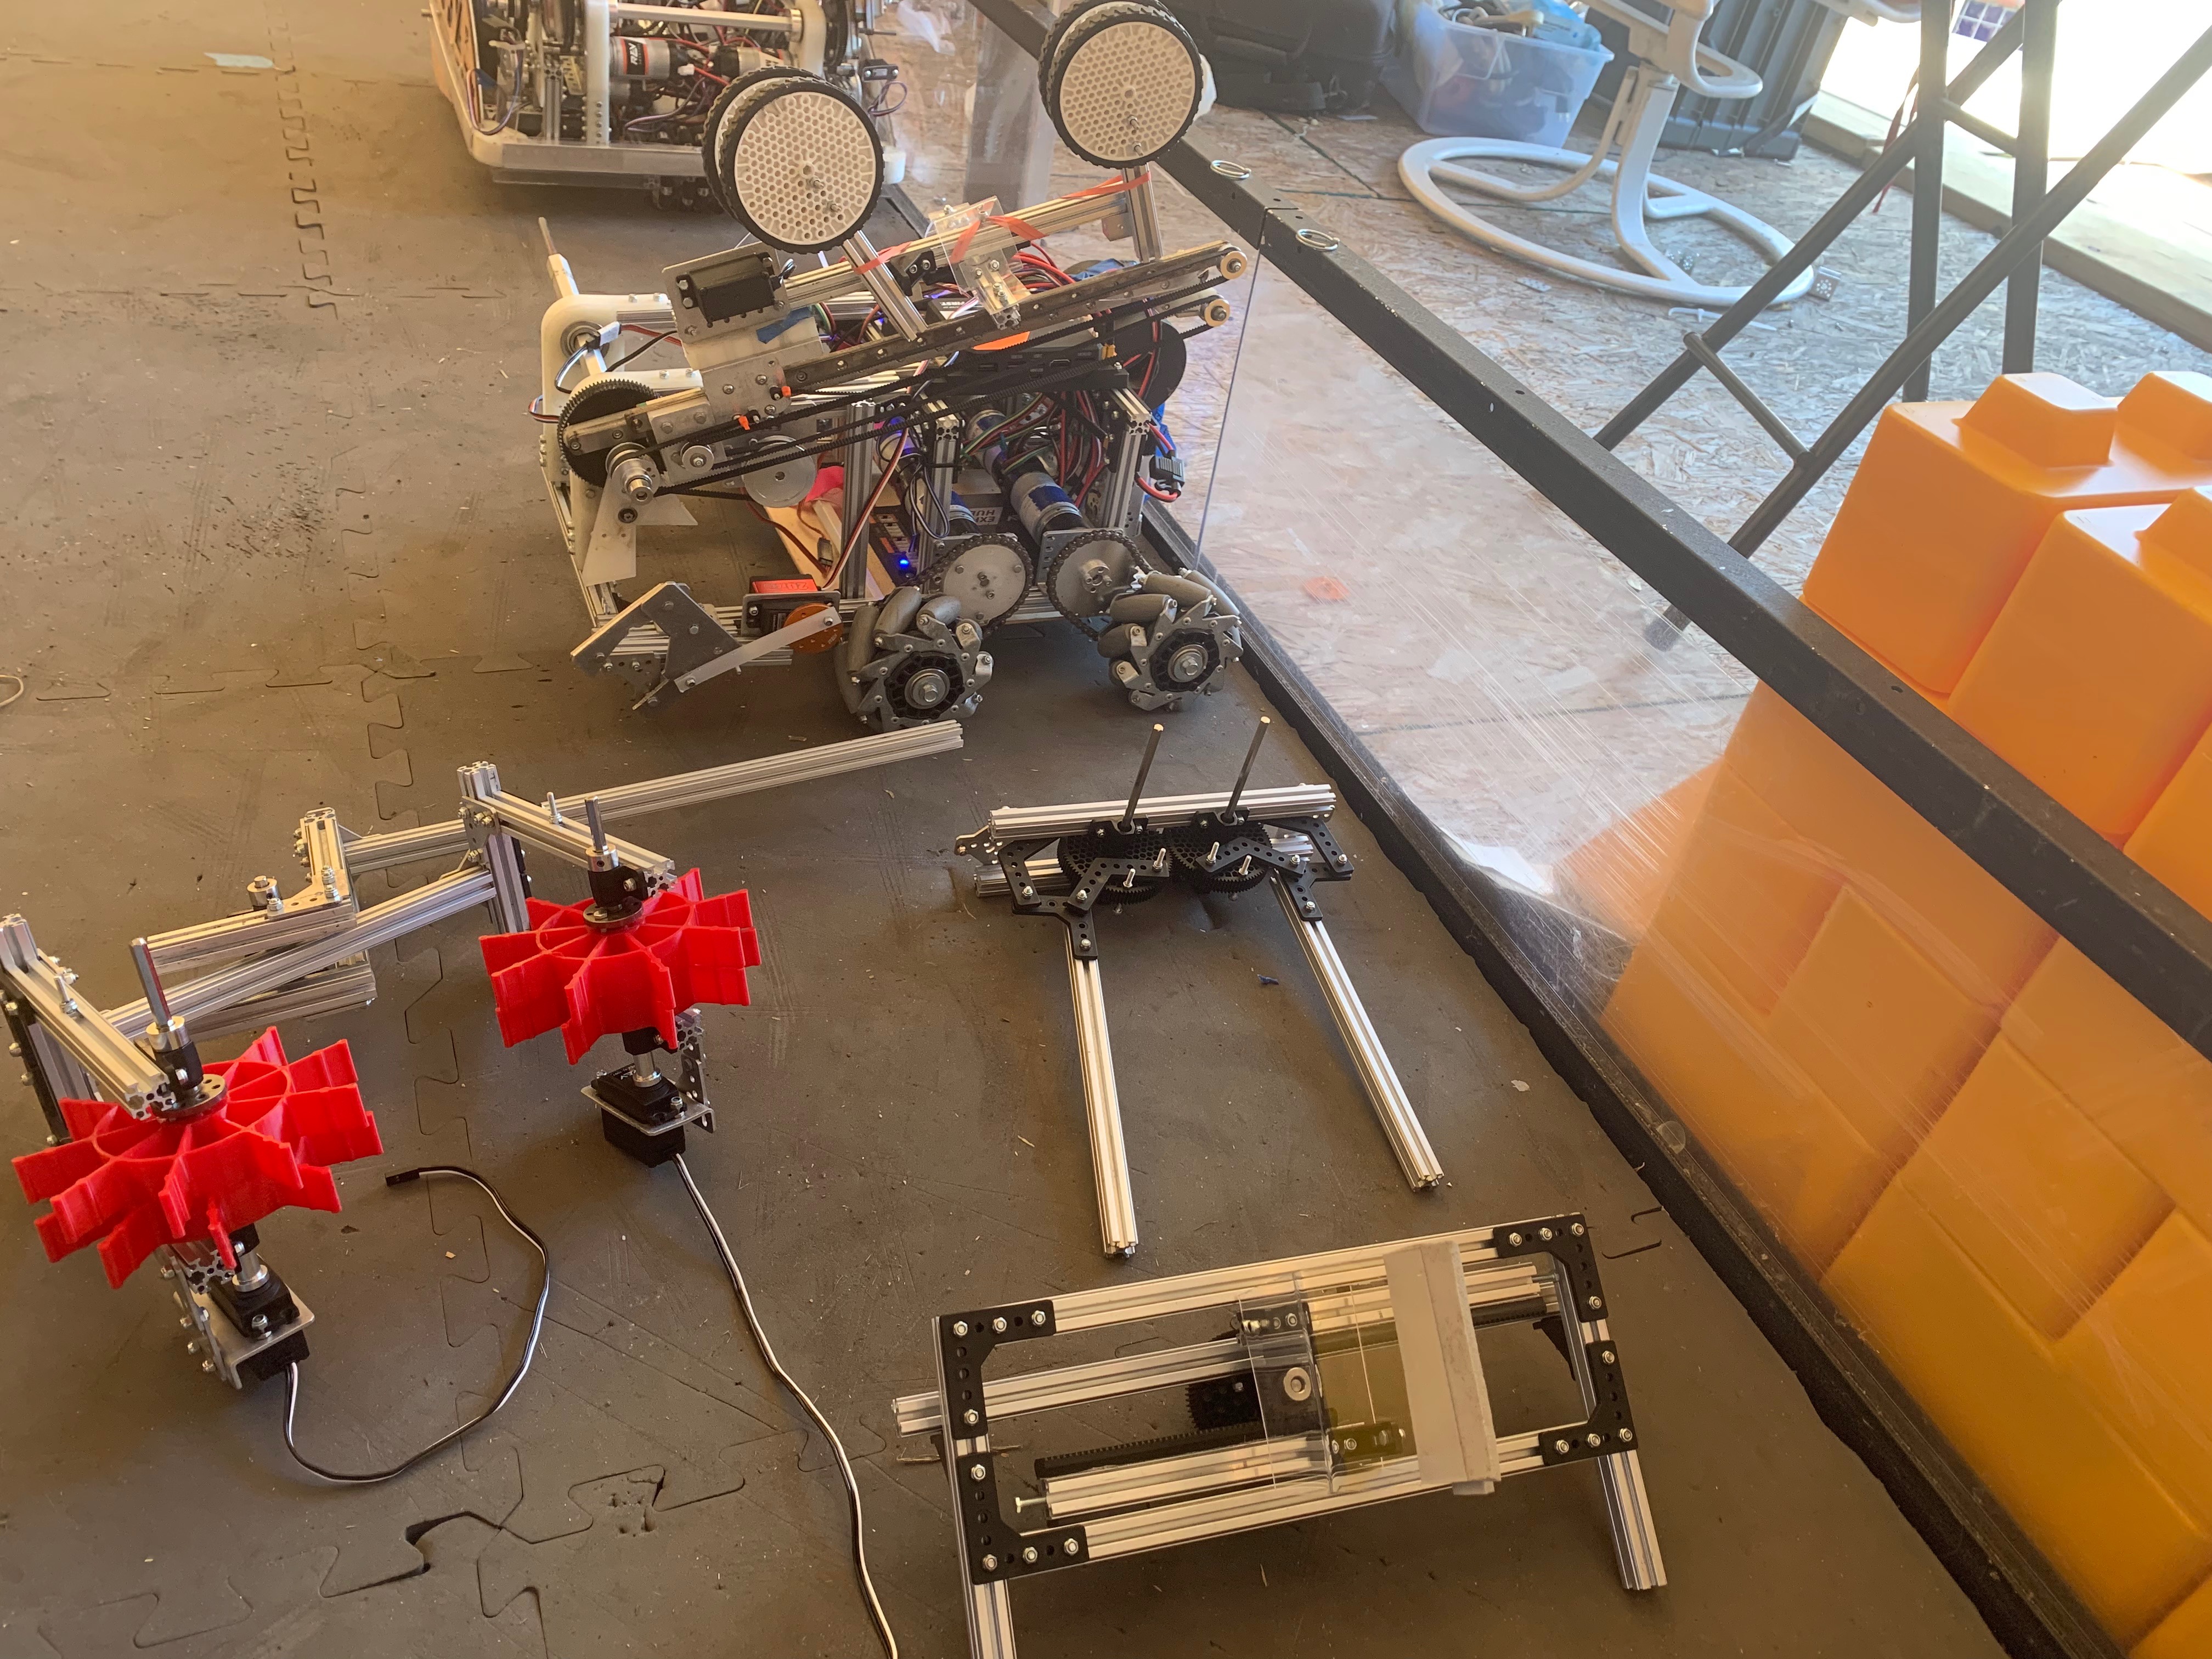
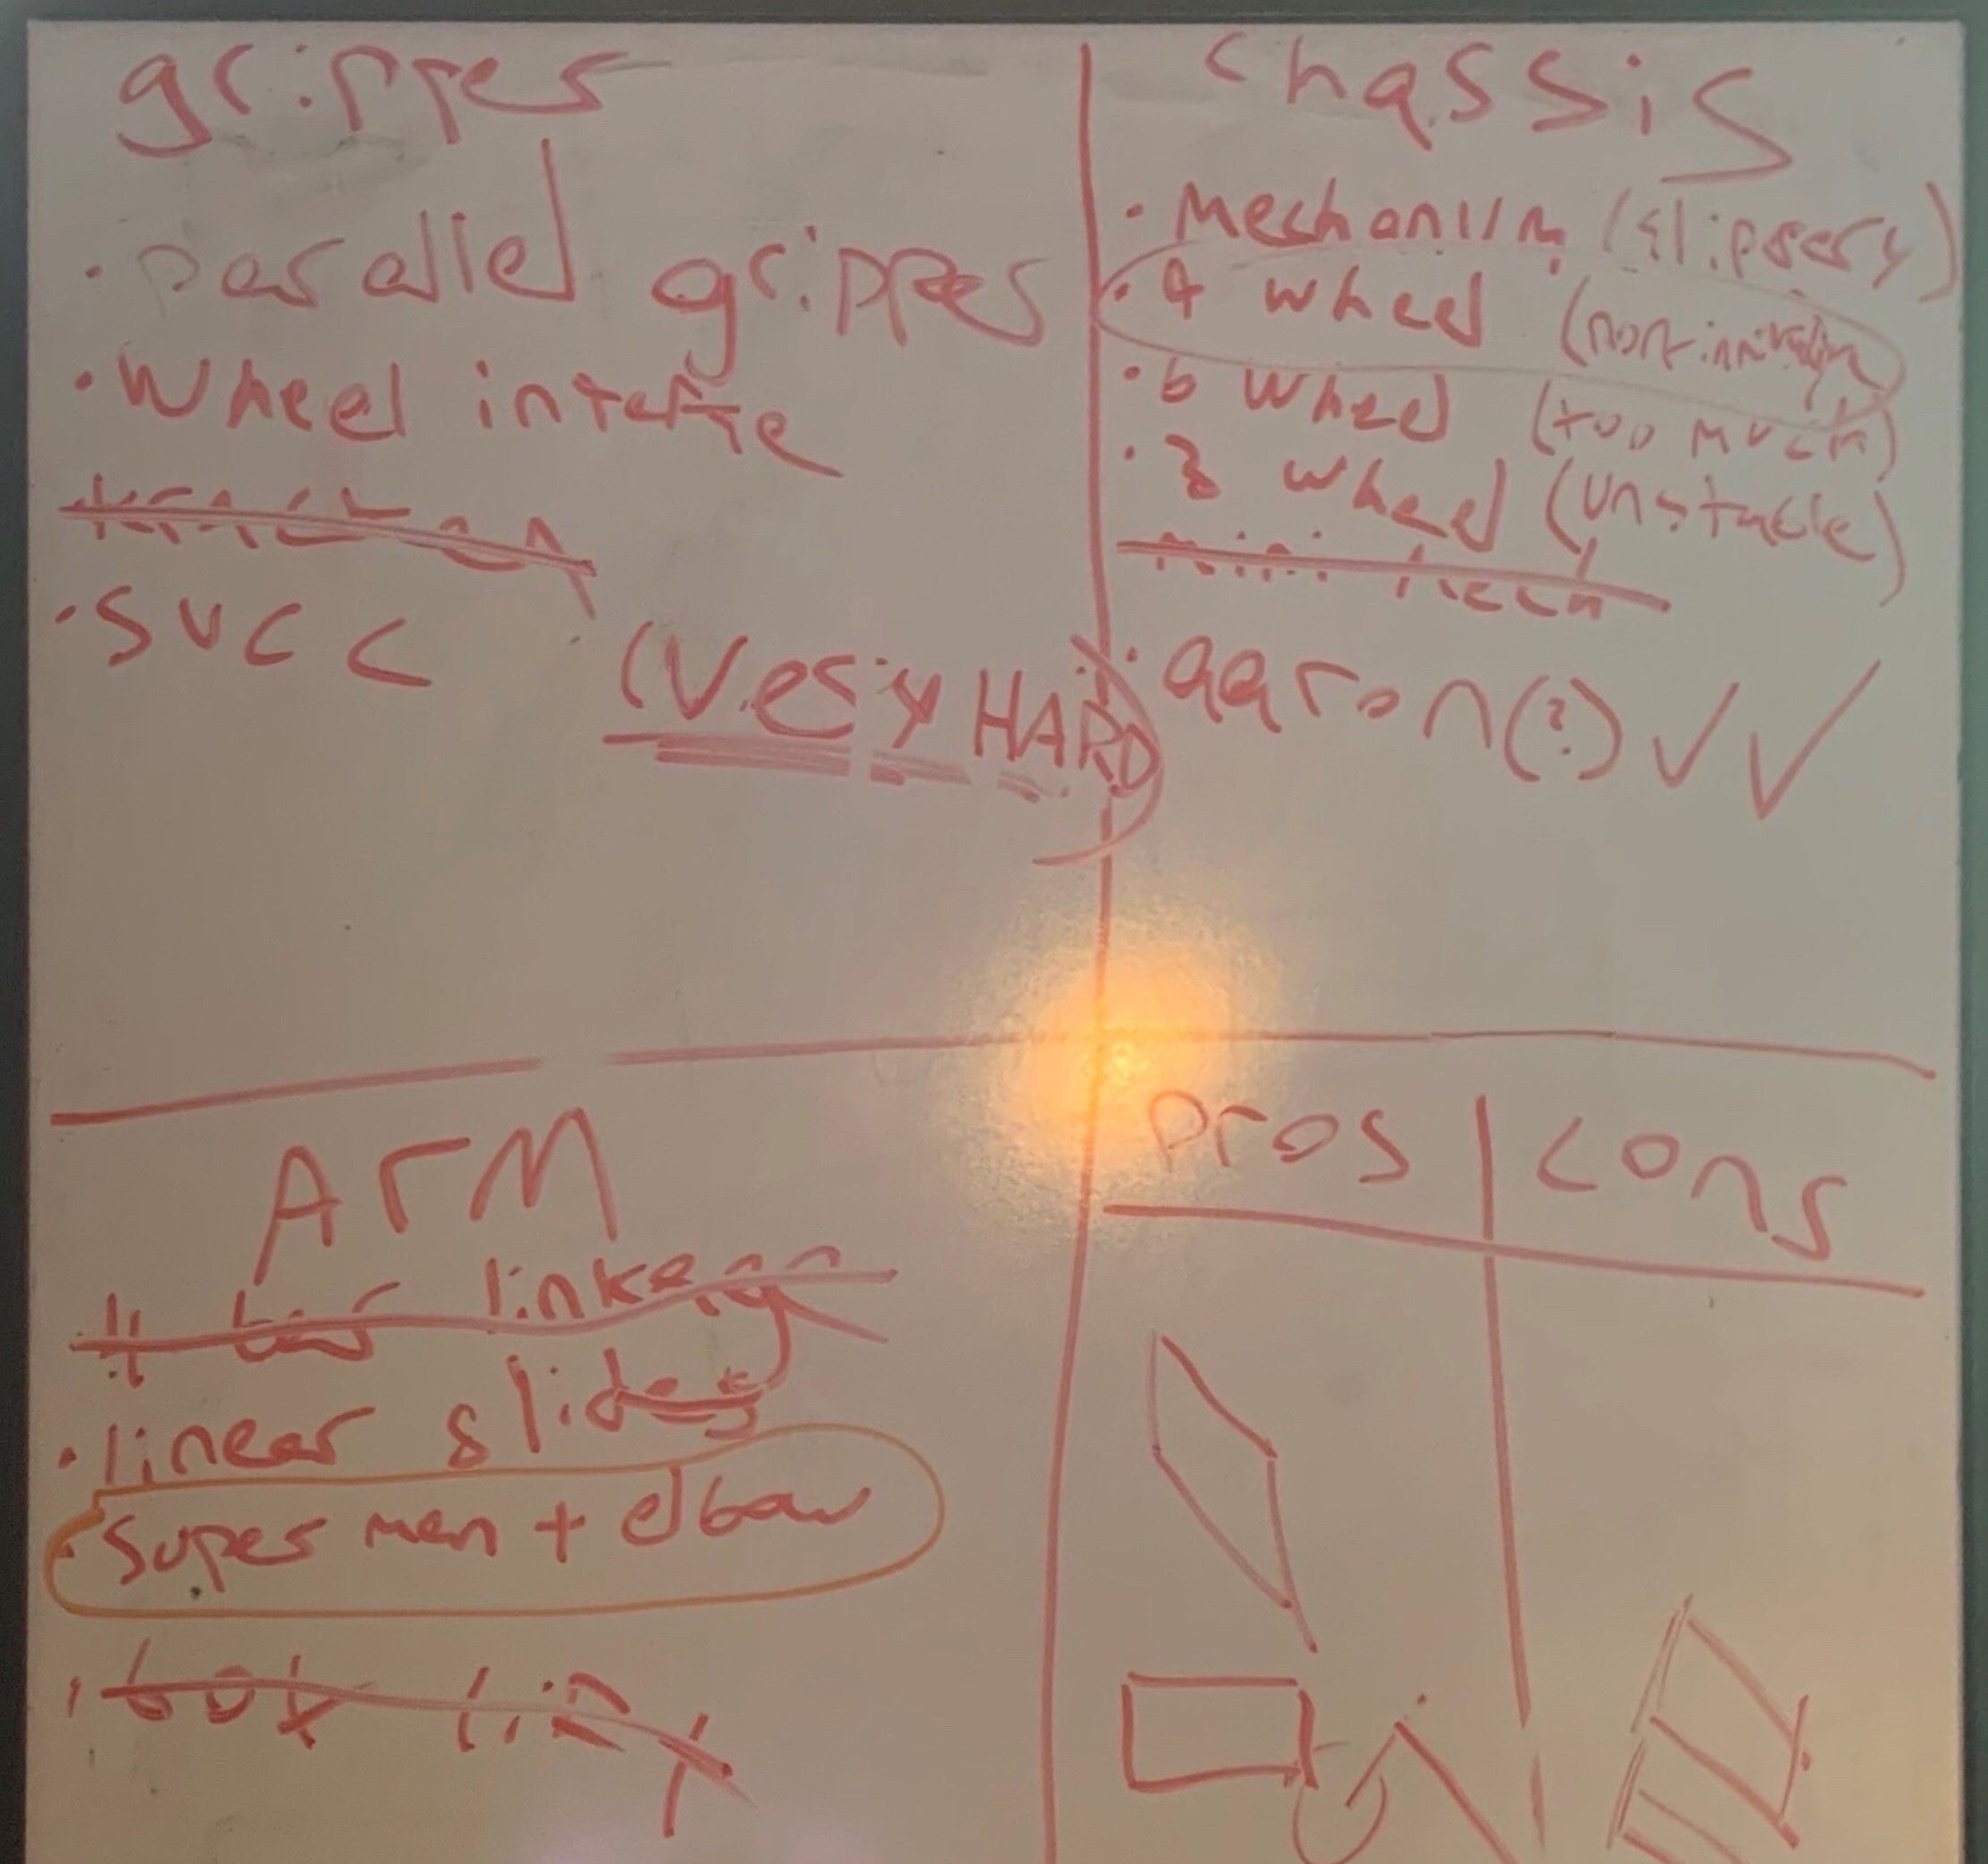
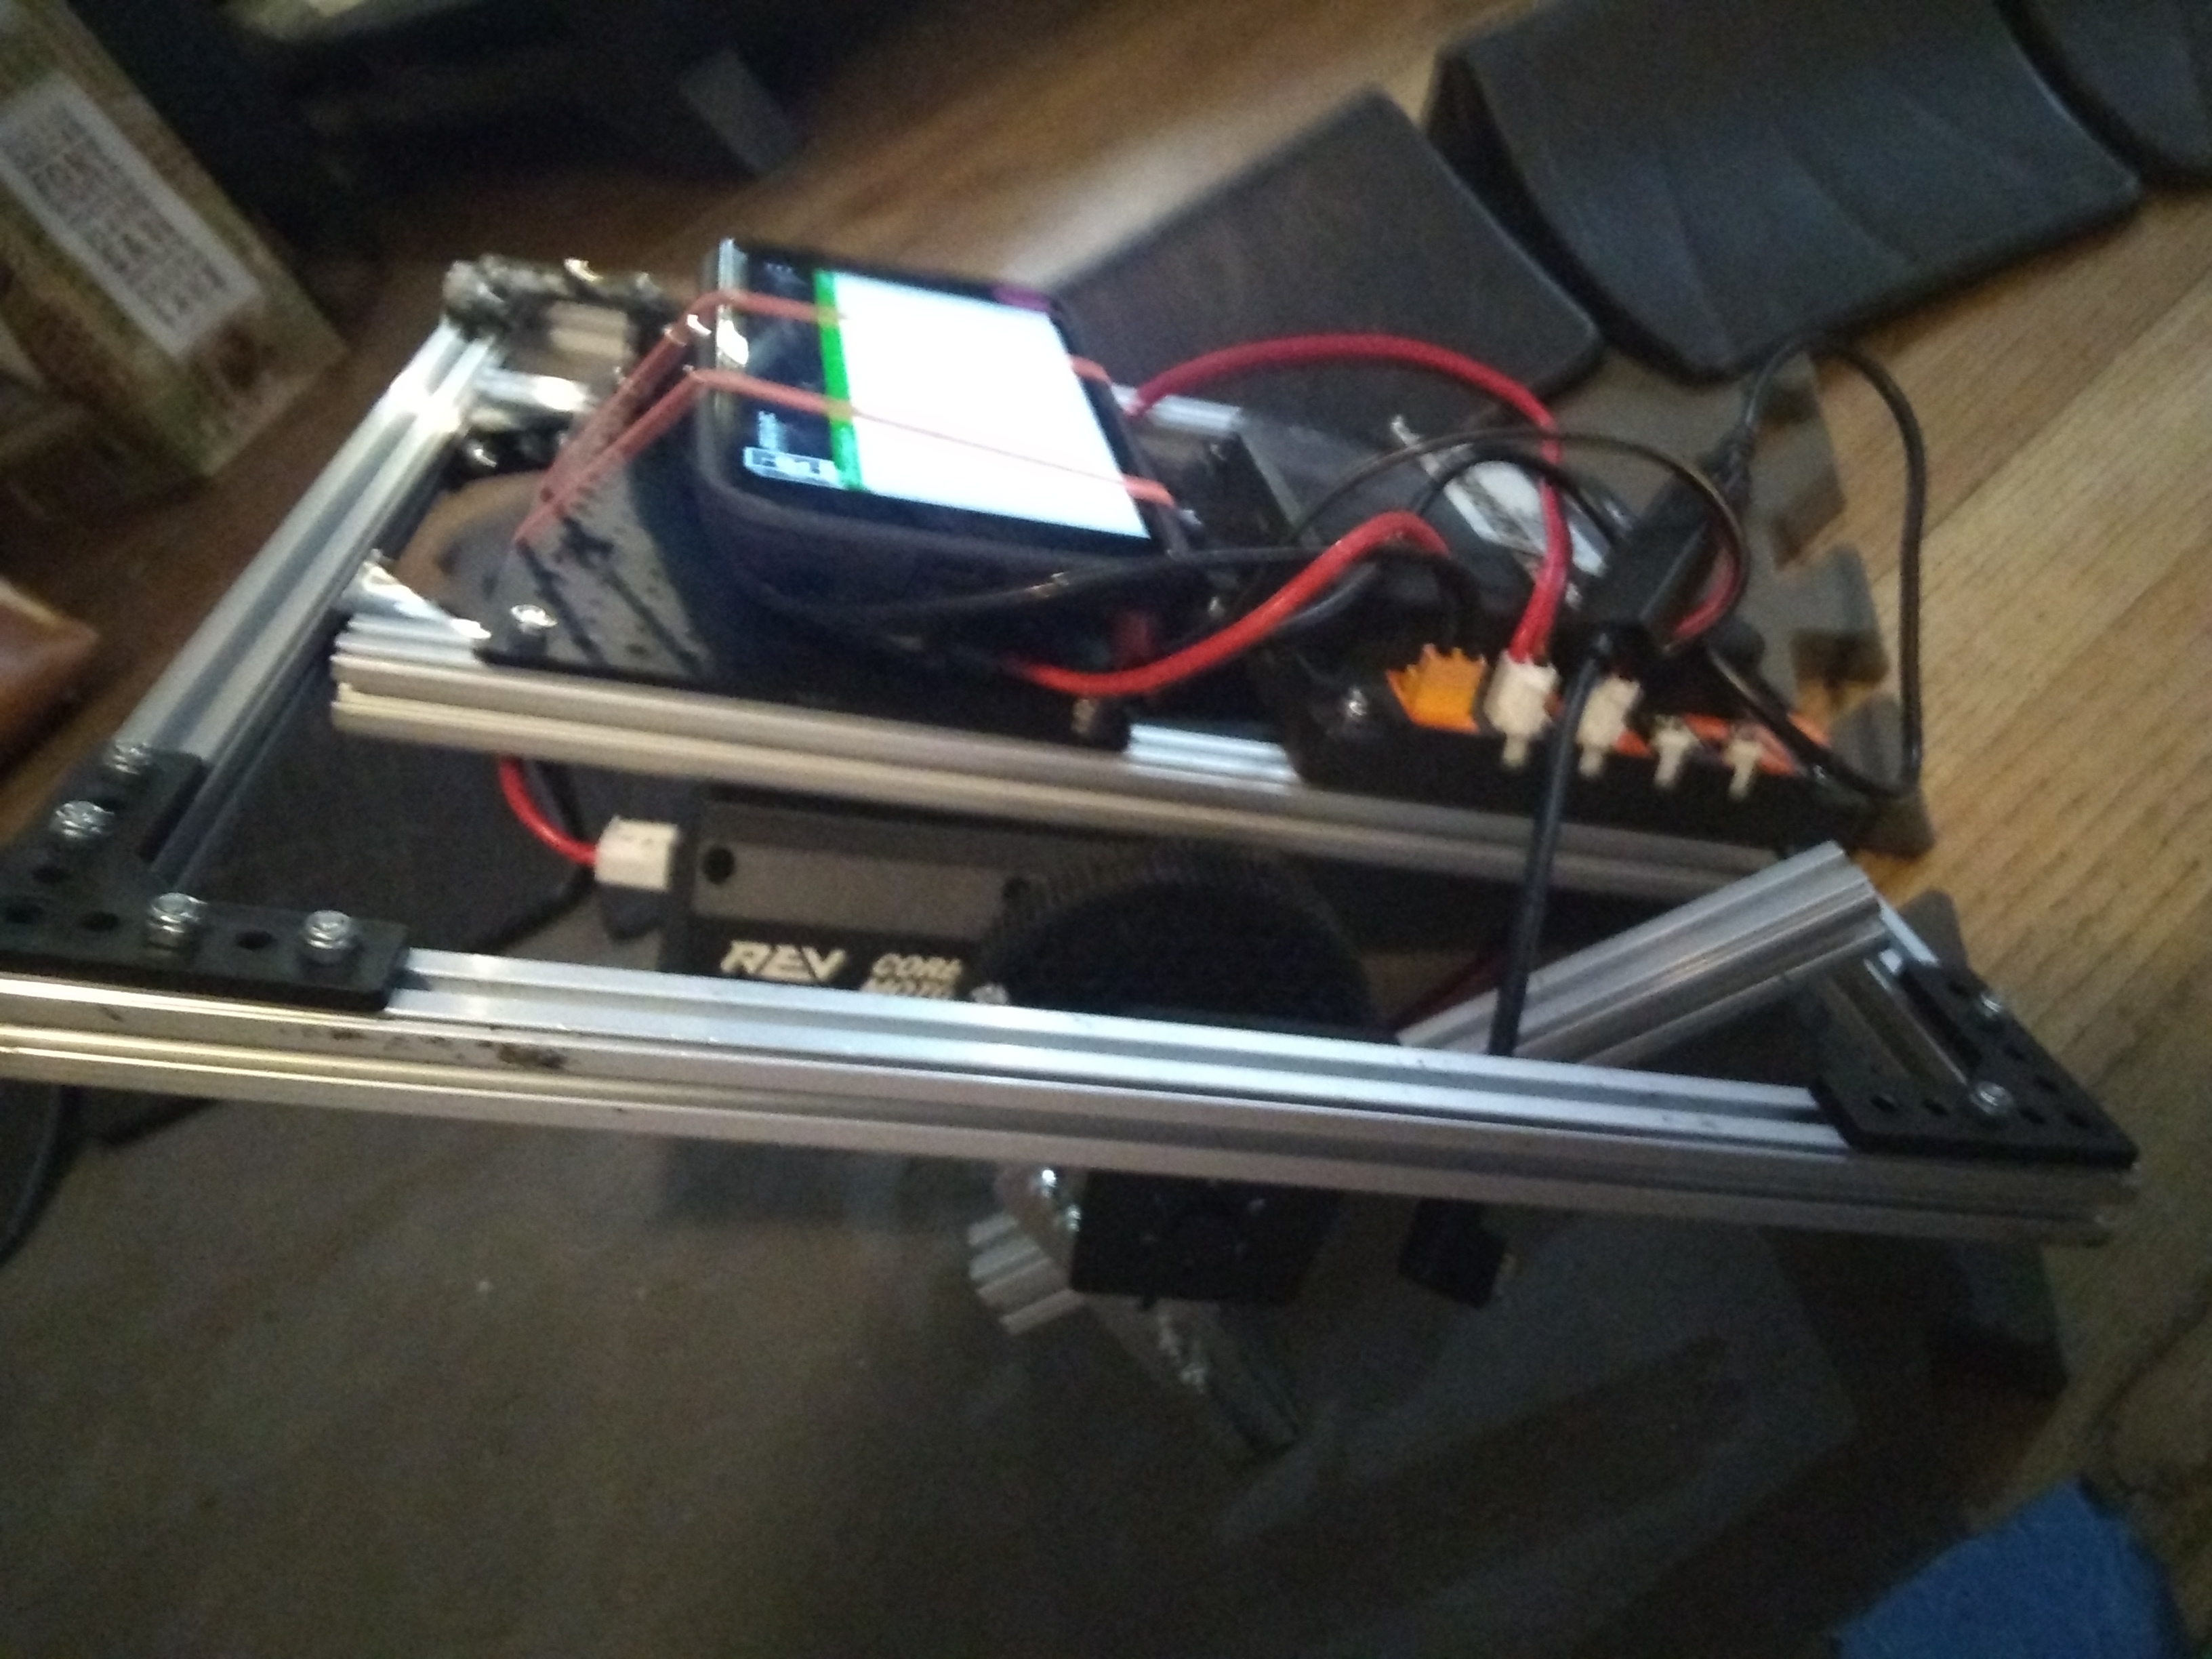
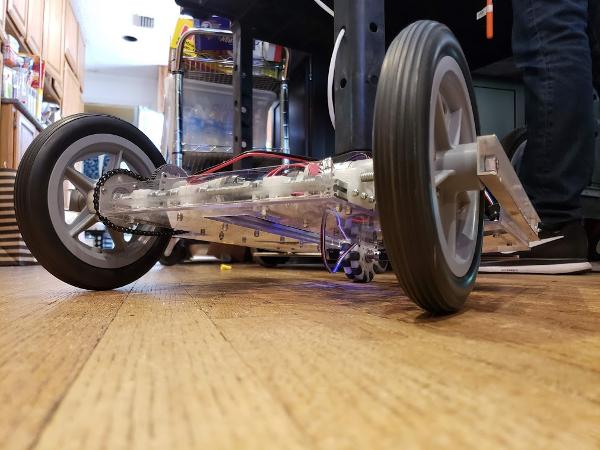
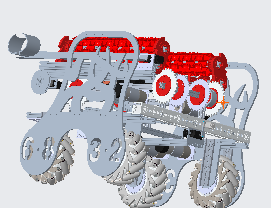
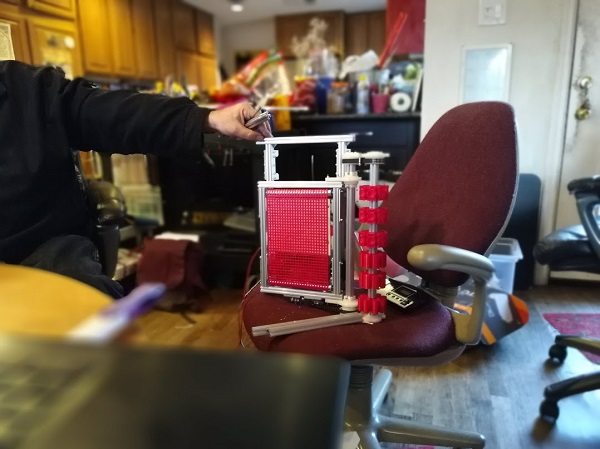
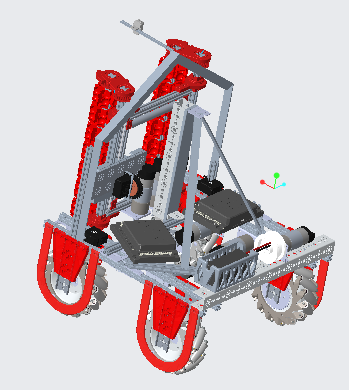
Over the past few weeks we have been working on getting V3 of our roller claw, now forever to be known as Speciminer, into working order. V2 of Speciminer worked well enough at intaking but could not eject or tell if we collected the correct sample color. Additionally, while V2 was sturdy enough, it likely would have failed in some capacity after just a few times of us using it for testing or practice....


 ...
...


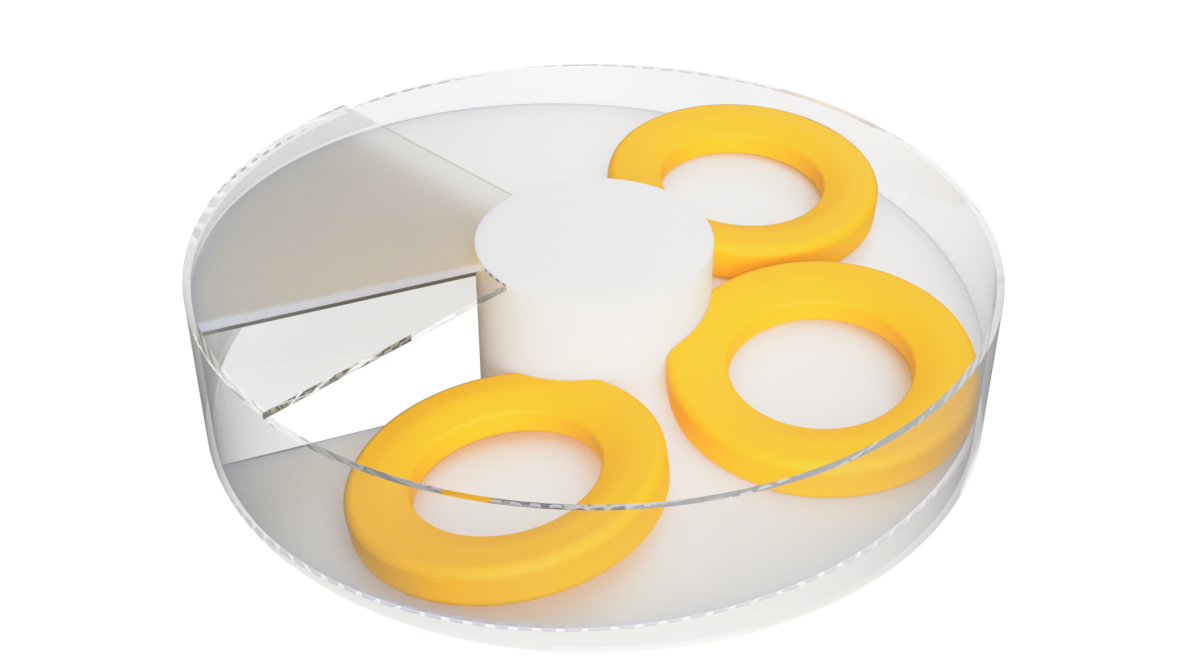
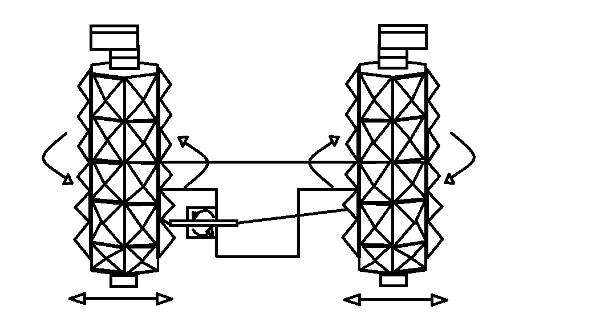
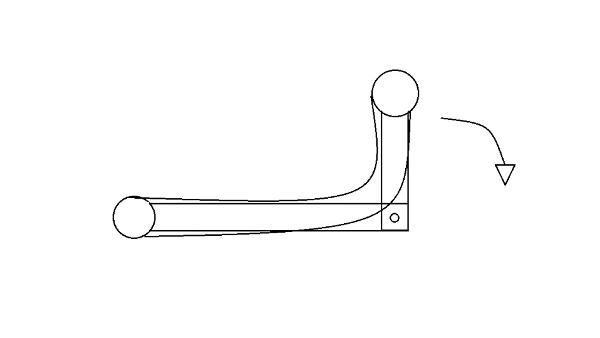
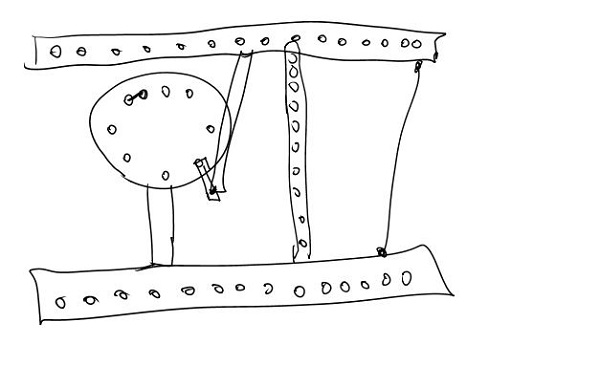
 This suggestion uses a...
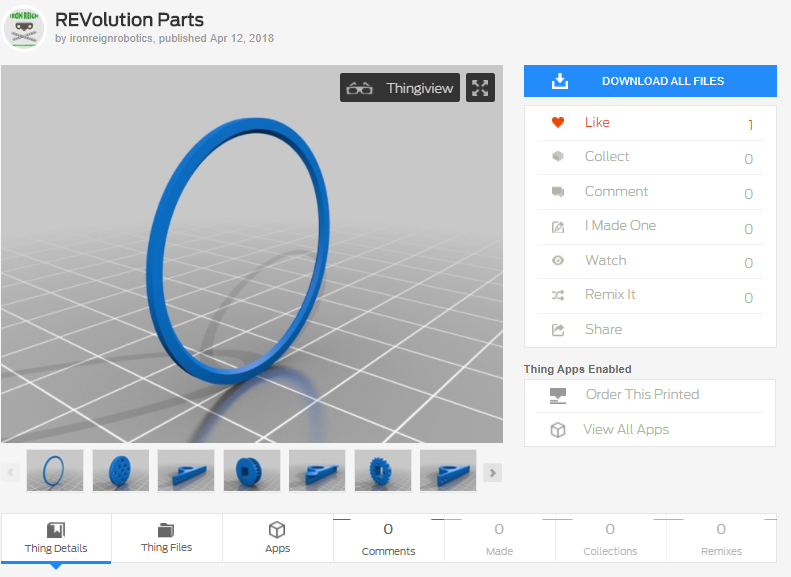
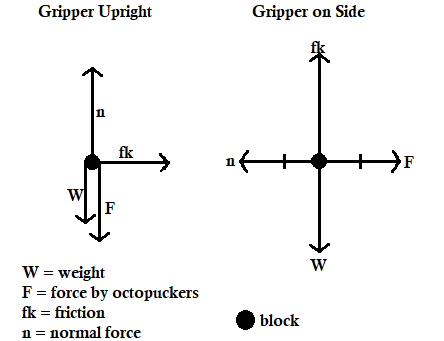
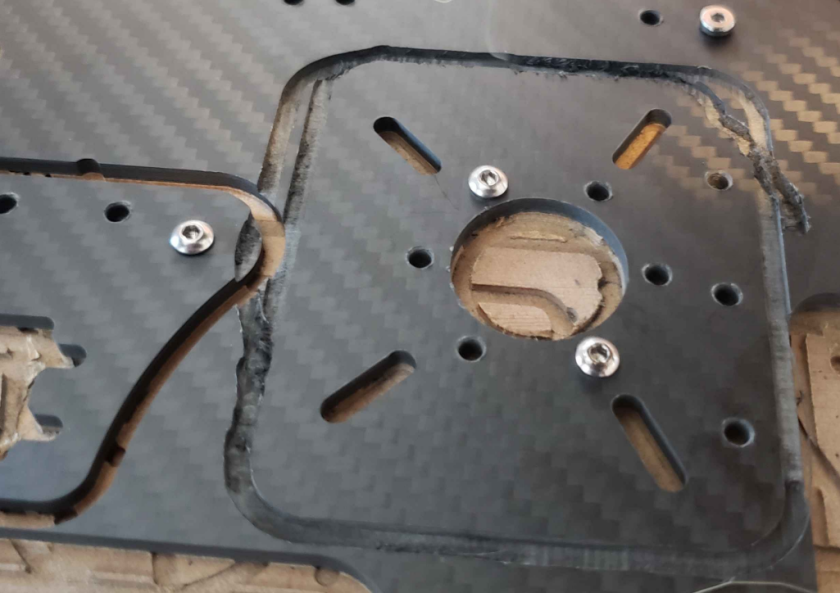
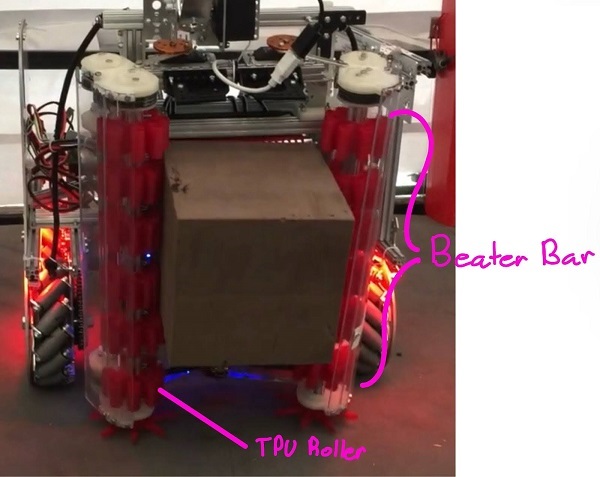
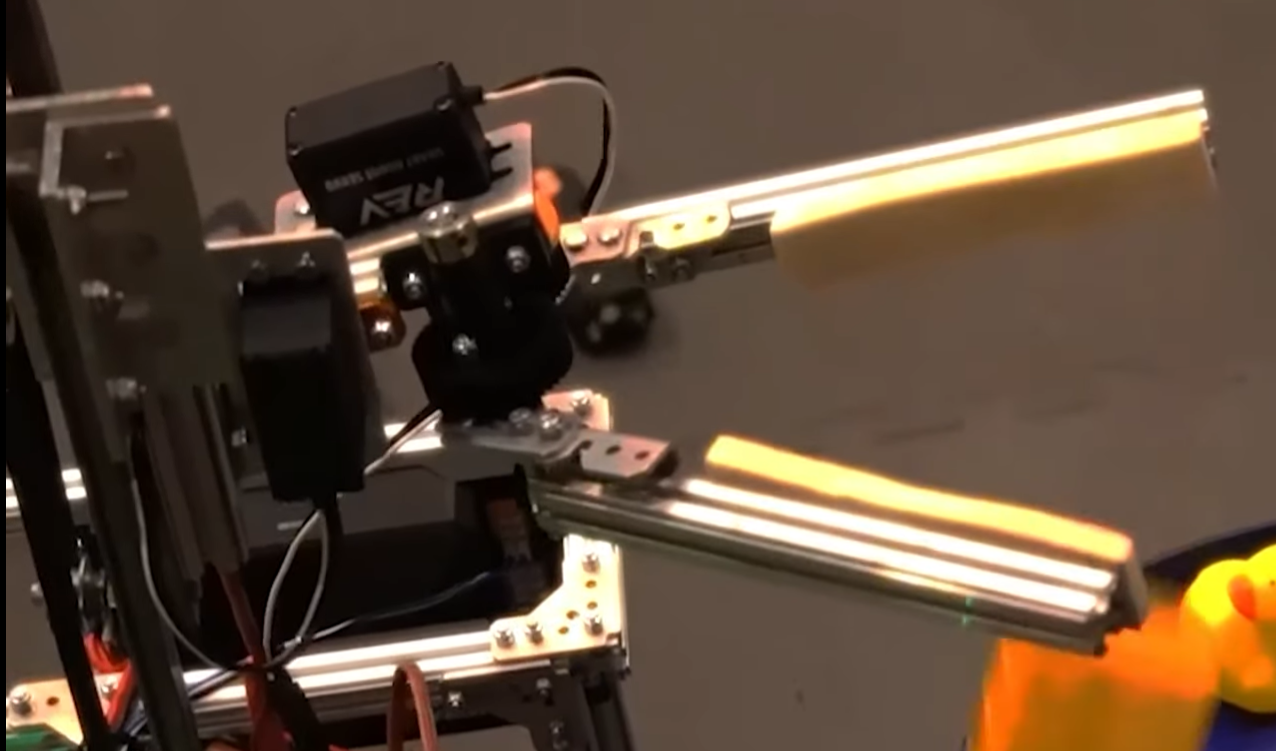
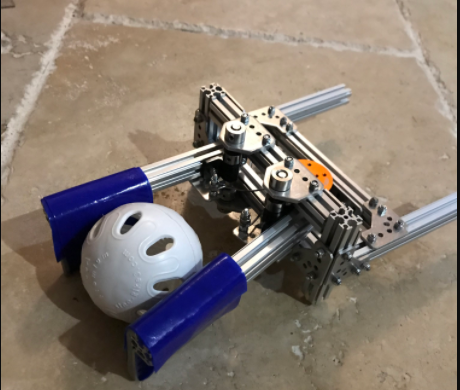
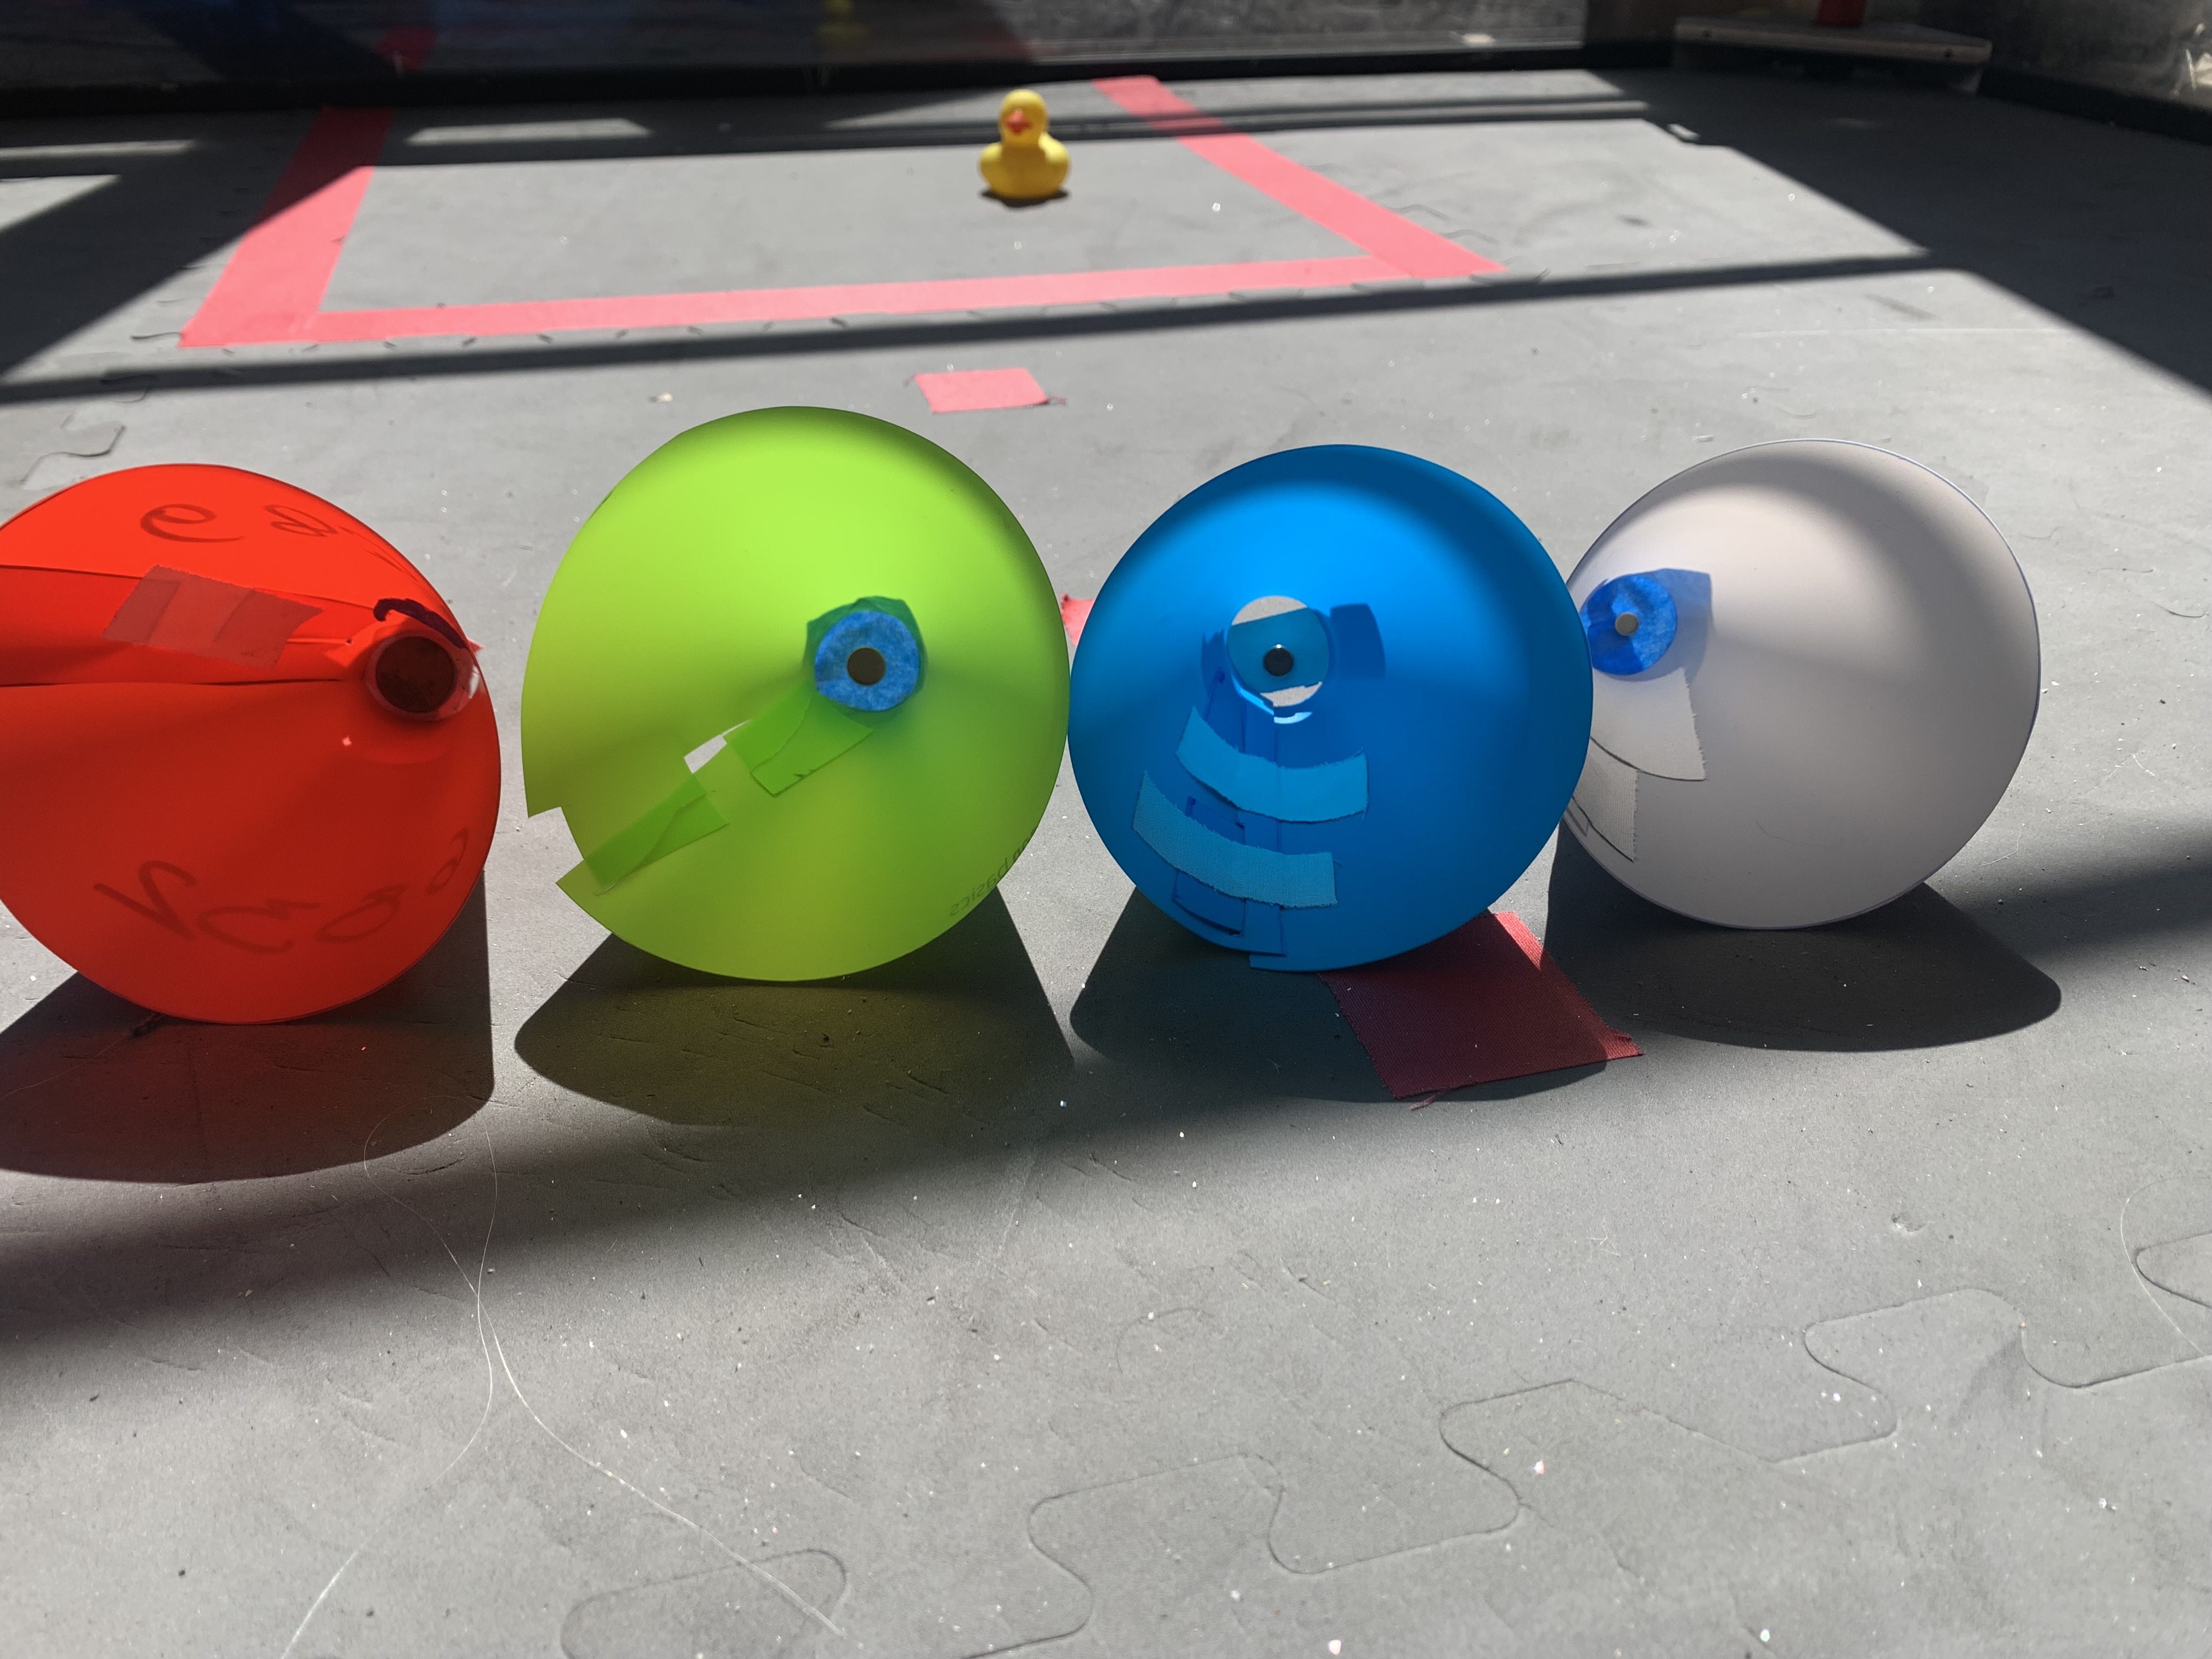
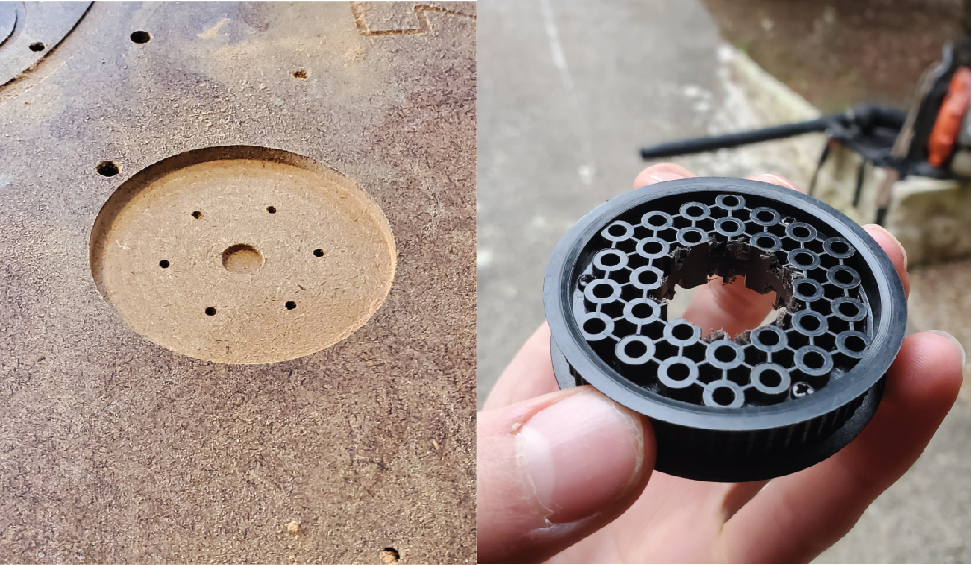
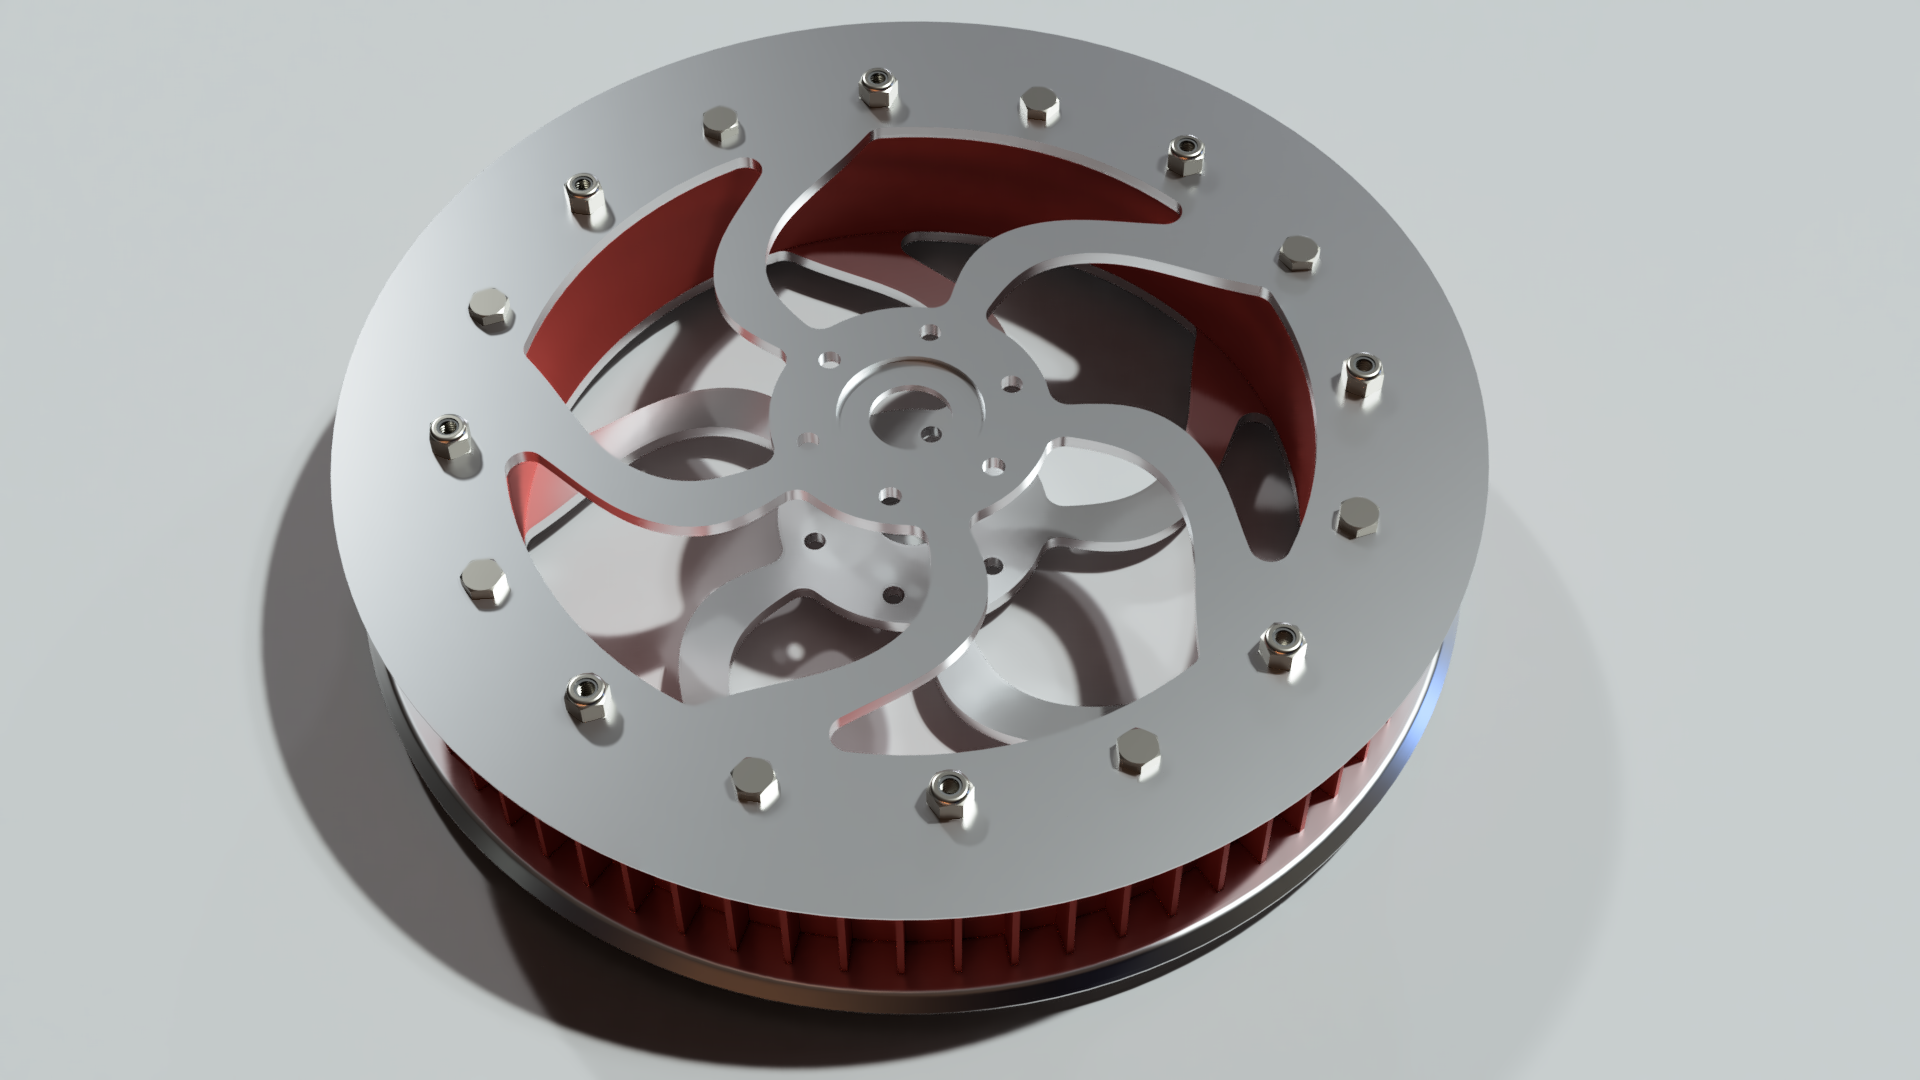
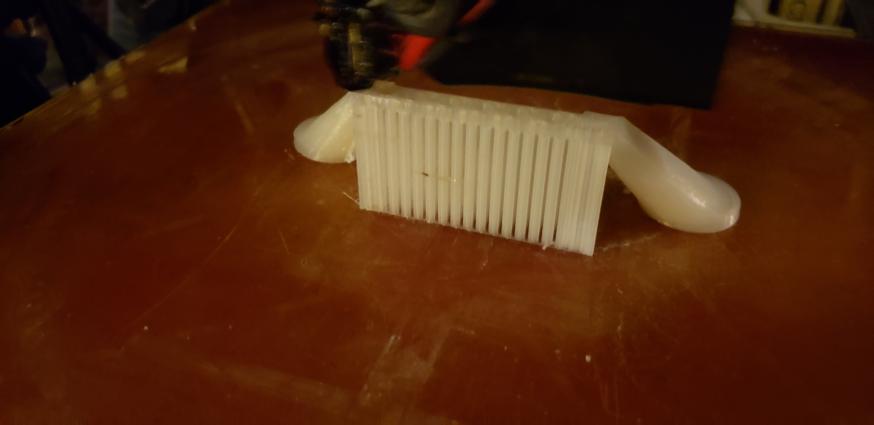
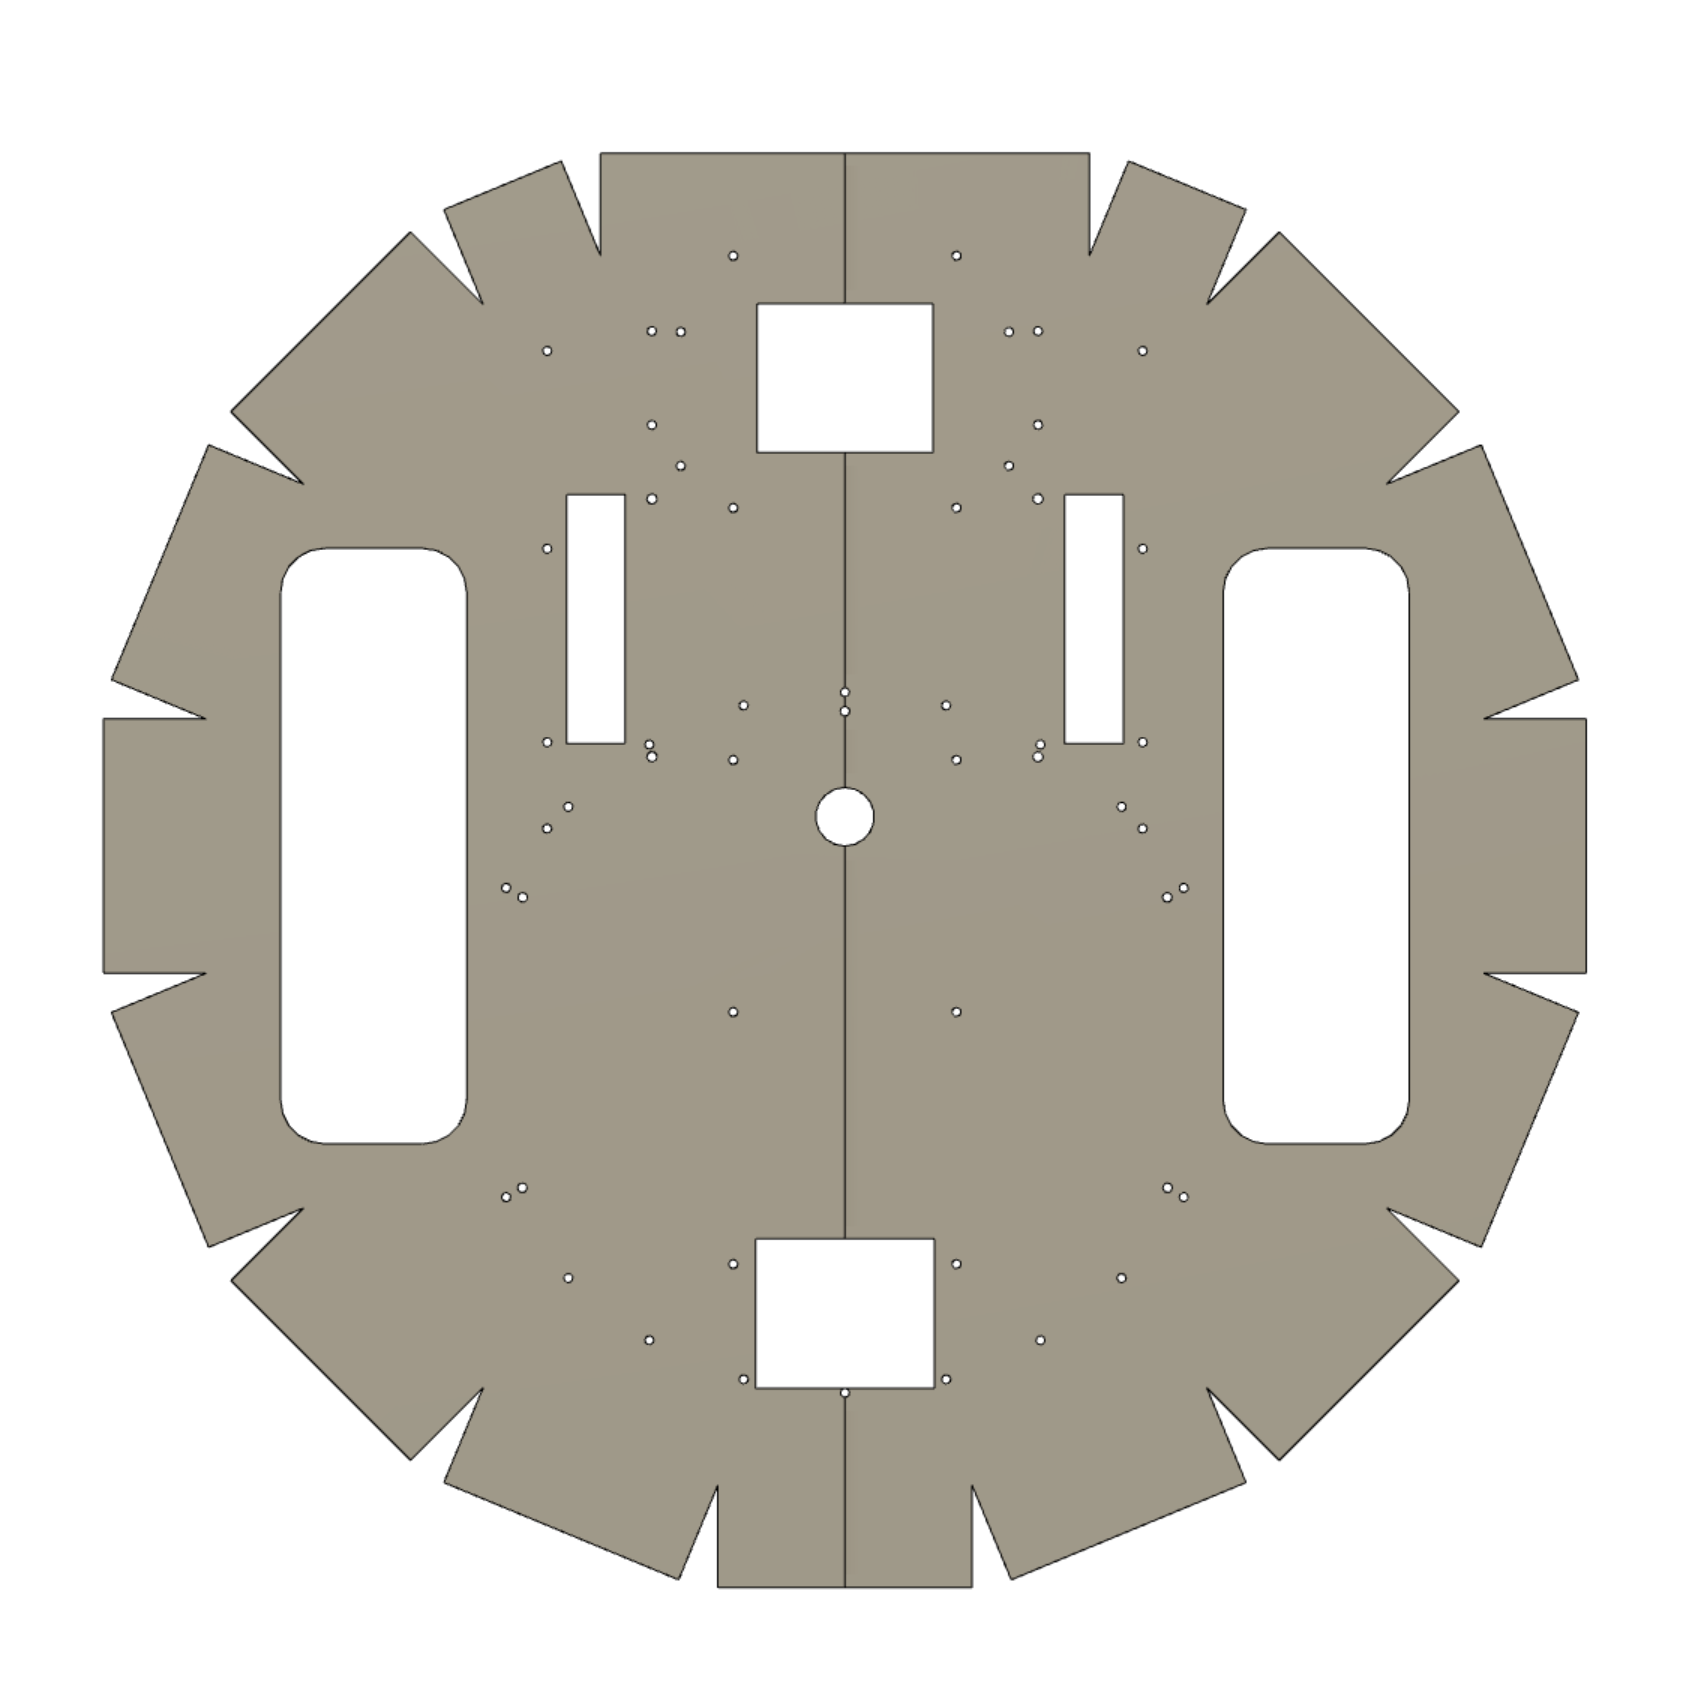
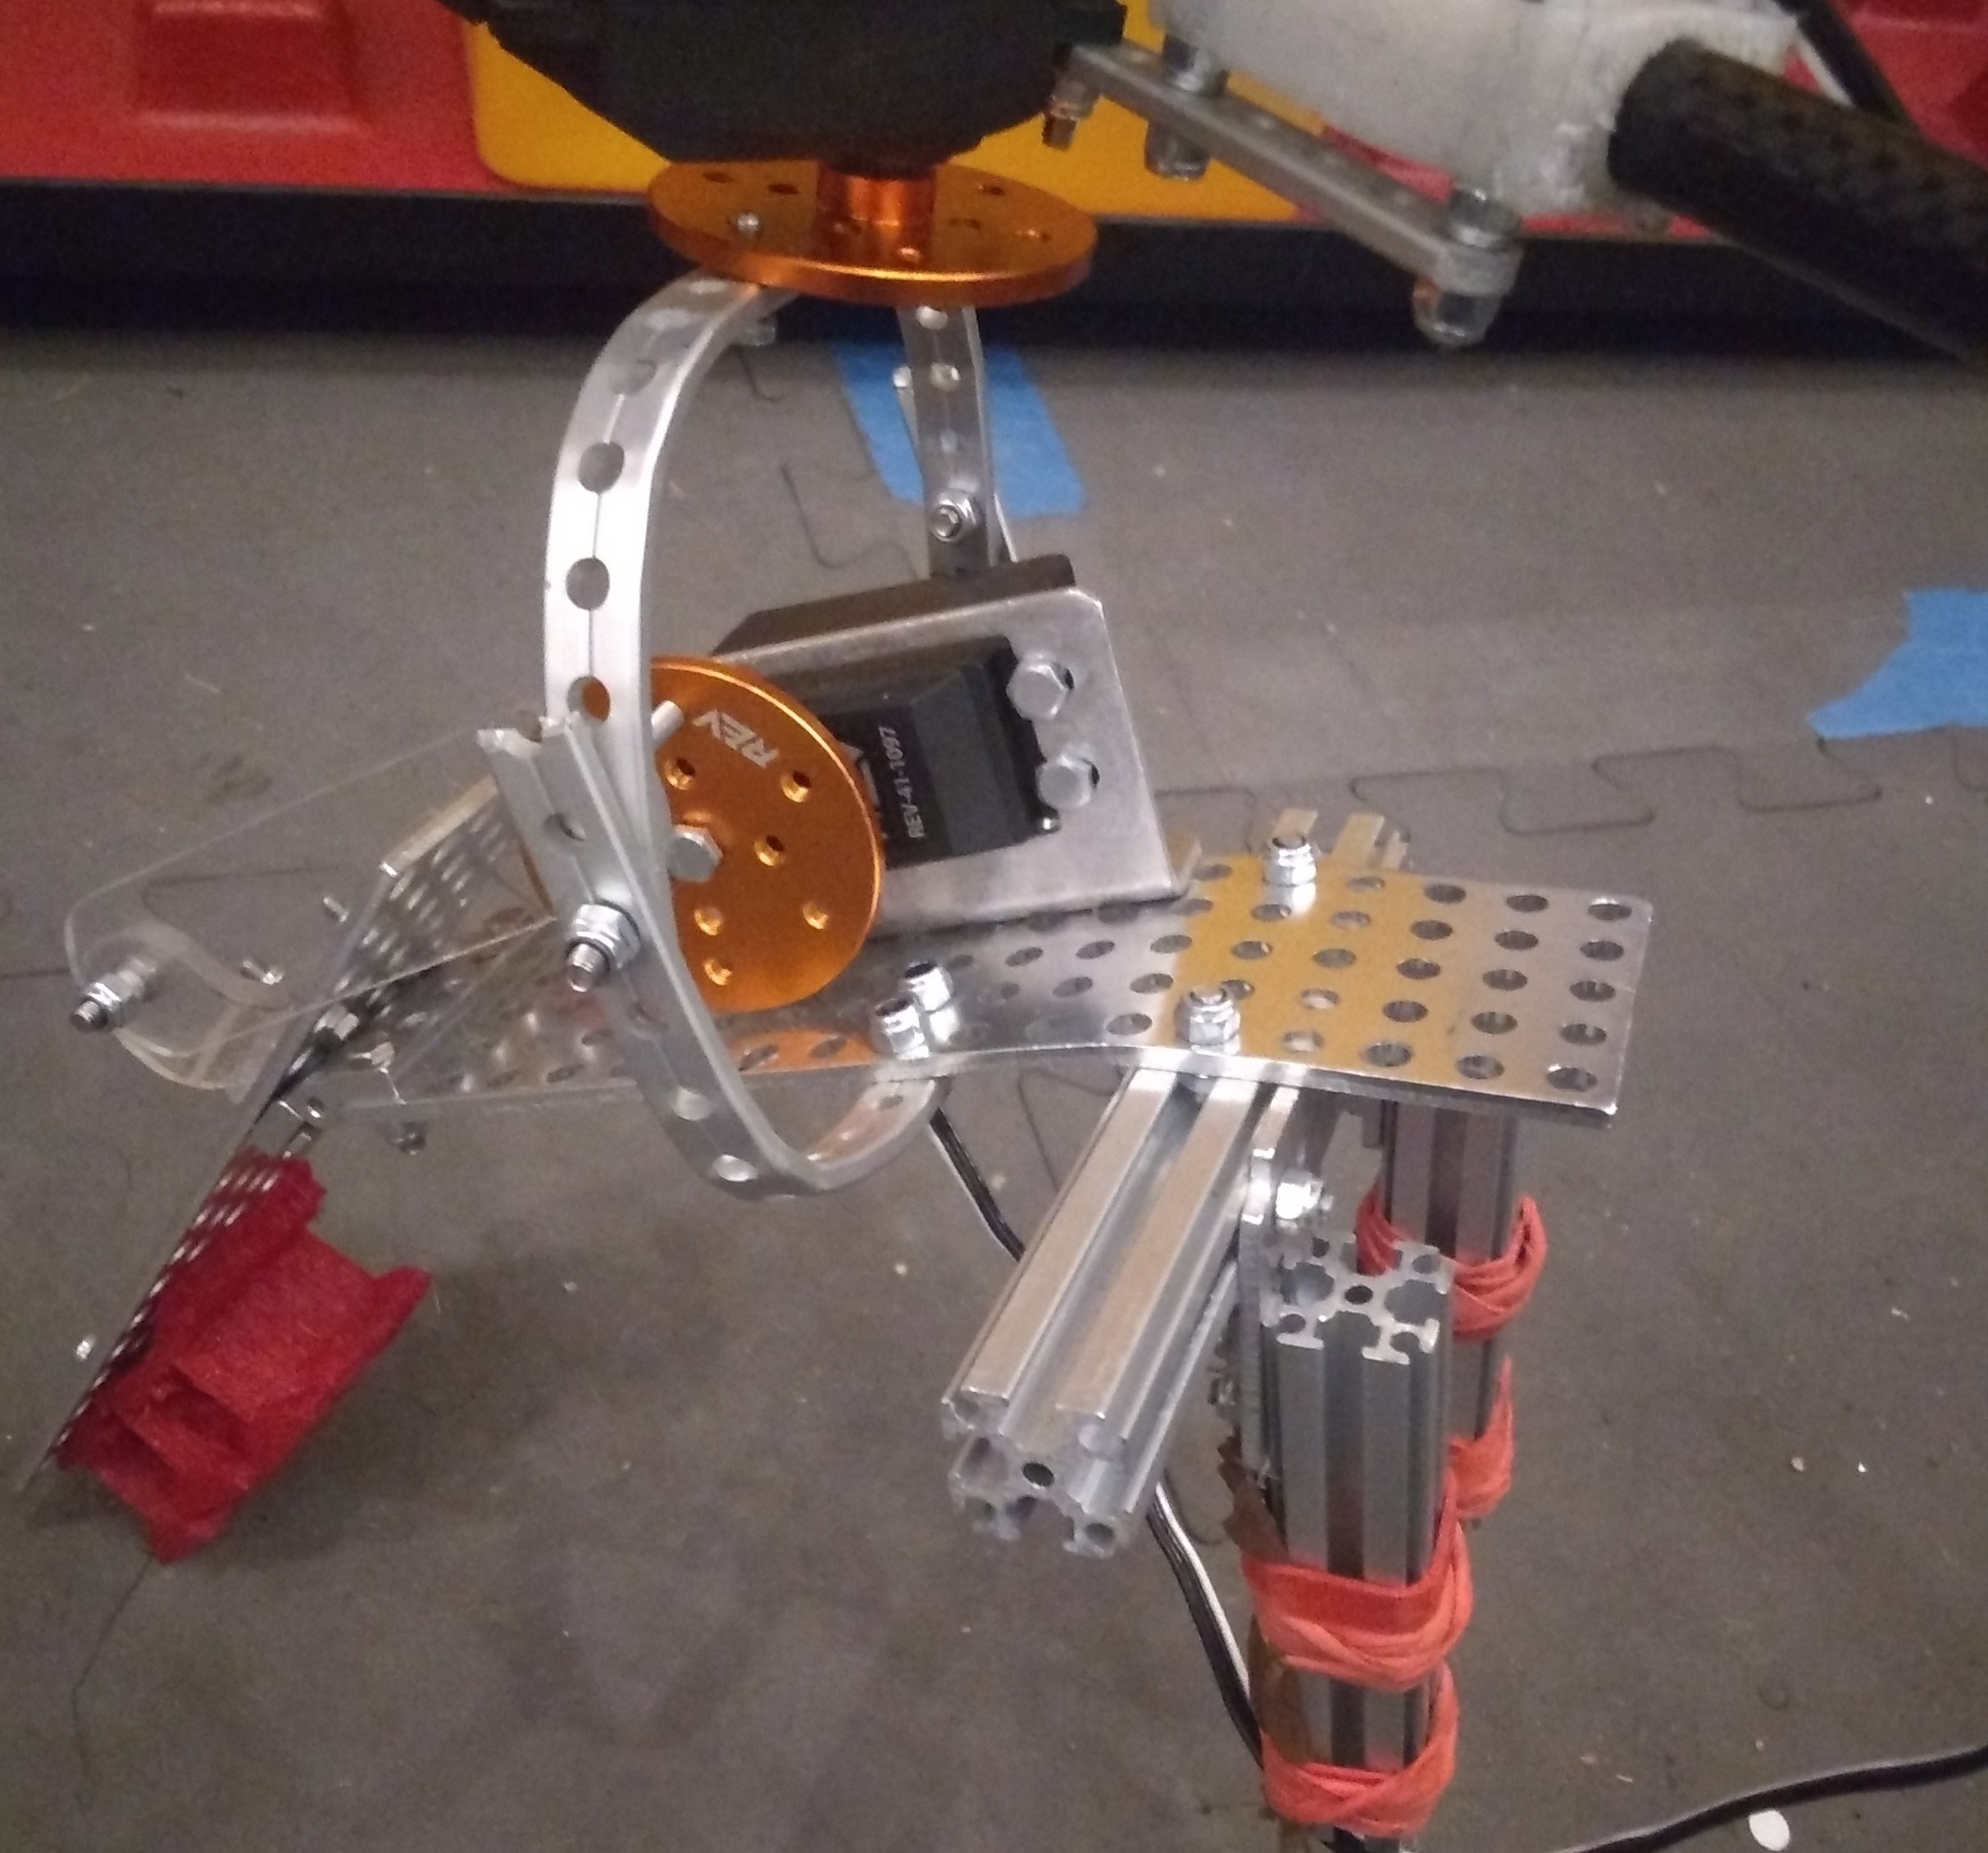
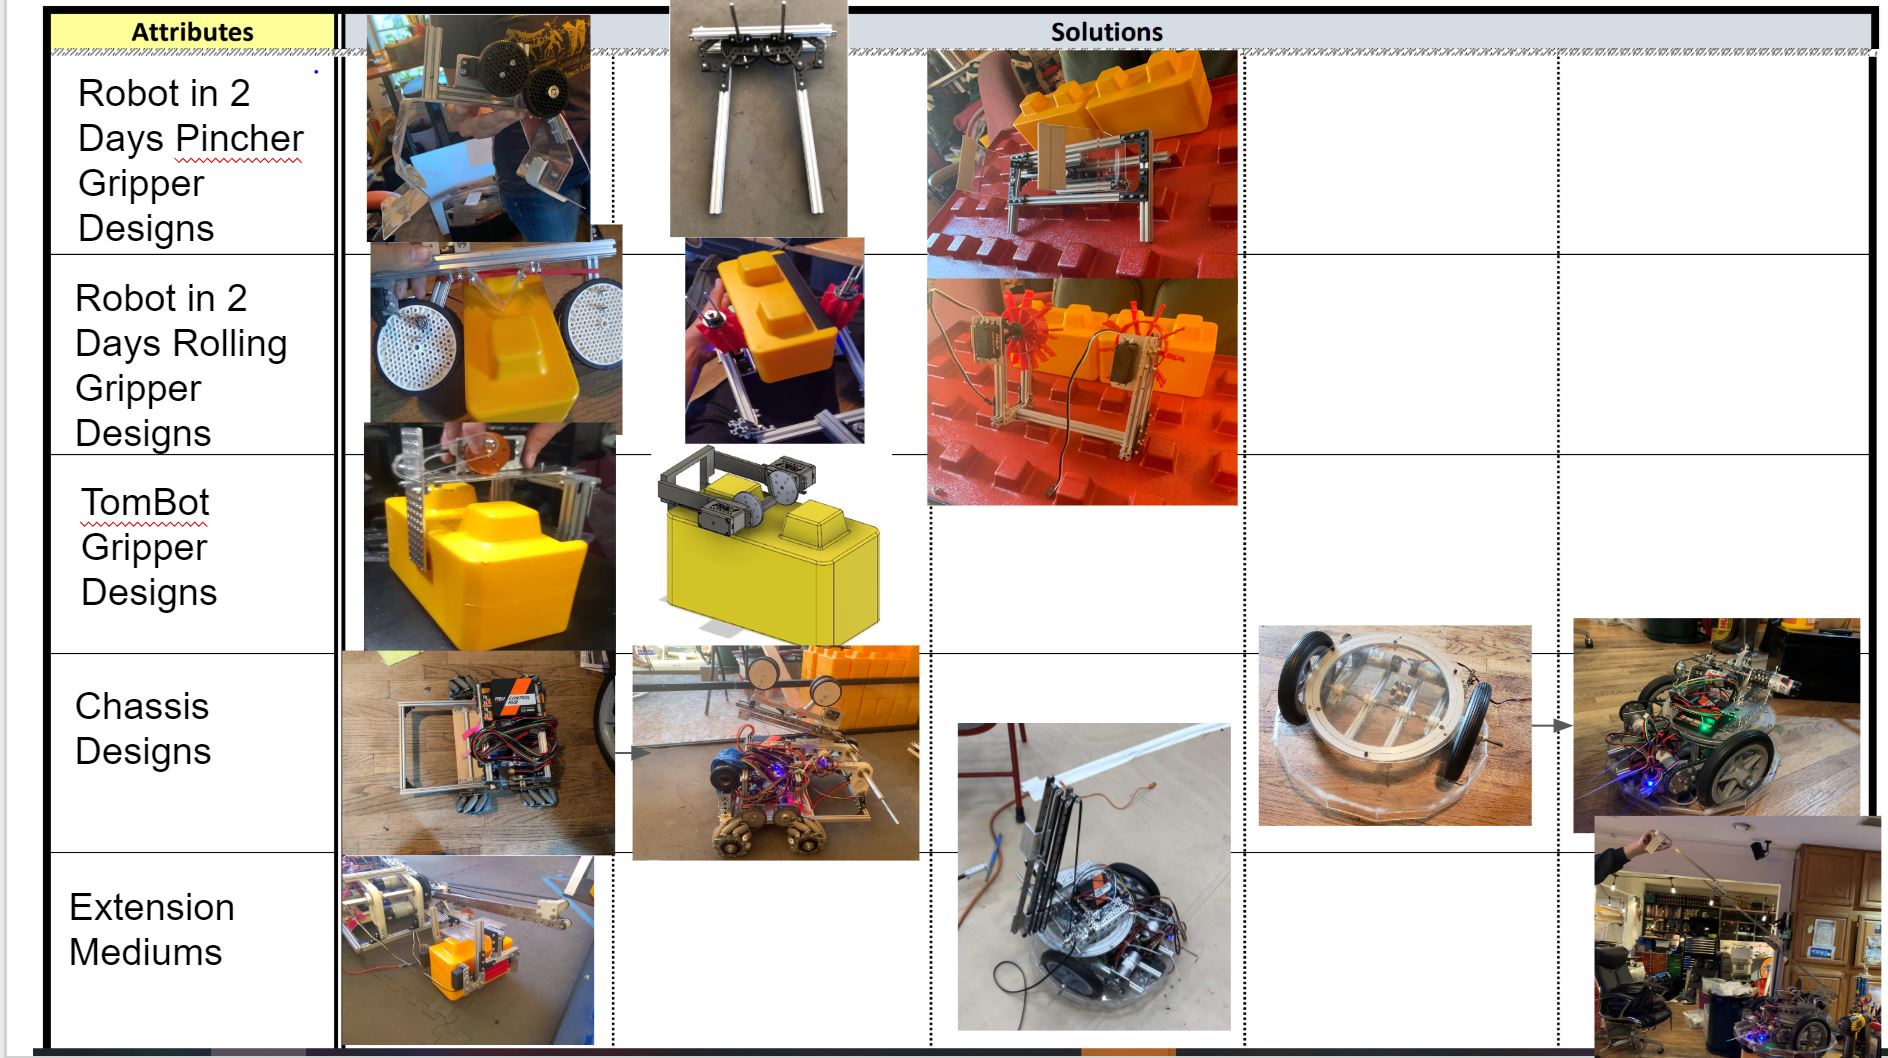
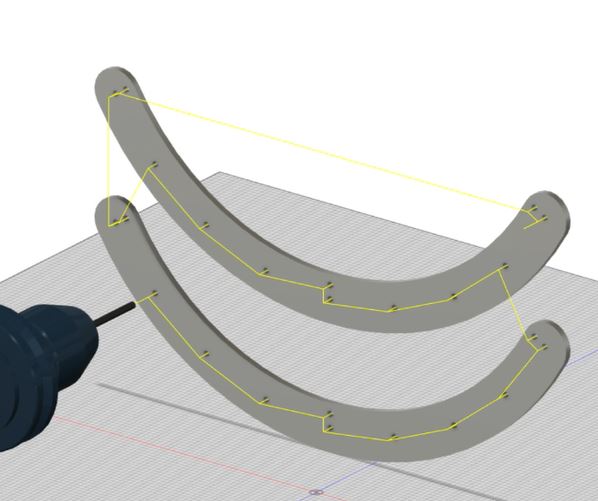
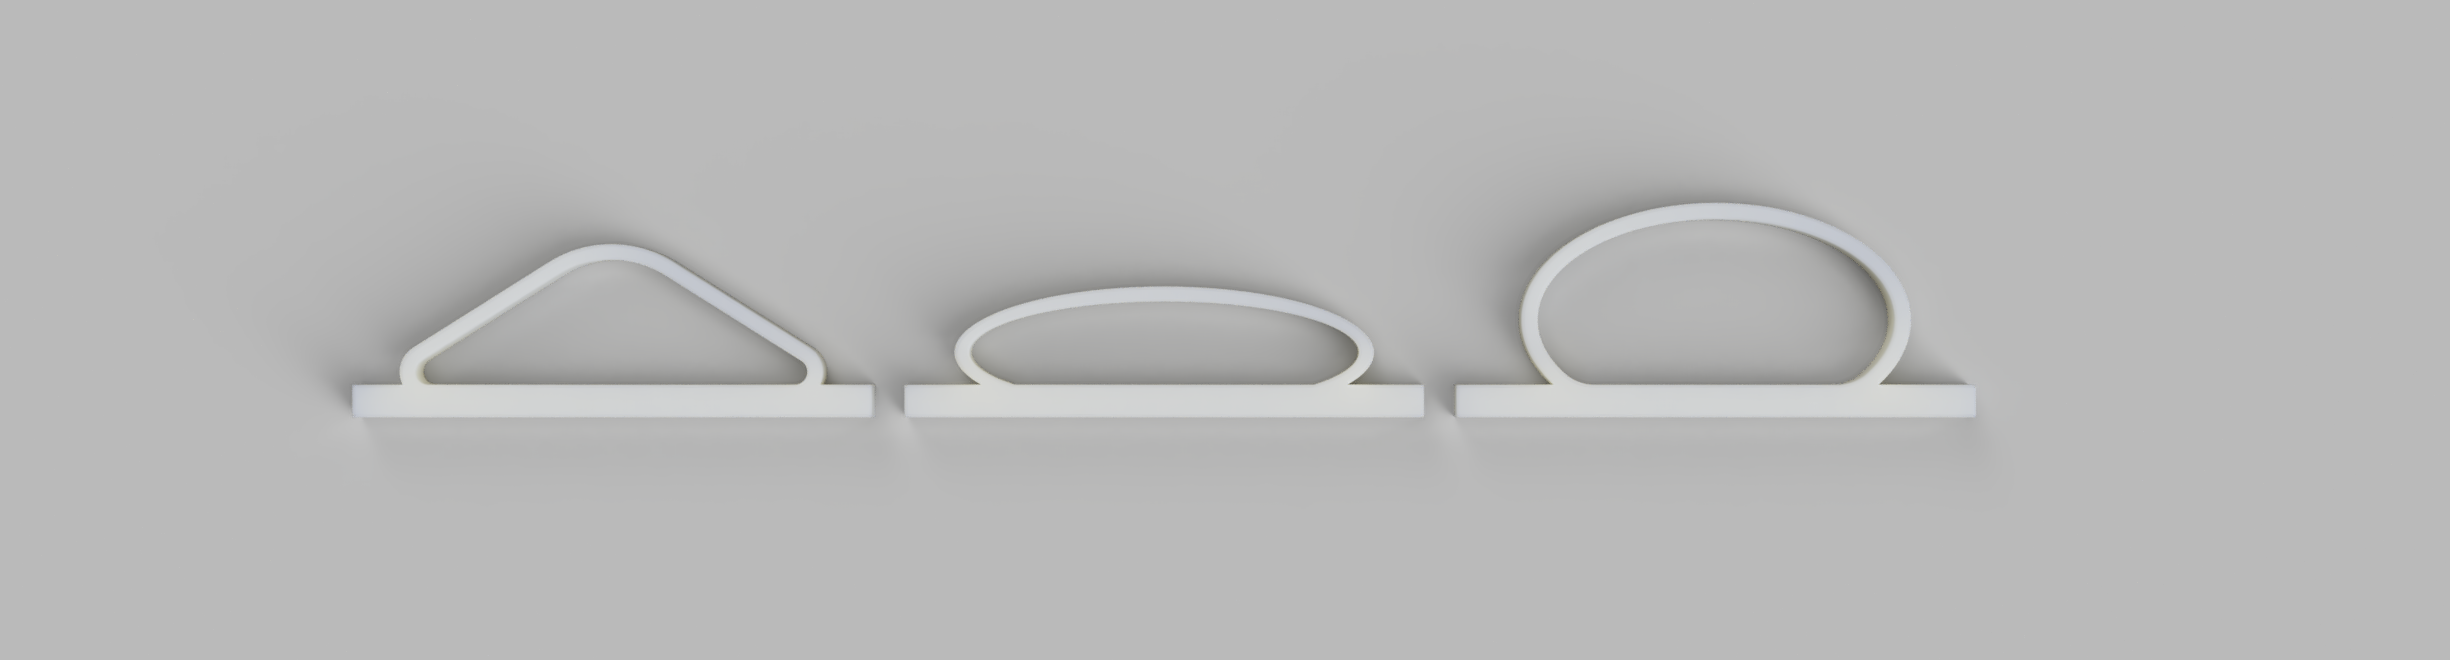
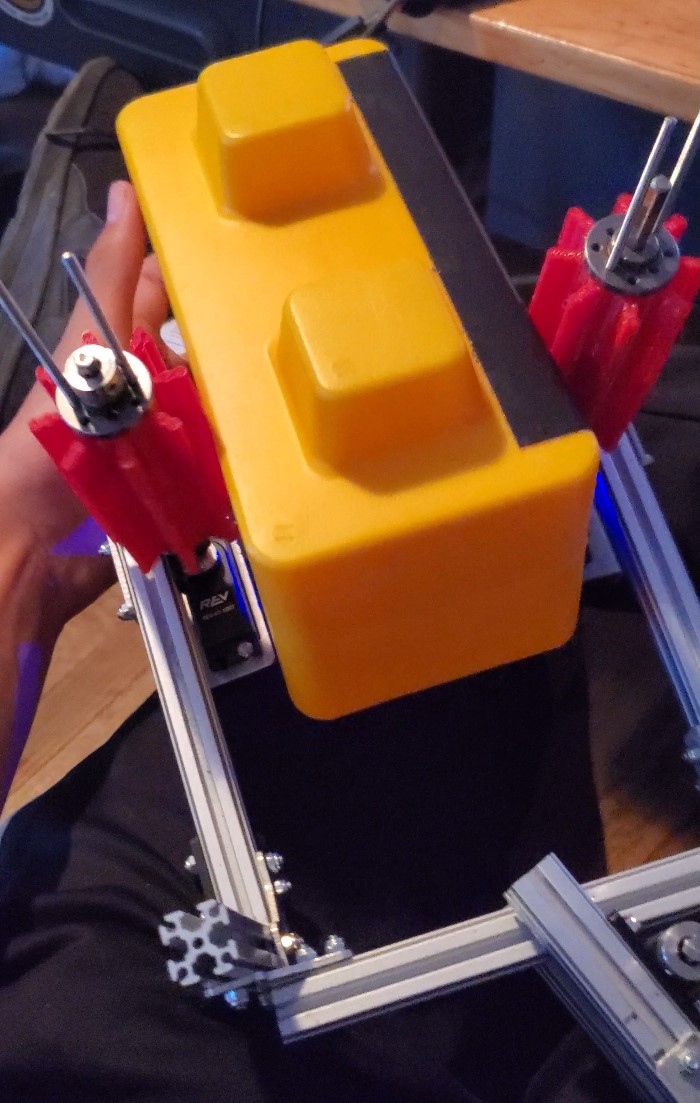
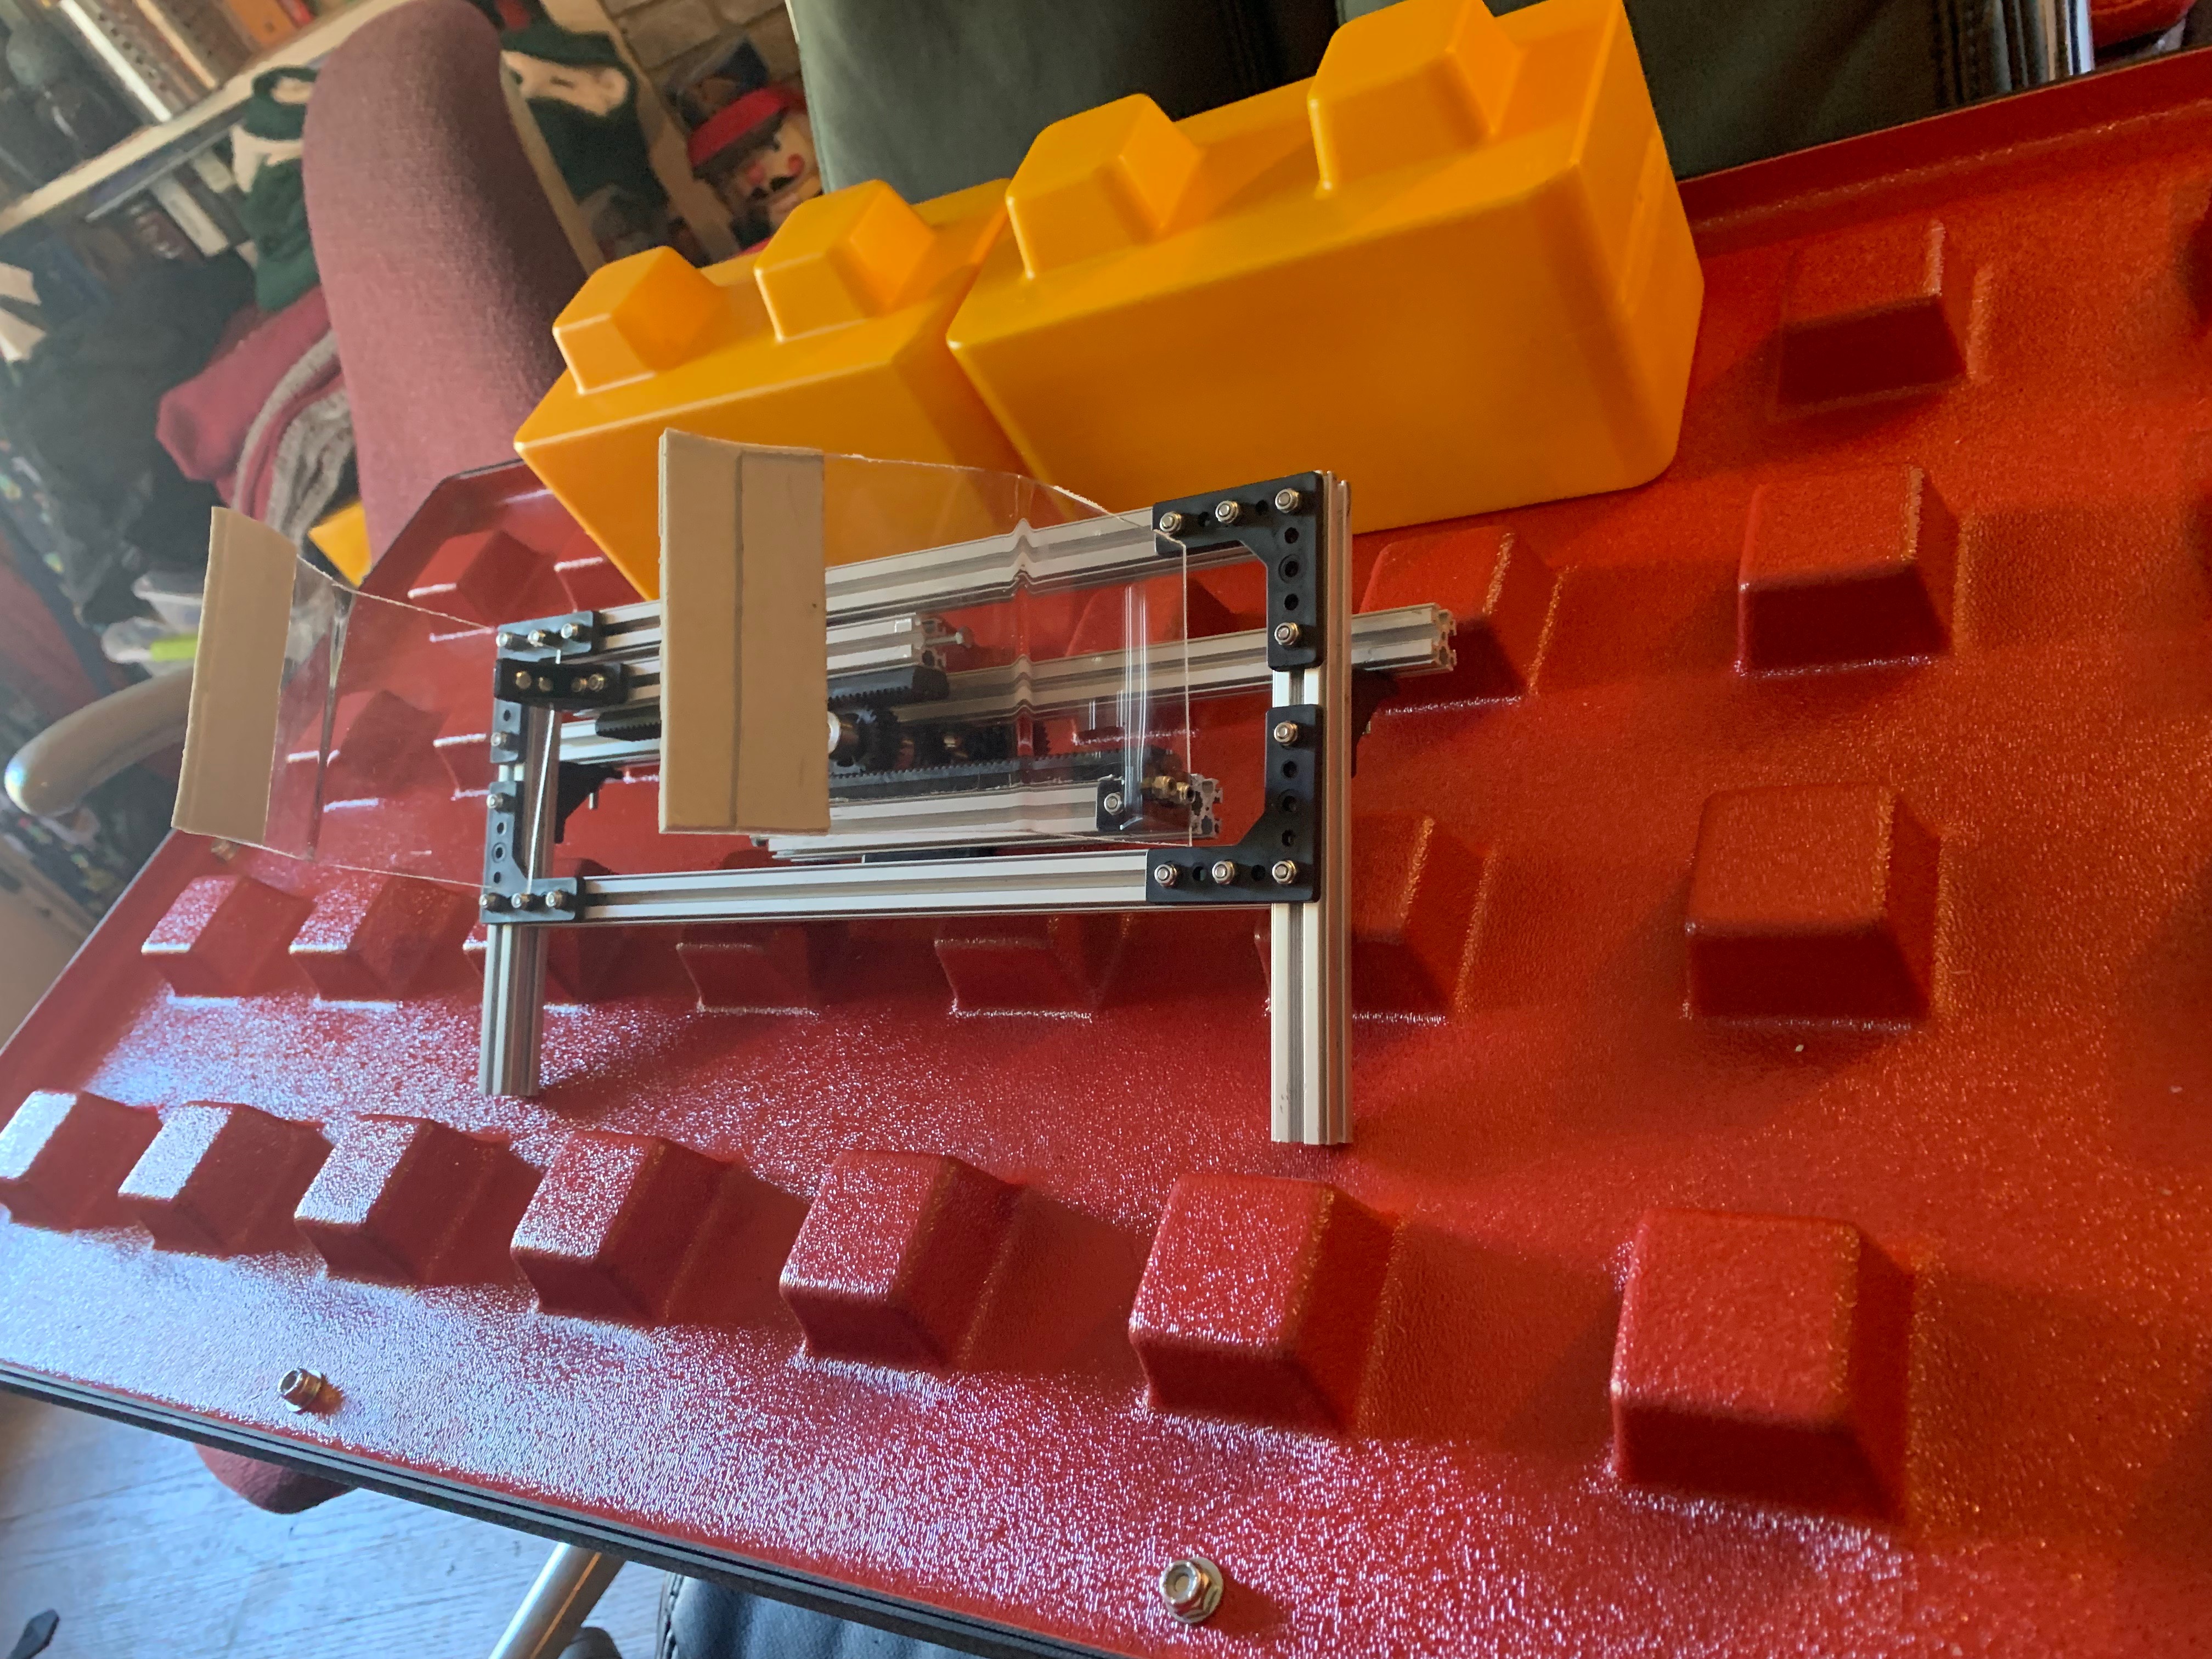
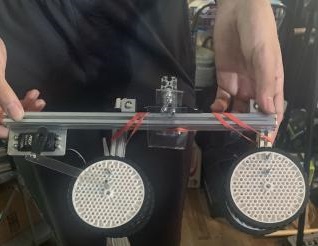
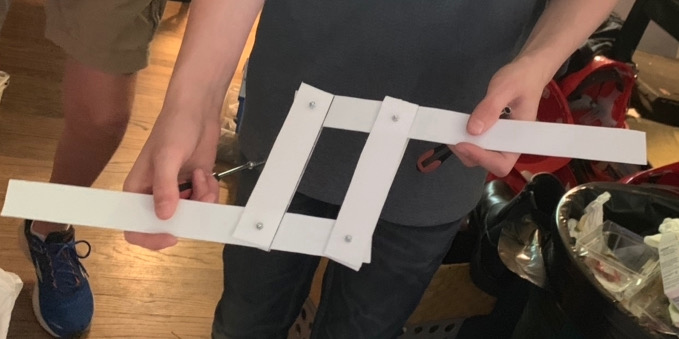
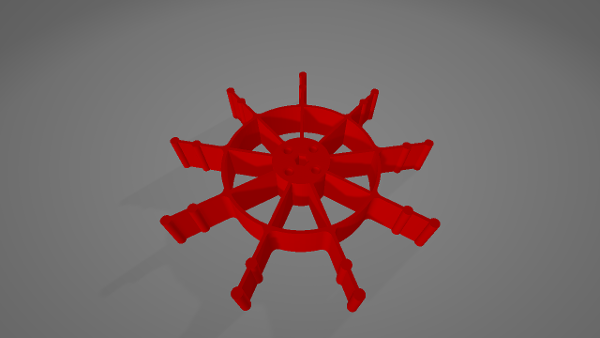
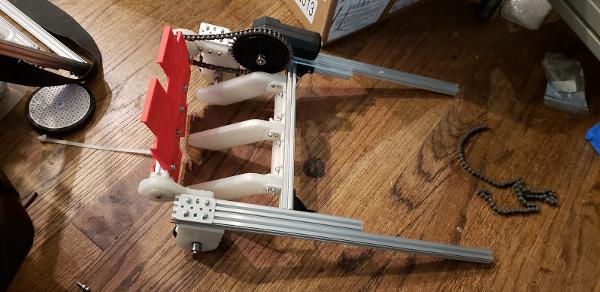
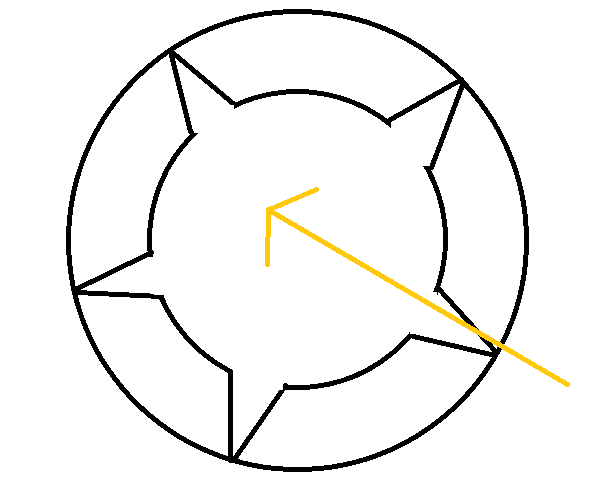
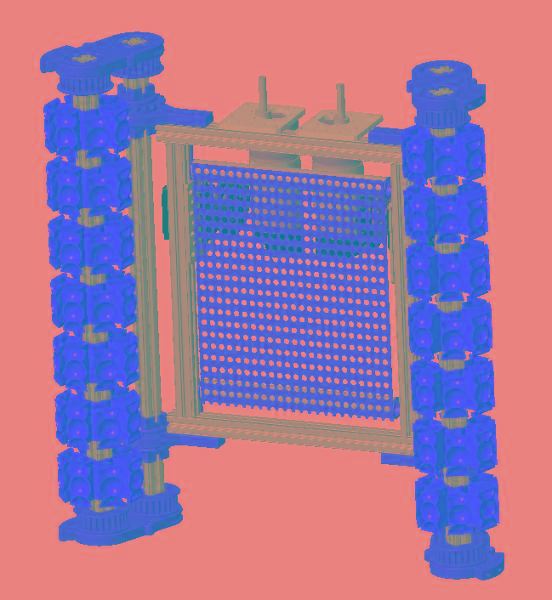
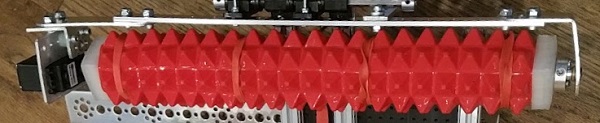
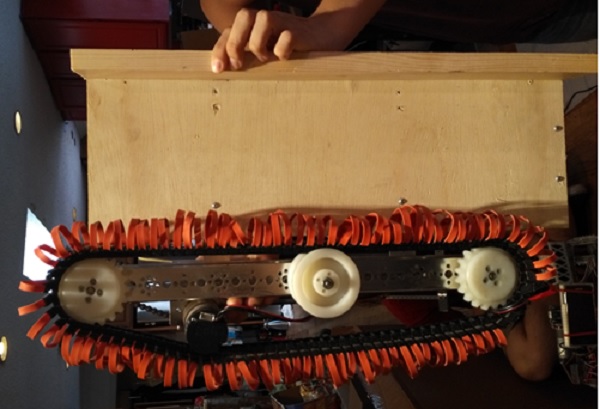
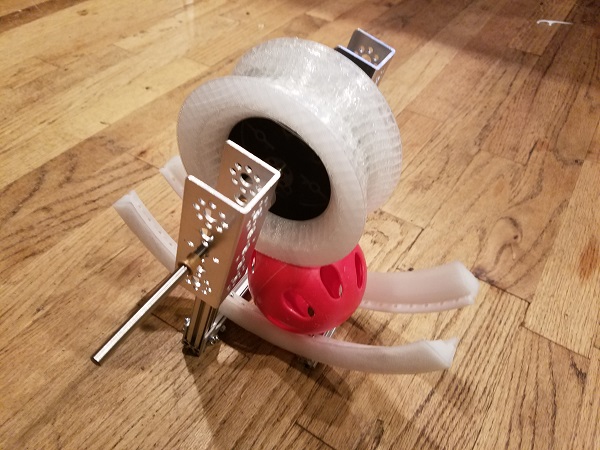
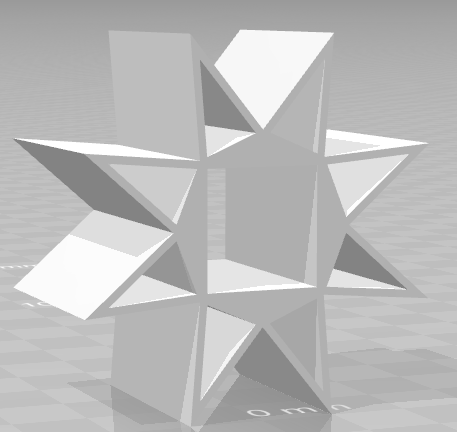 This design was too rigid, we overlooked the fact that triangles tend to be the strongest shape, and therefore this octopucker wasn't as compliant as we wanted, damaging the blocks.
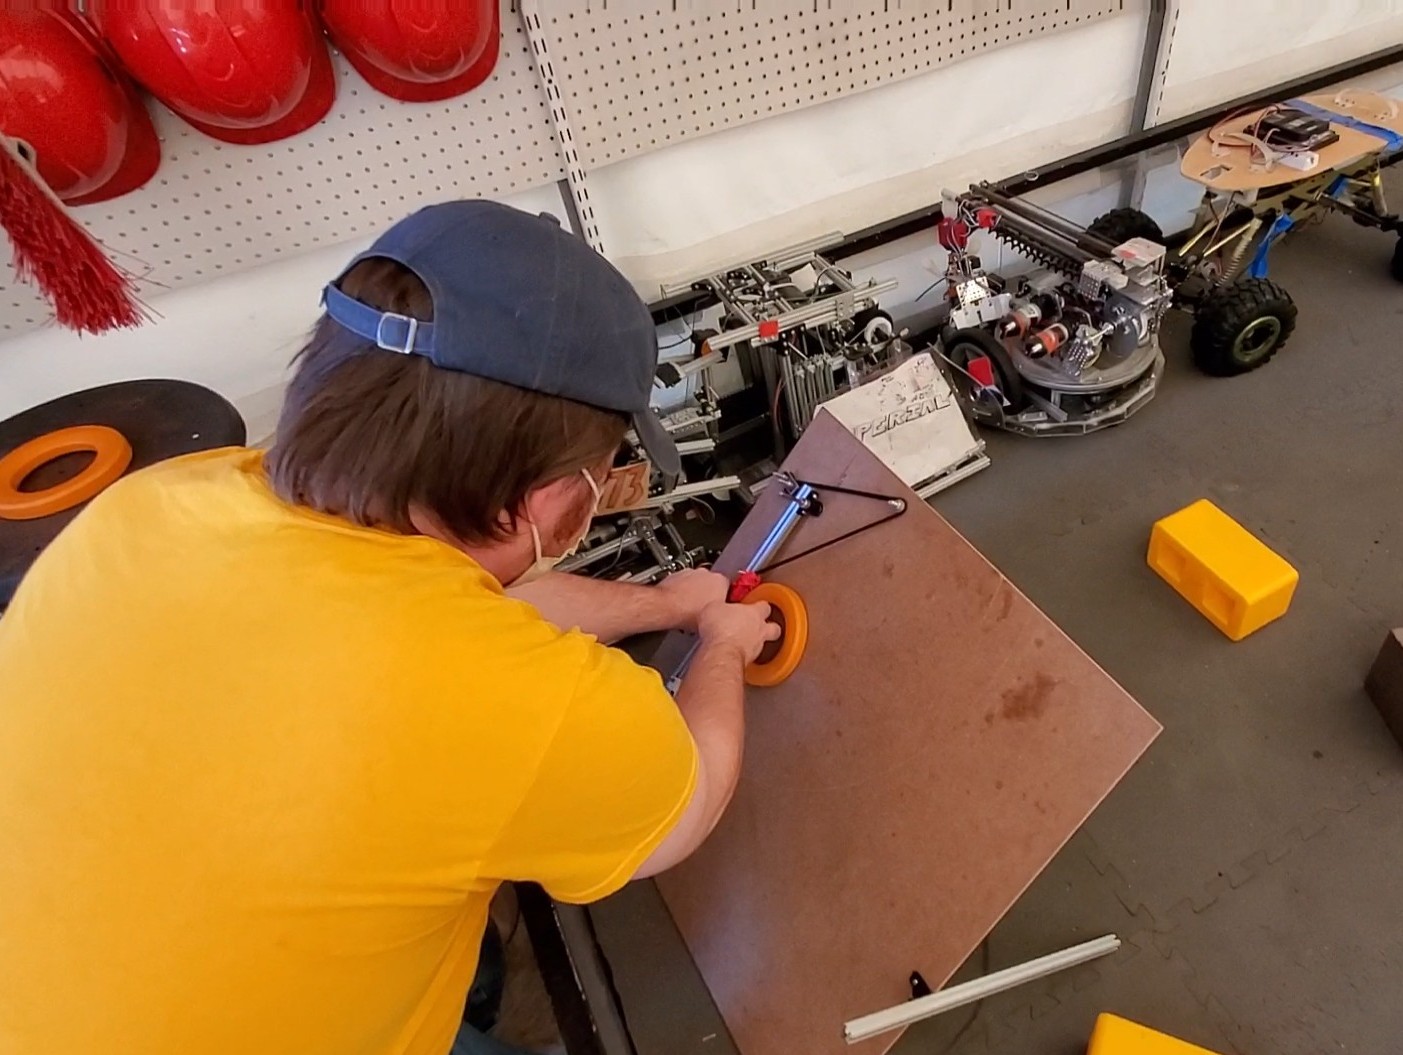
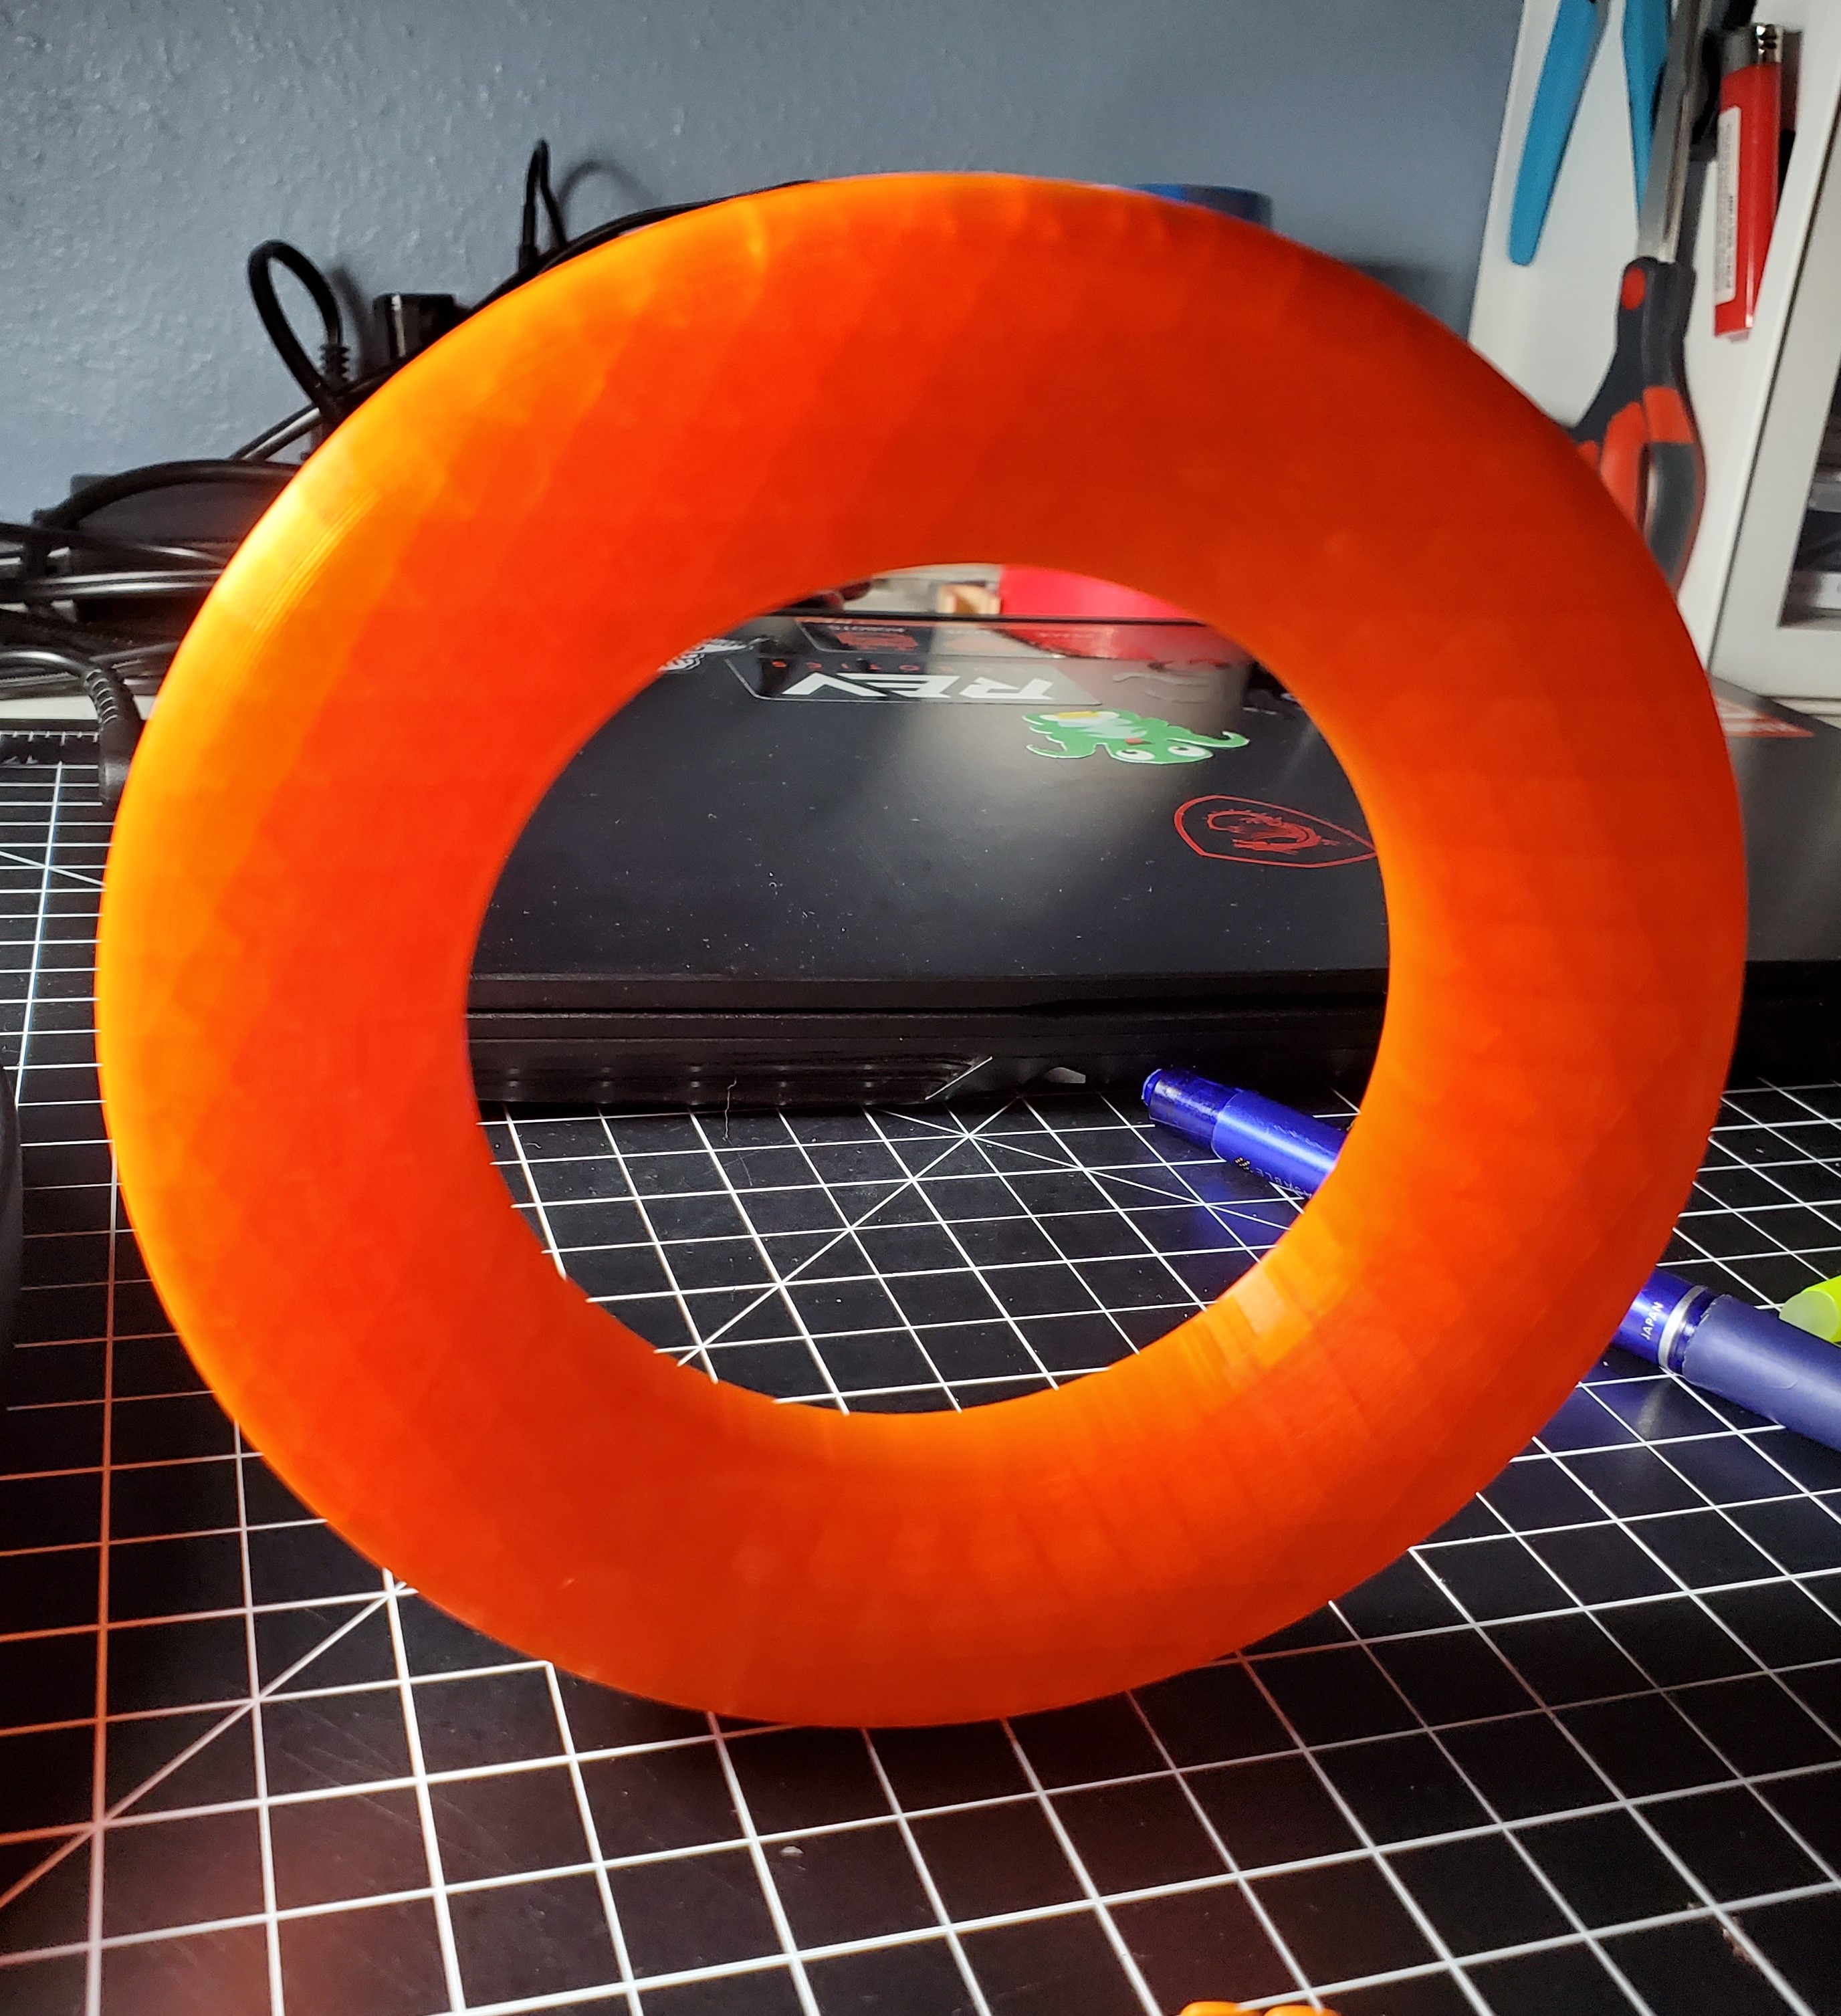
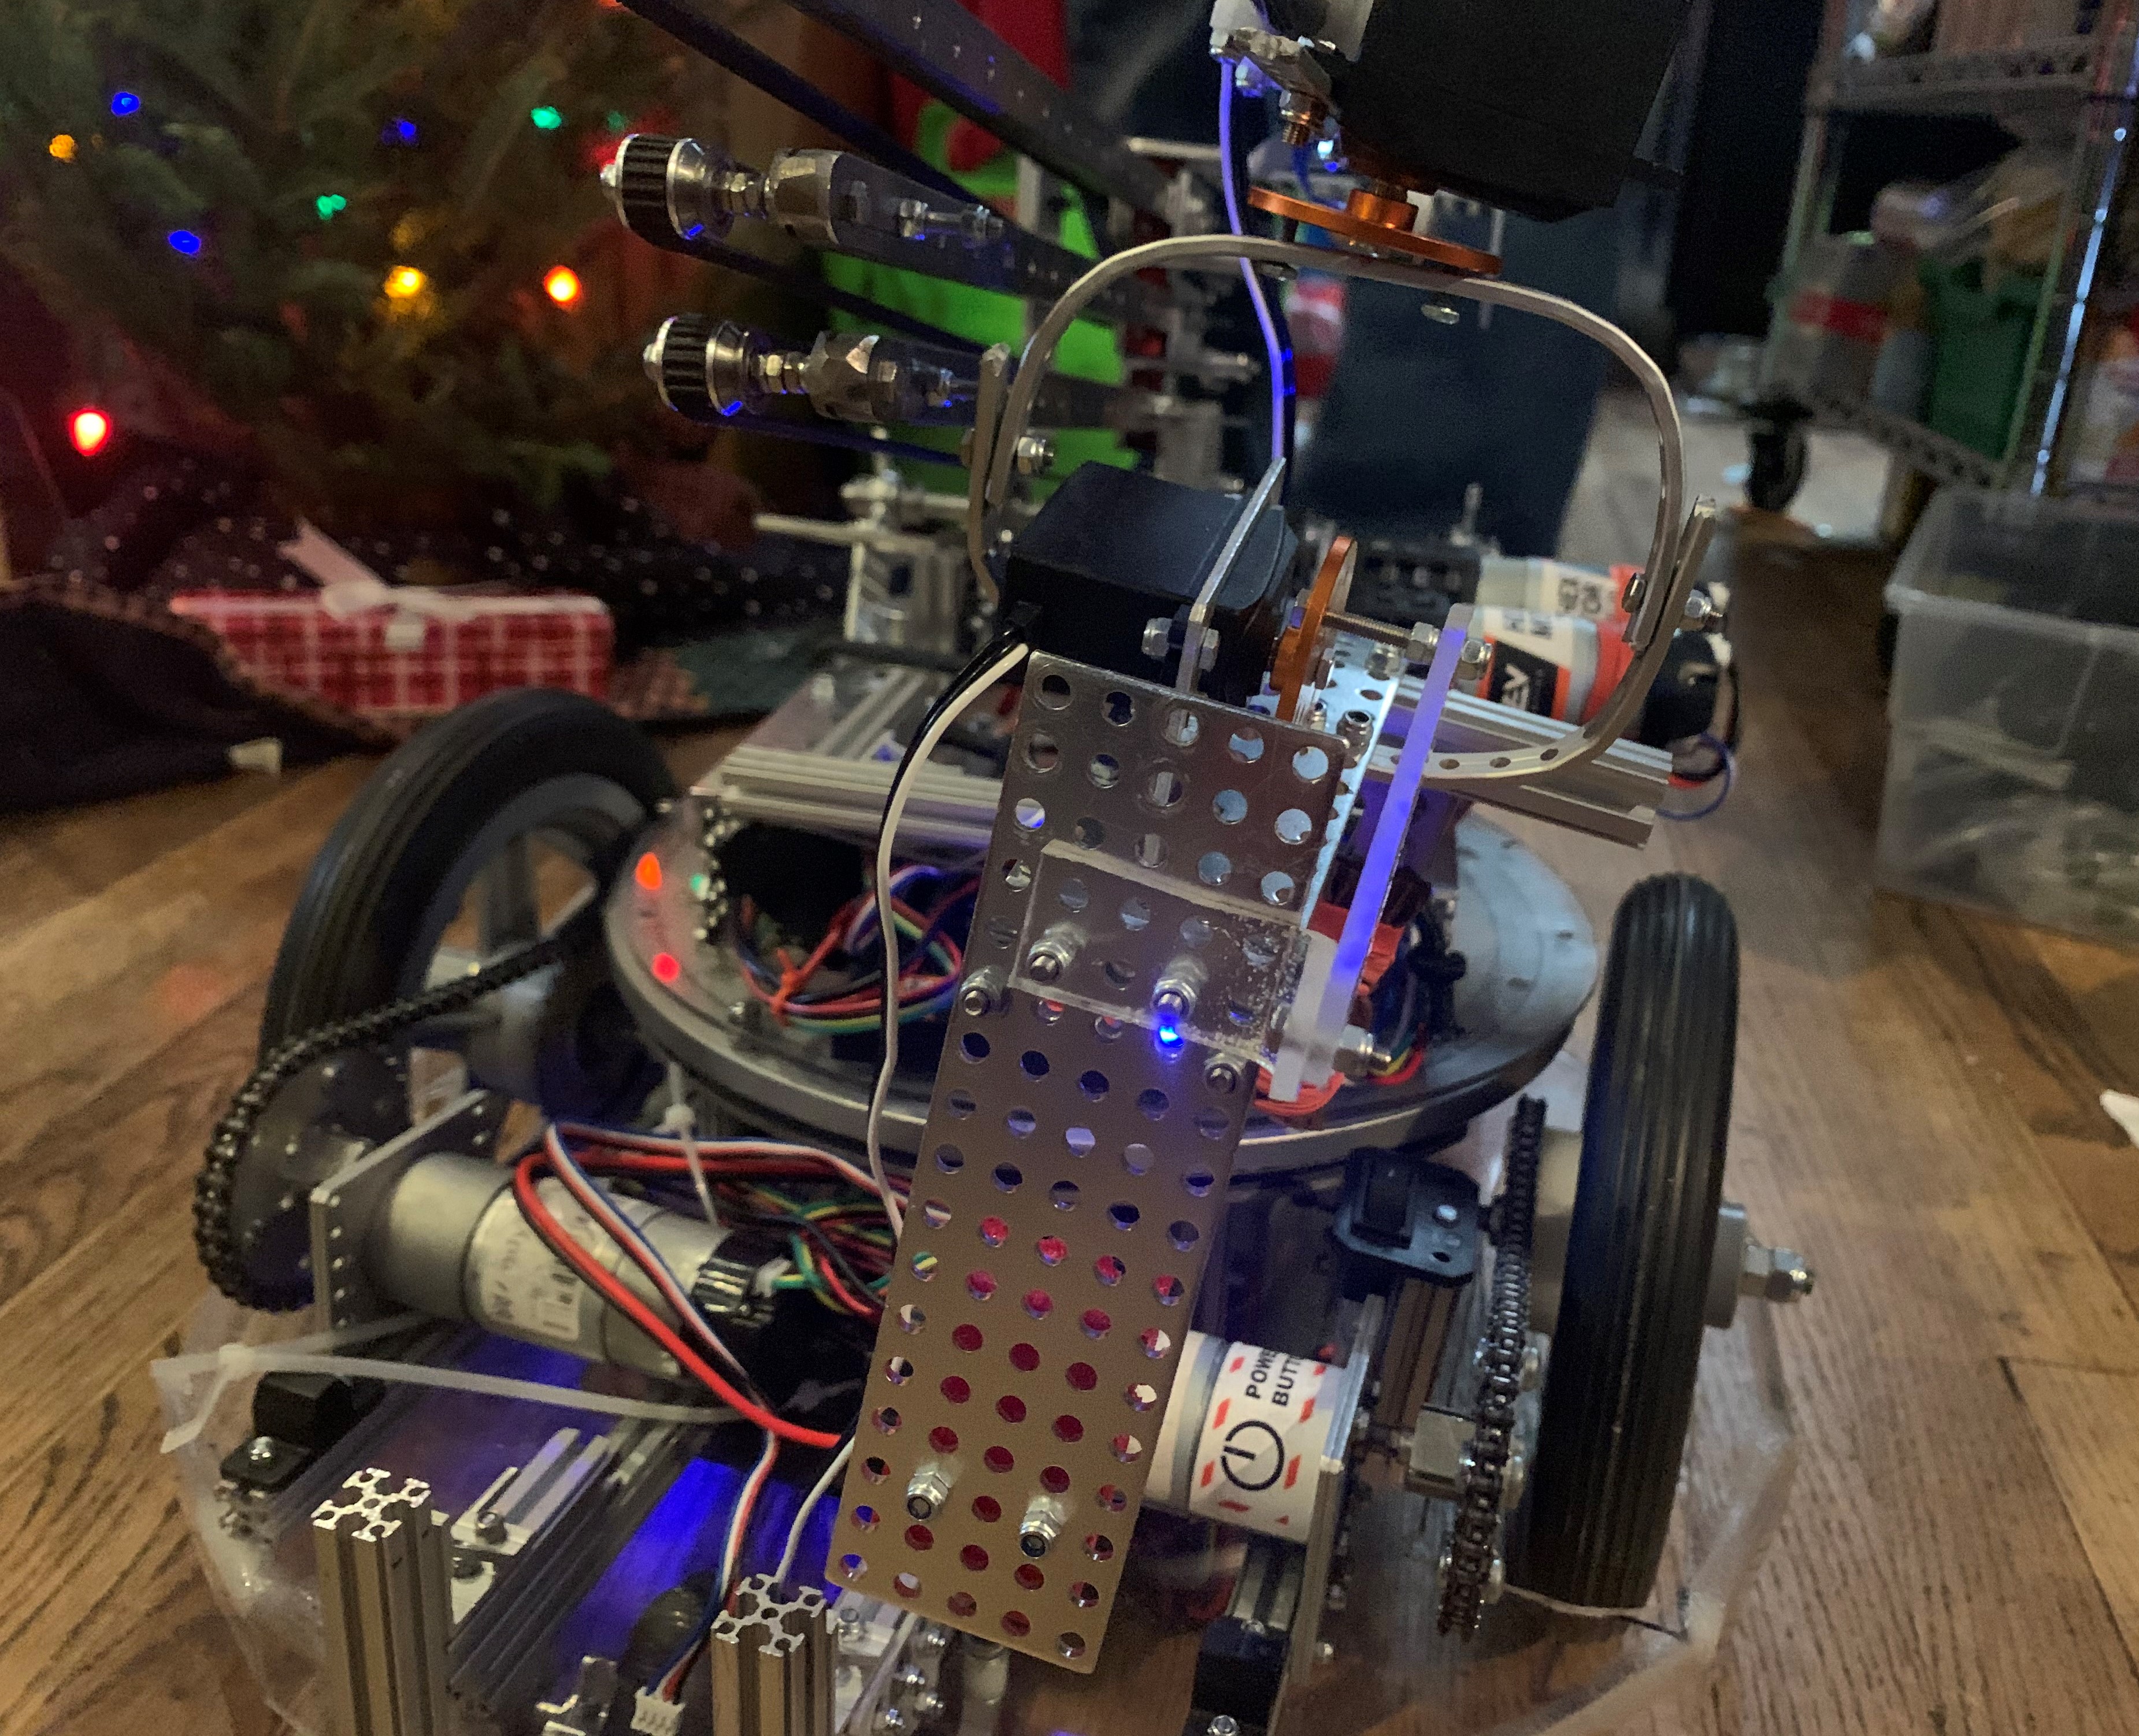
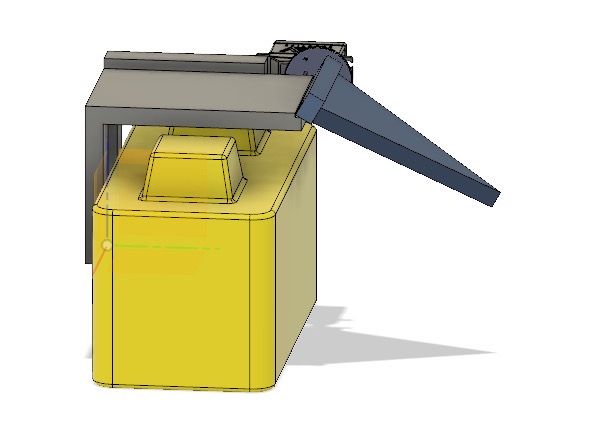
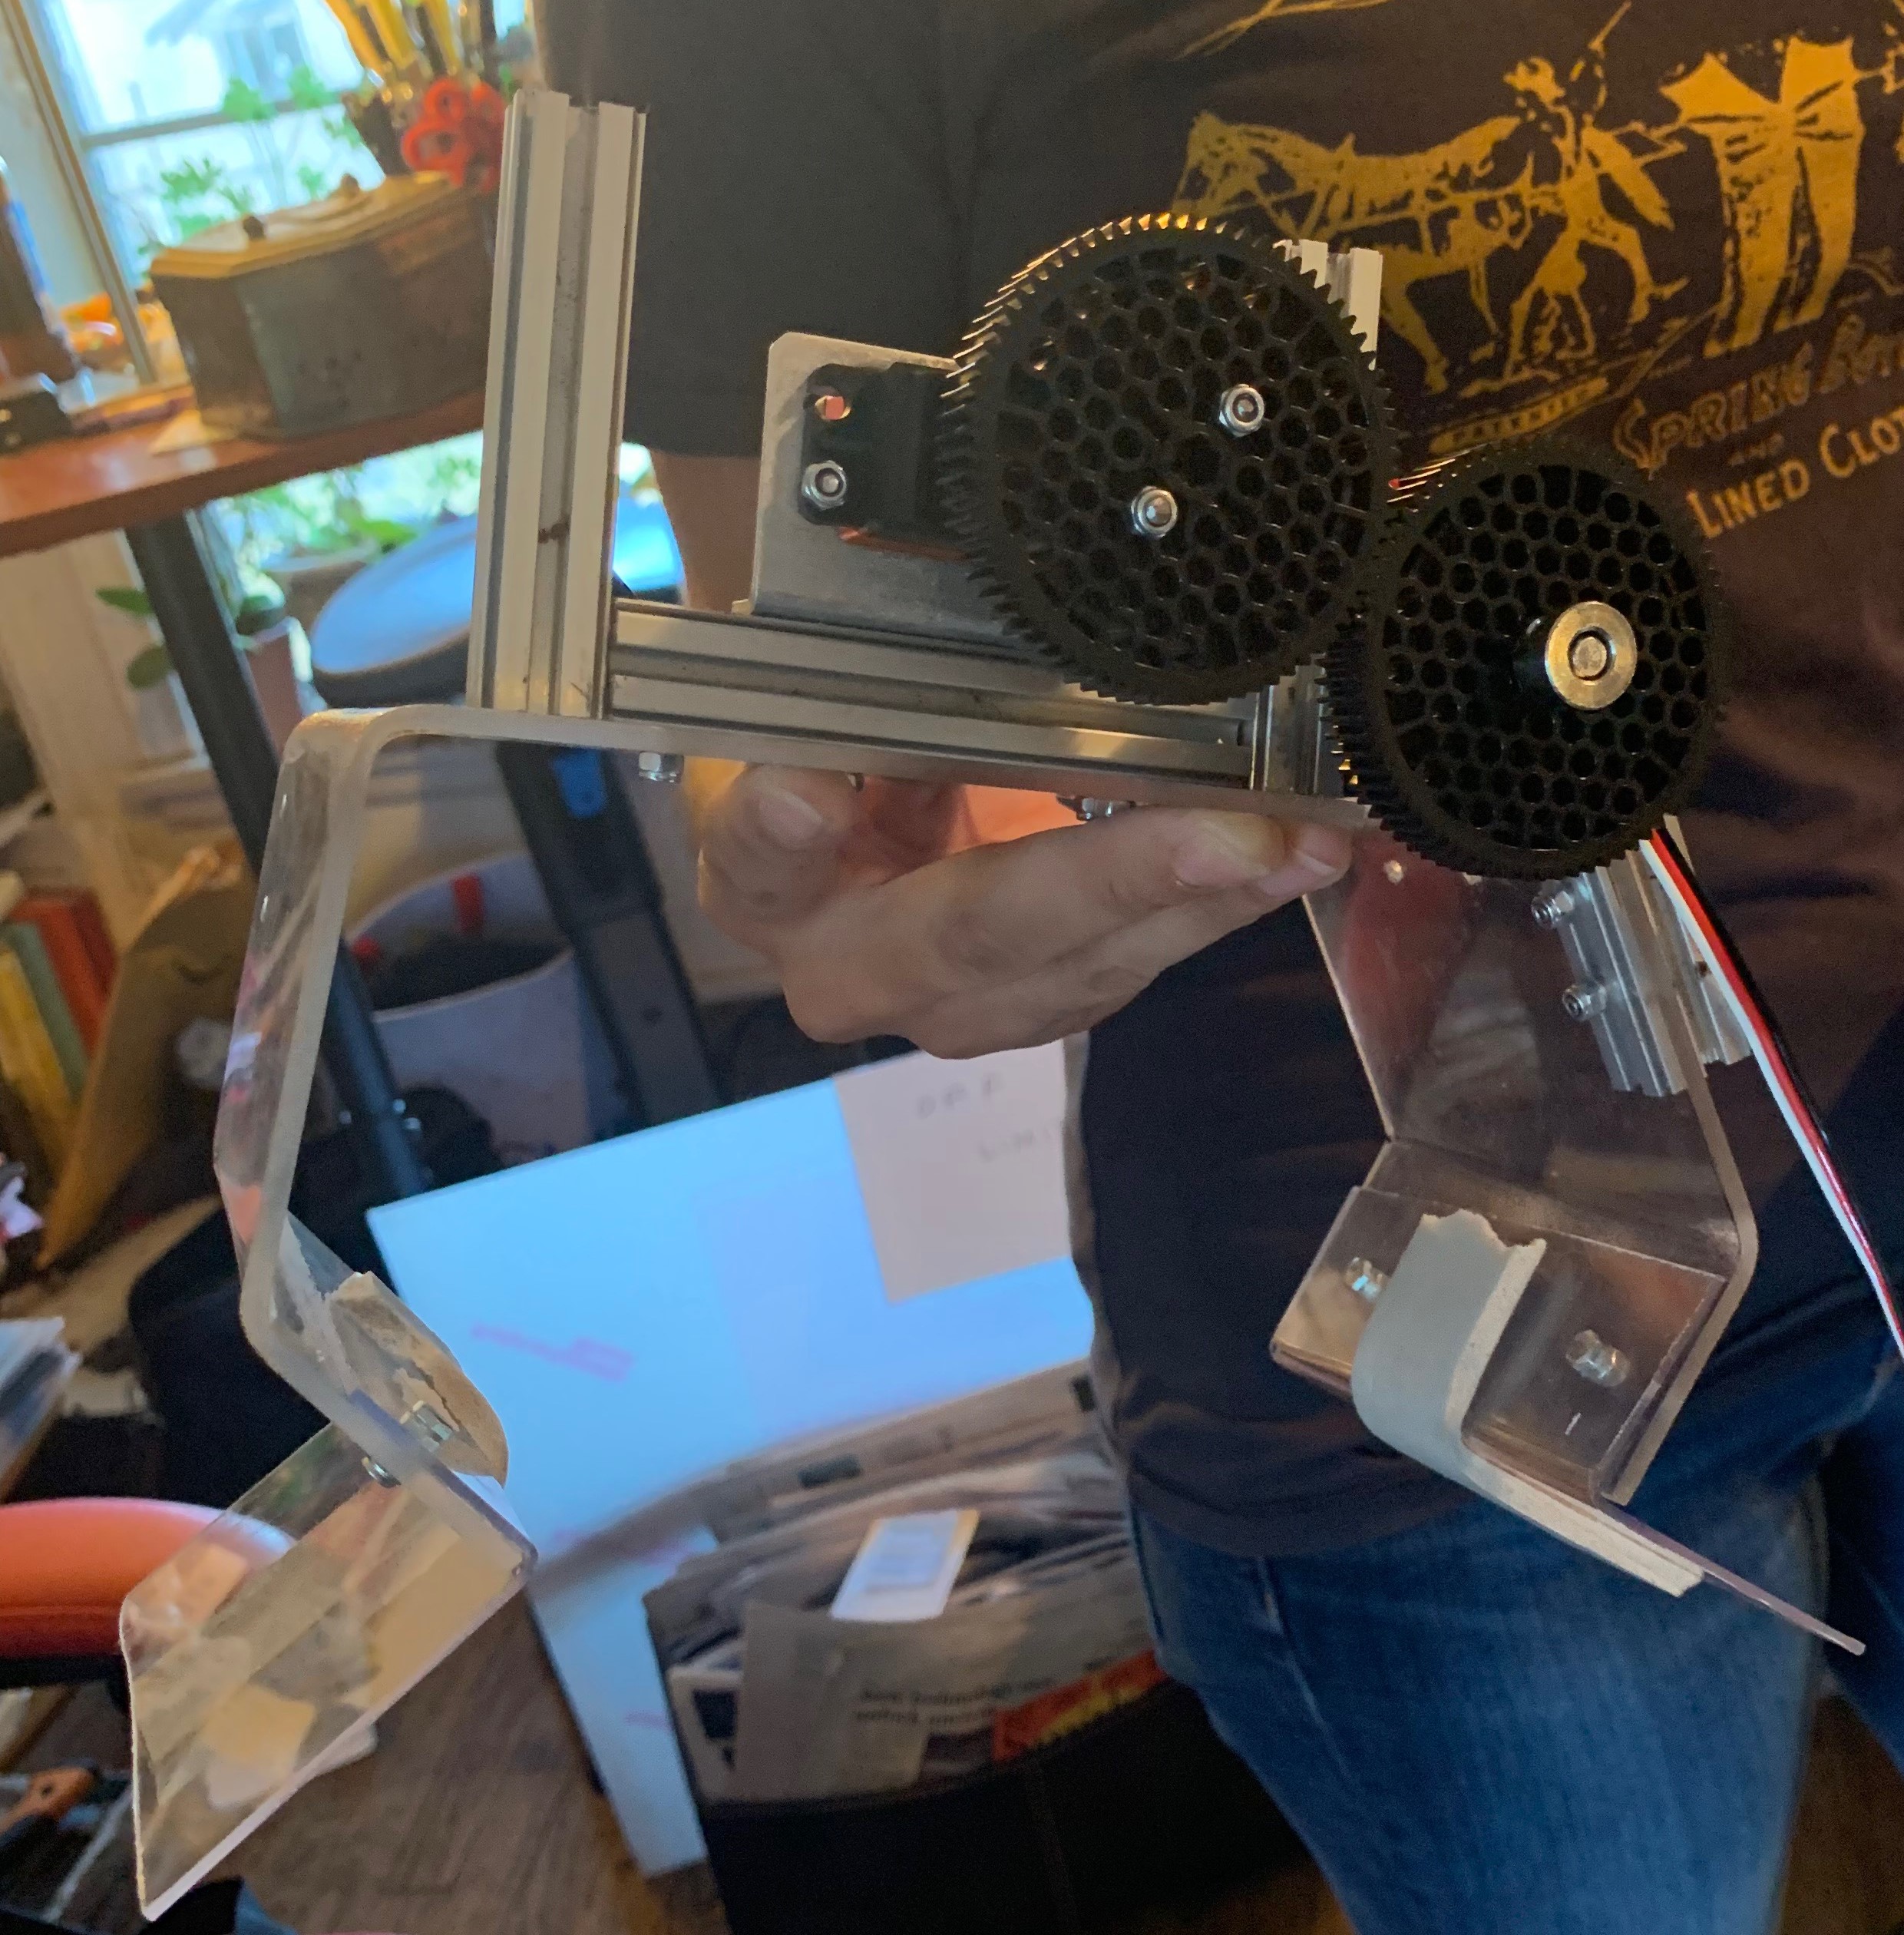
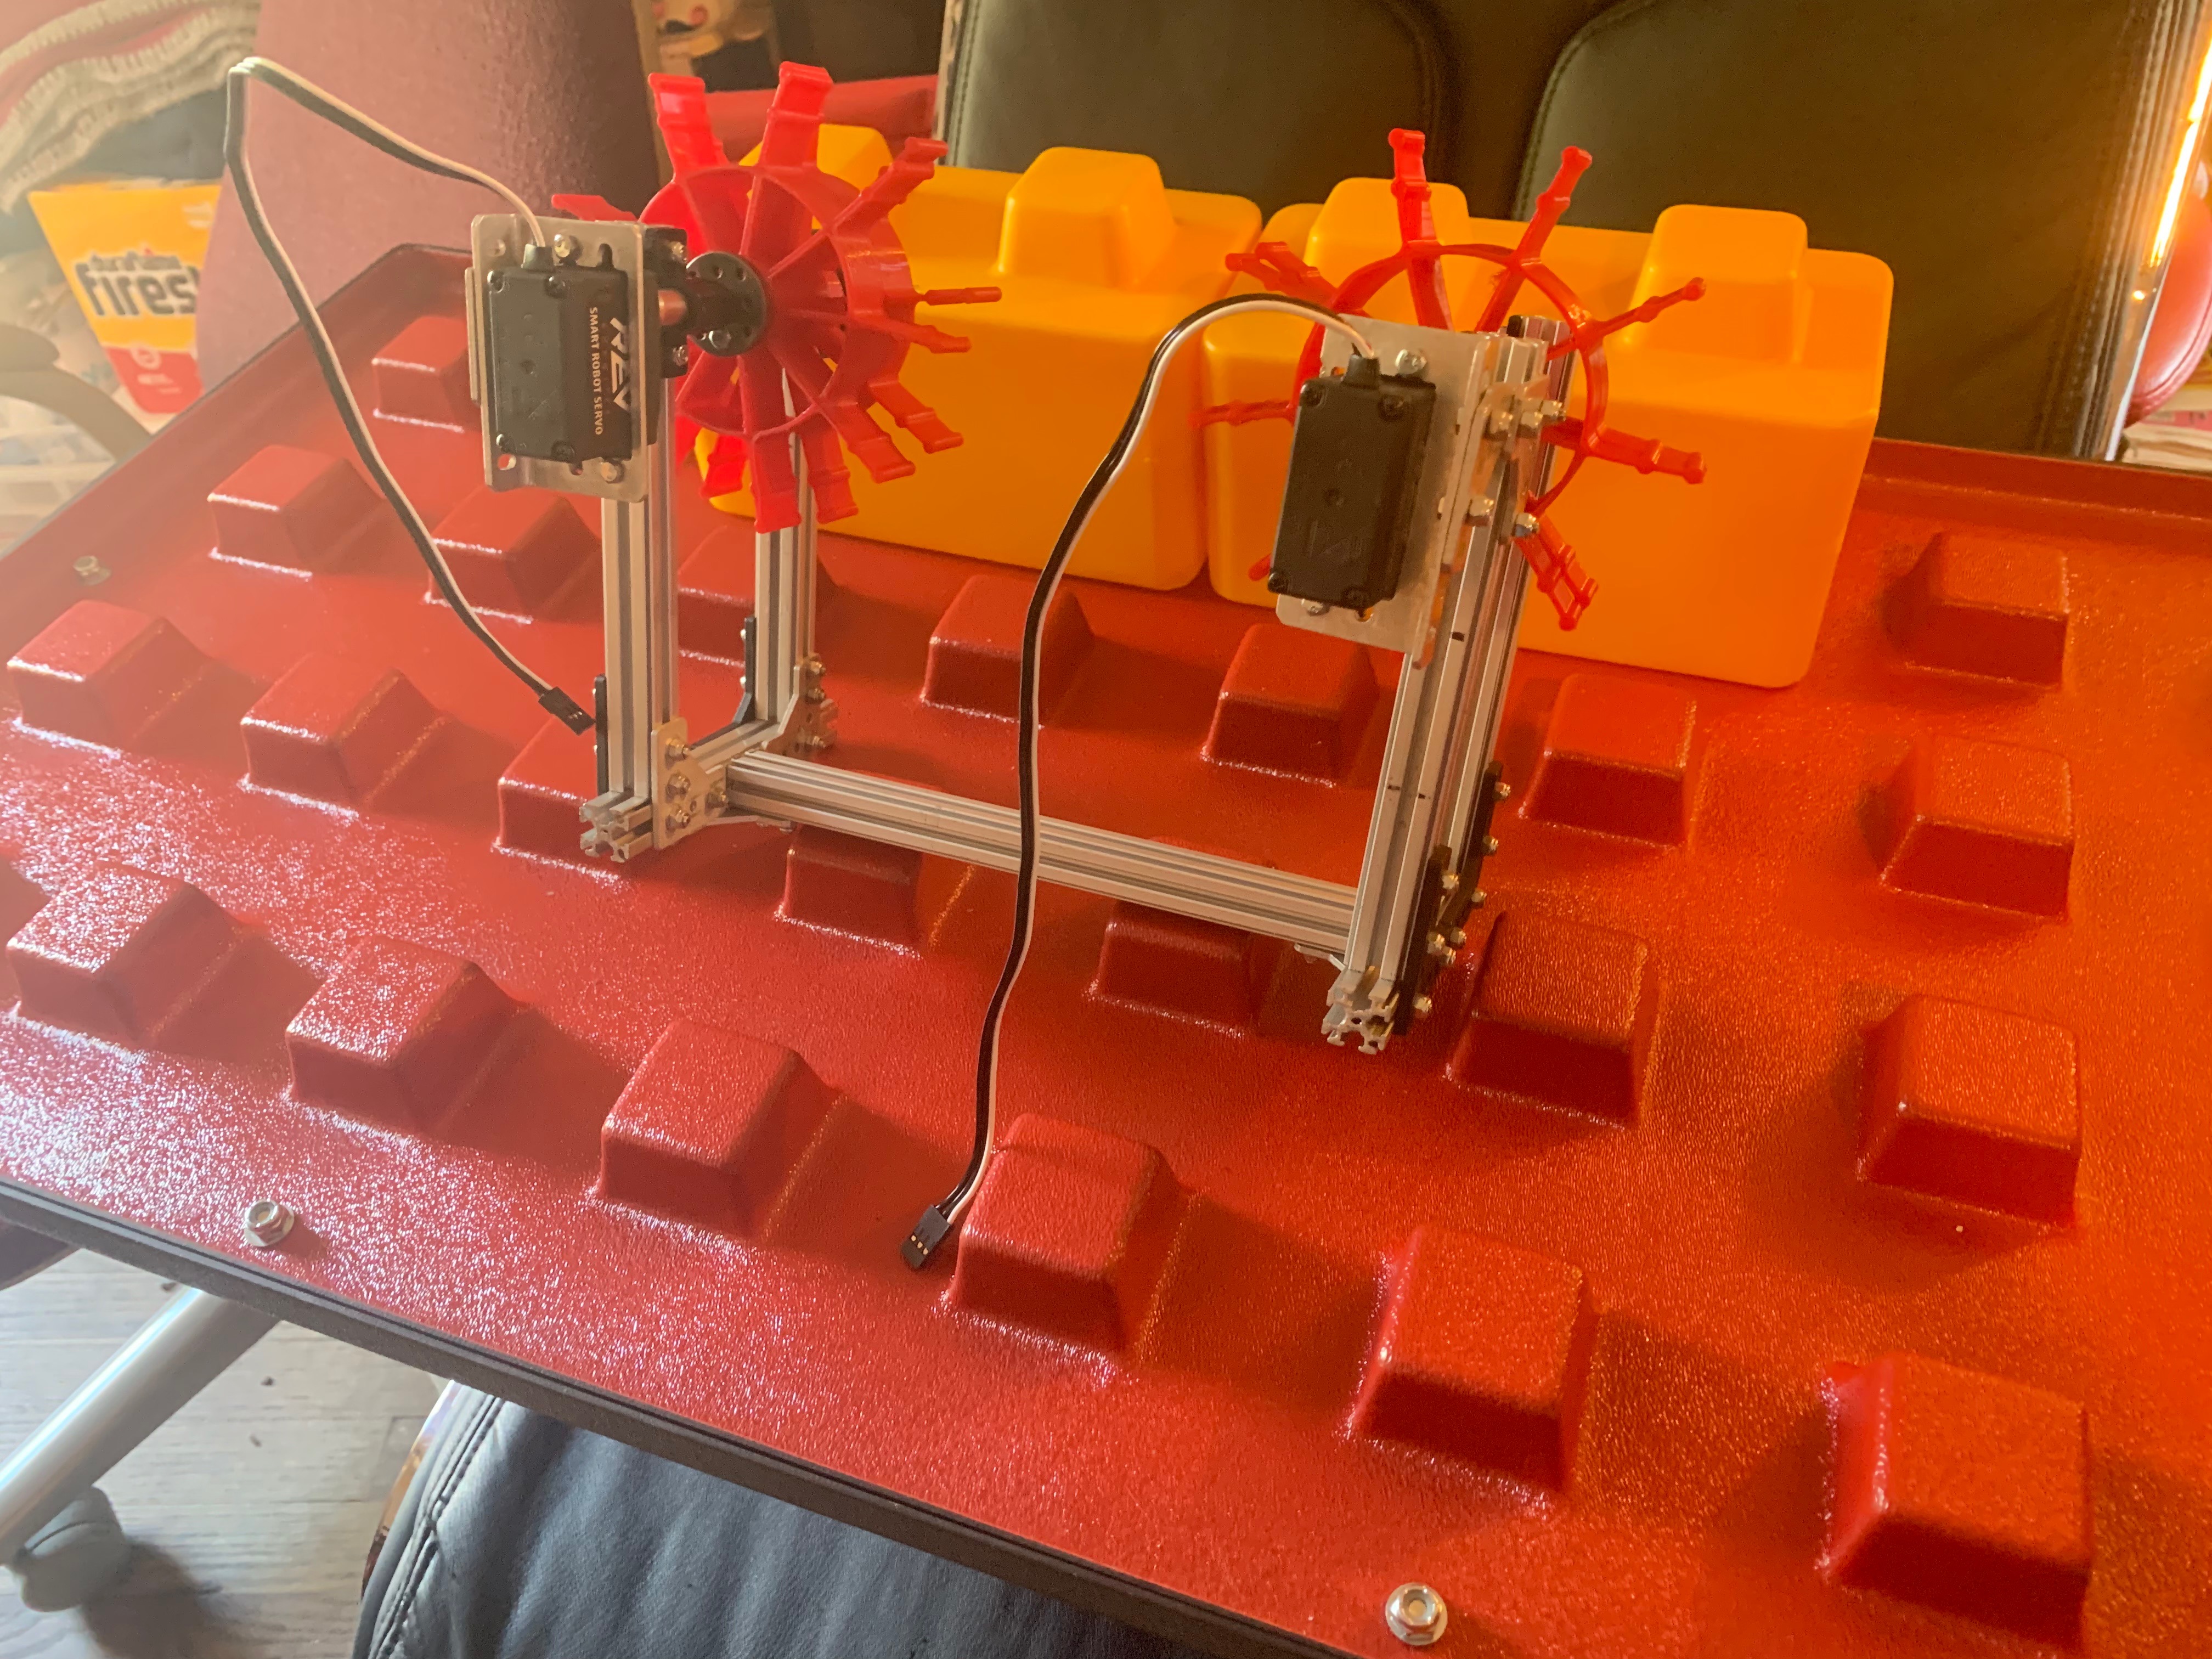
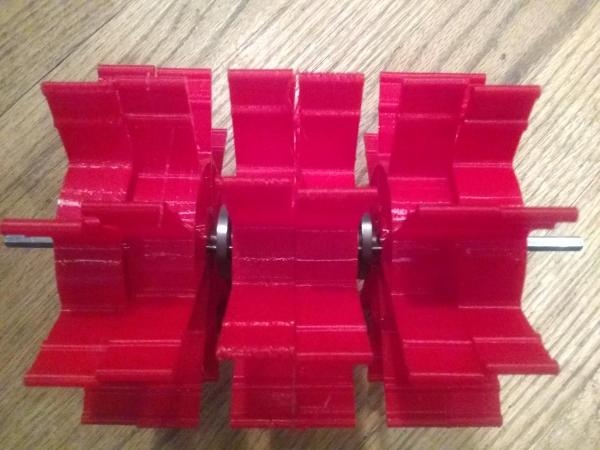
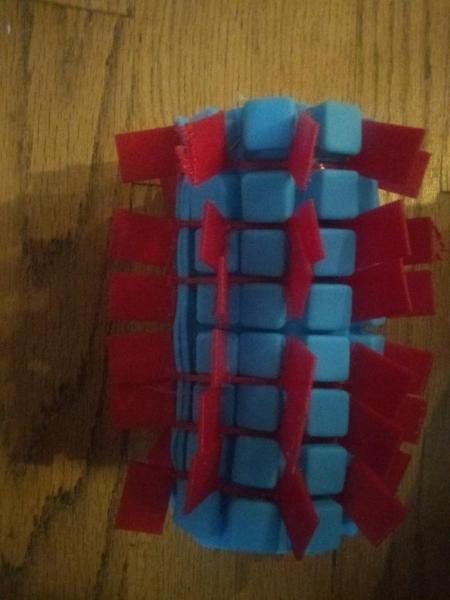
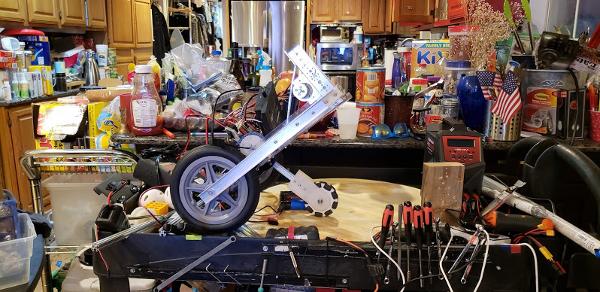
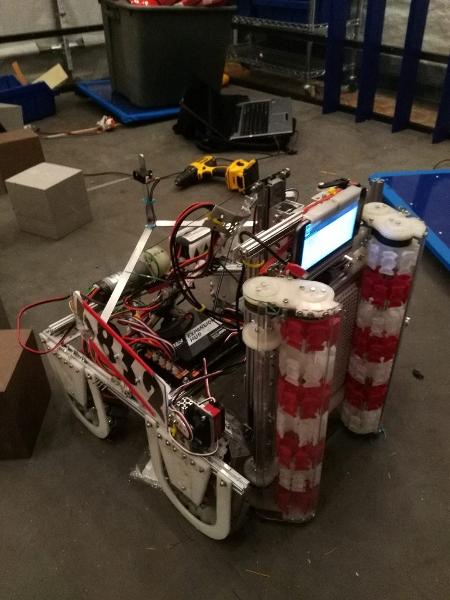
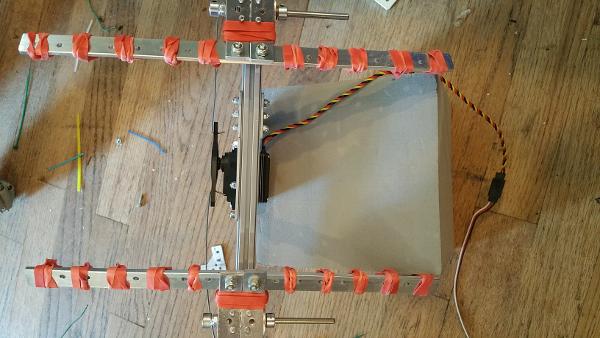
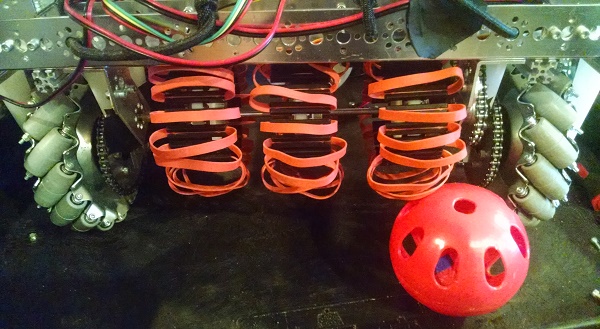
 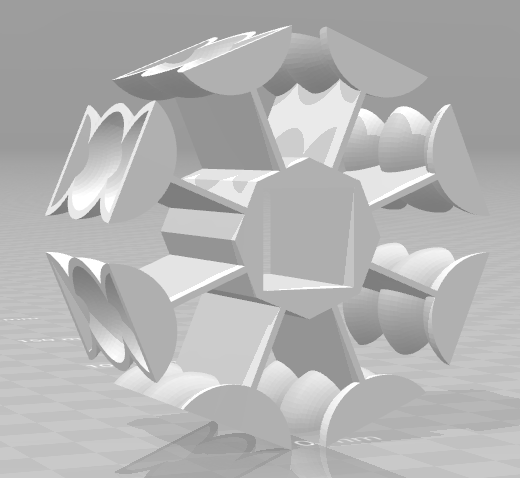 This design was really good, and we used it for 3-4 tournaments. Our initial design of these wouldn't damage the blocks significantly at the levels...
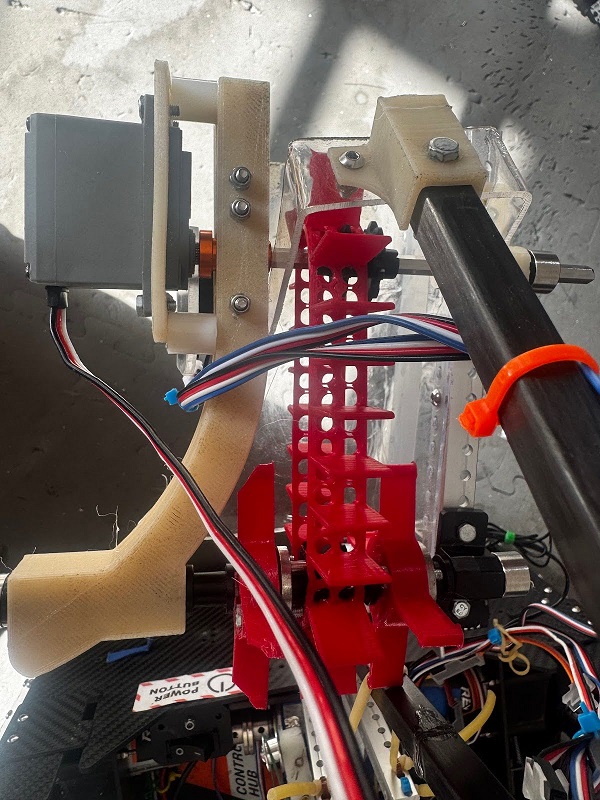
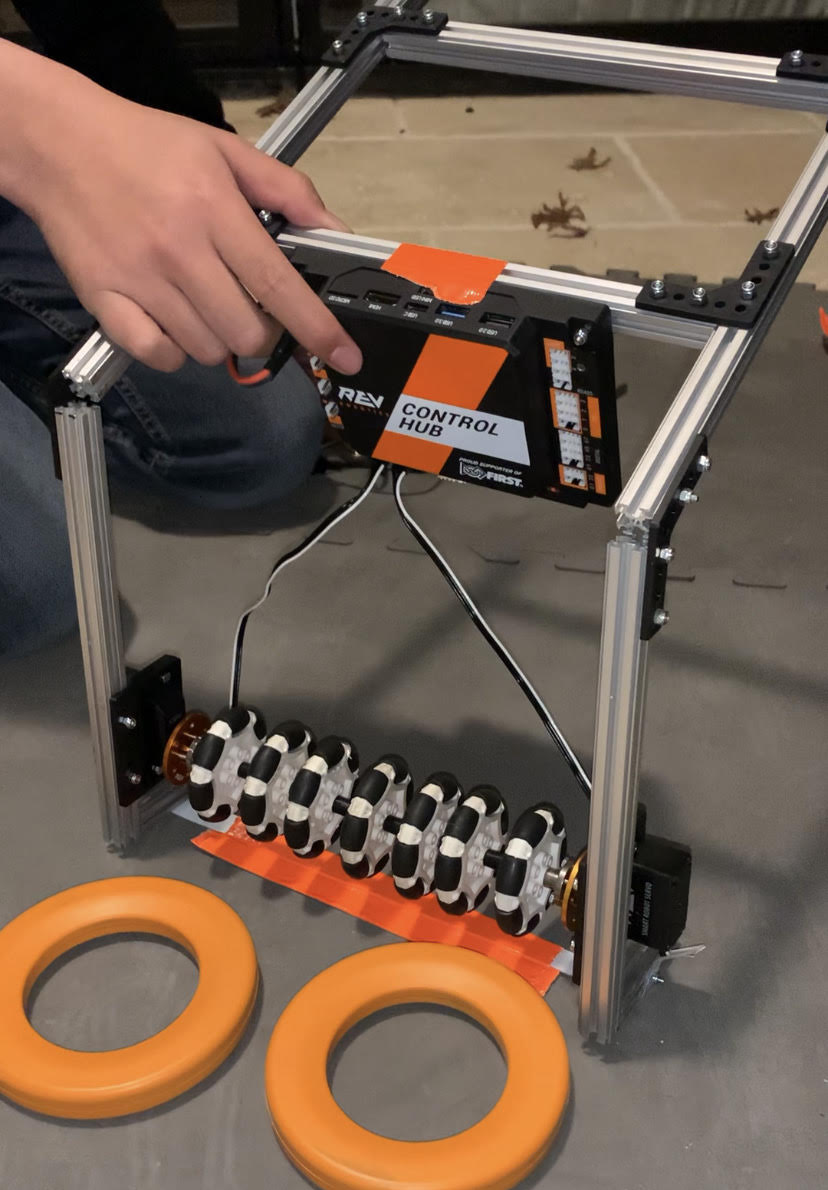

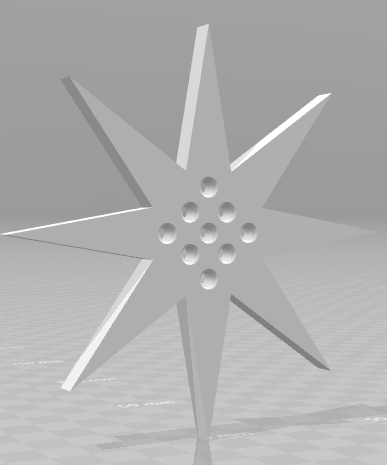


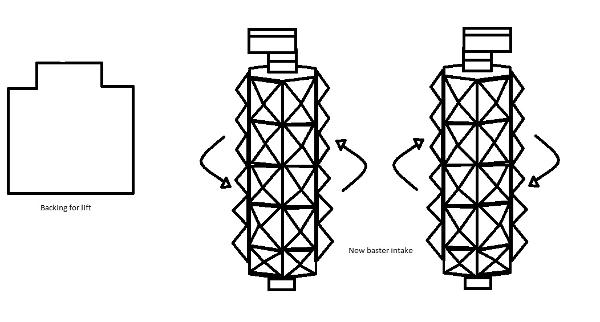


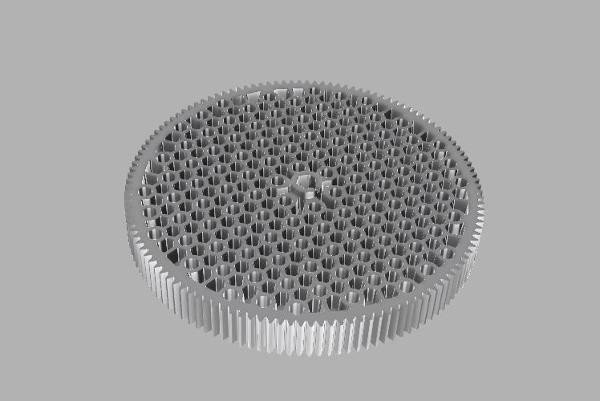
 The cool thing...